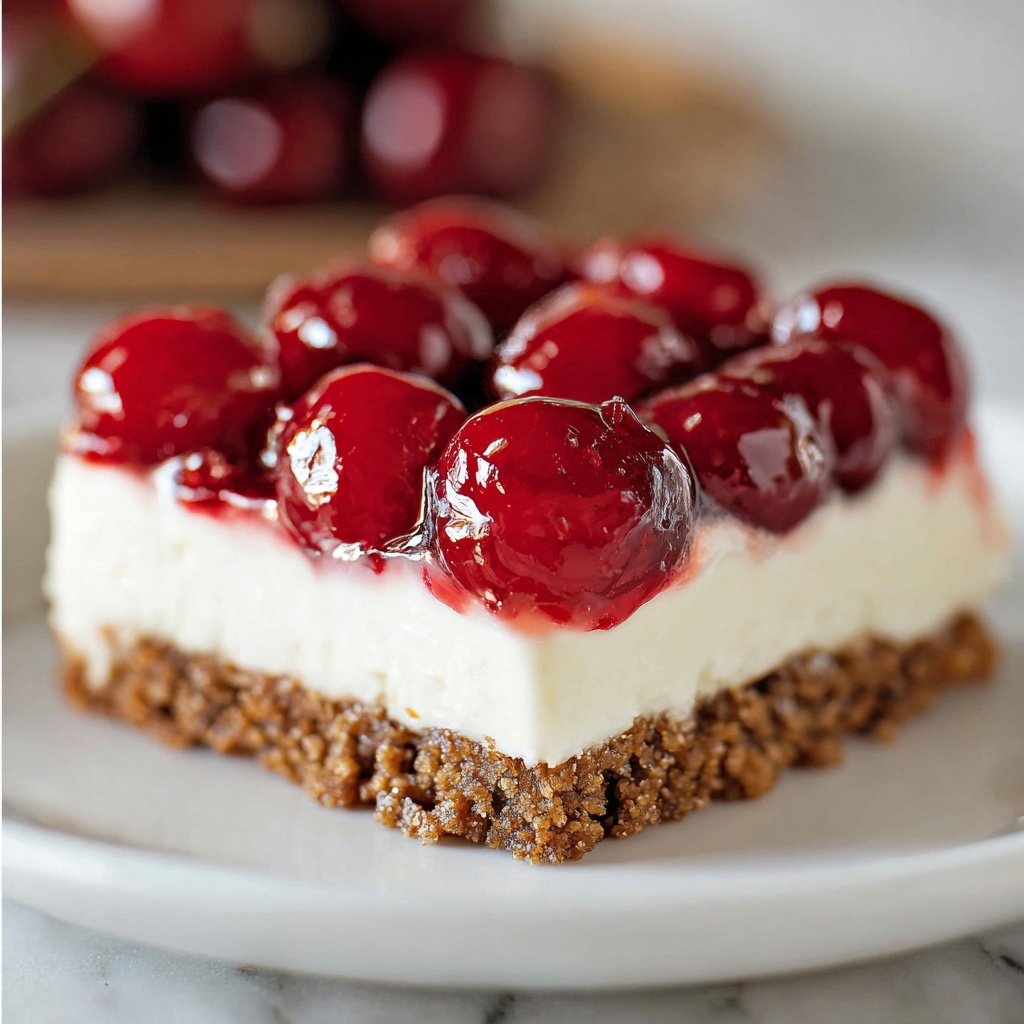
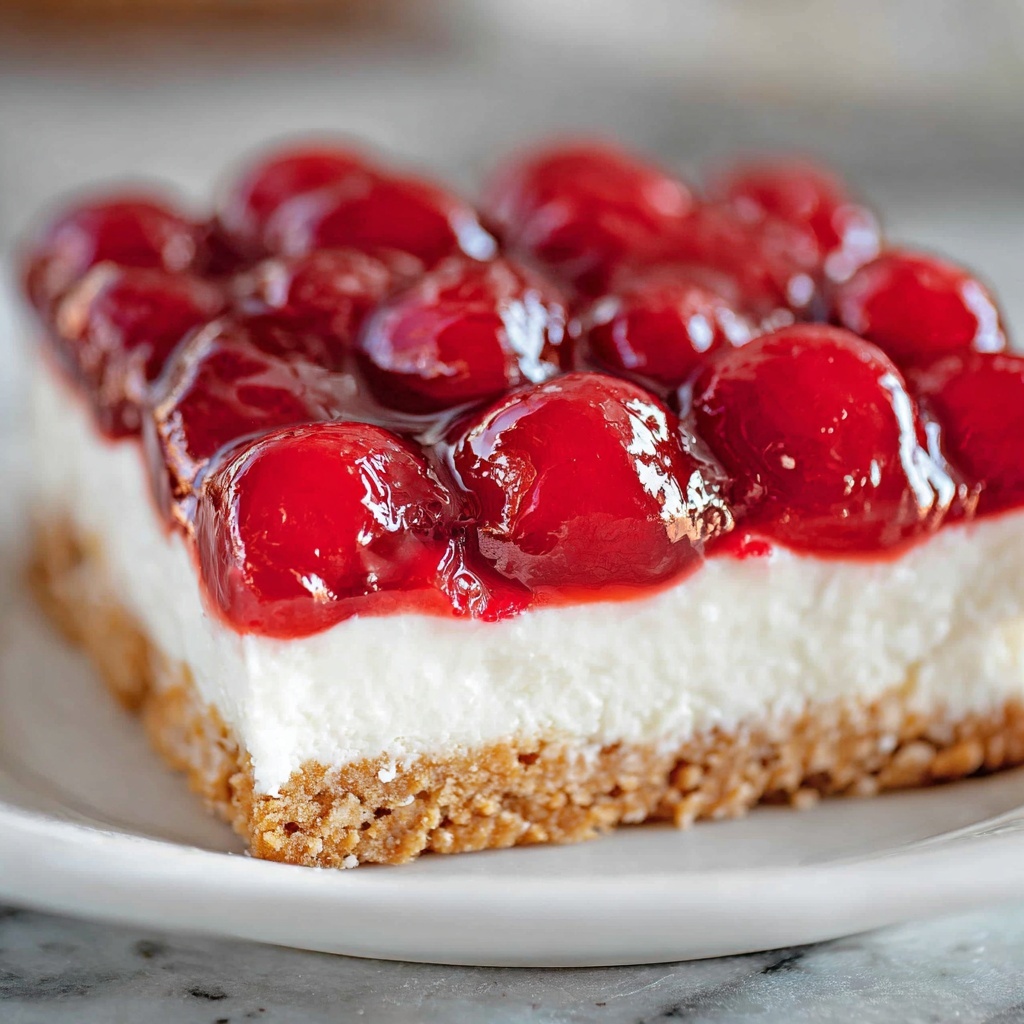
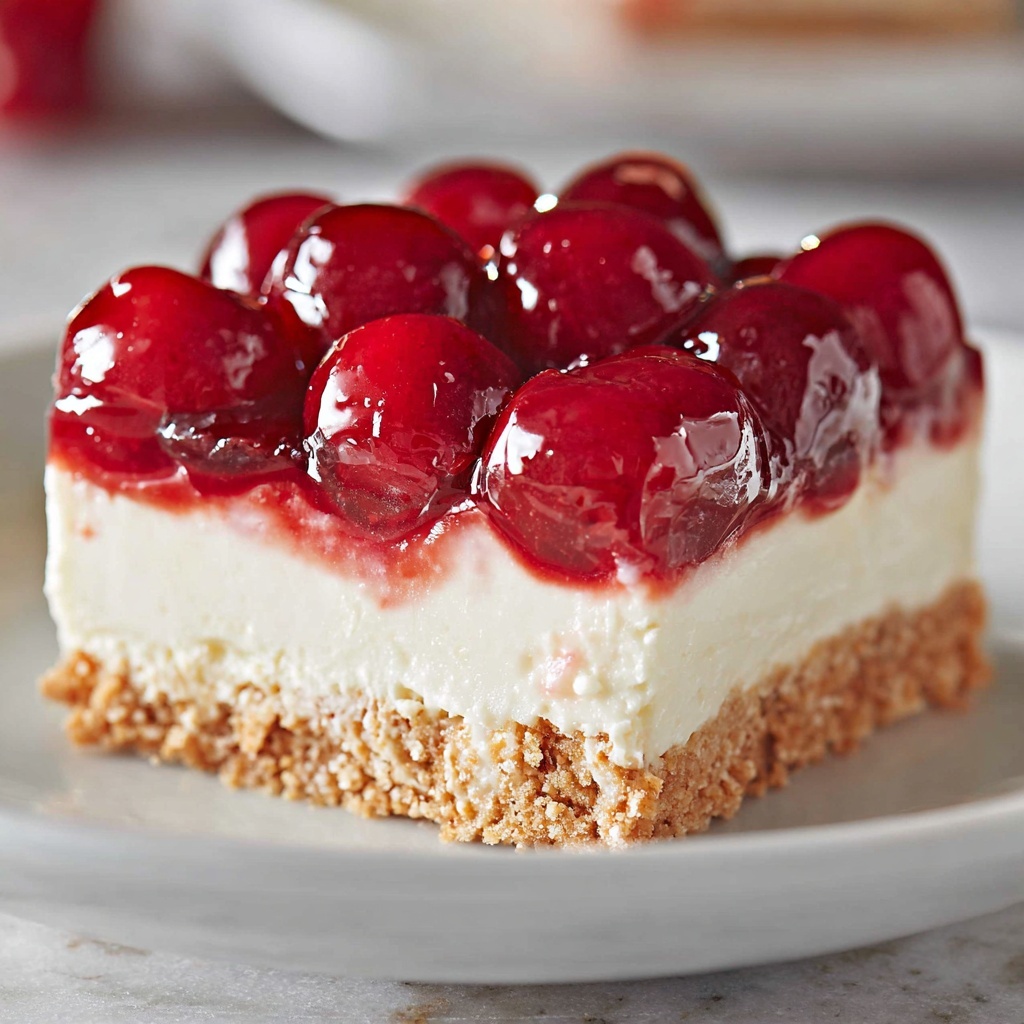
If you’re craving a dessert that’s both delightfully creamy and bursting with sweet-tart cherry goodness, you’re about to fall in love with this No Bake Cherry Cheesecake Bars Recipe. It combines a crispy graham cracker crust with a fluffy cream cheese filling and a luscious cherry topping, all without firing up the oven. Perfect for busy days or spontaneous gatherings, these bars deliver that classic cheesecake flavor in a refreshingly easy and fun-to-make form. Trust me, once you try this recipe, it’s destined to become your go-to treat for any occasion!
Ingredients You’ll Need
Gathering simple, pantry-friendly ingredients is key to making these bars taste incredible. Each component plays its part, from the crumbly crust that gives the perfect crunch to the creamy filling that melts in your mouth and the vibrant cherry topping that adds a pop of color and flavor.
- Graham crackers (9 pieces, 1 sleeve): Crushed into fine crumbs, they create the crunchy foundation for your bars.
- Melted butter (1/2 cup): Binds the crust crumbs together and adds a rich, buttery flavor.
- Granulated sugar (1 tablespoon): Sweetens the crust just enough to balance the tangy filling.
- Cream cheese (16 ounces, softened): The star of the filling, it provides that smooth, creamy texture everyone loves.
- Cool Whip (8 ounces): Lightens the cream cheese filling to make it fluffy and airy without extra fuss.
- Powdered sugar (1 cup): Adds sweetness and helps stabilize the filling for perfect consistency.
- Lemon juice (1 teaspoon): Gives a subtle zing that cuts through the richness beautifully.
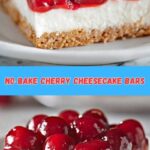
- Cherry pie filling (21 ounces): The glossy, jewel-like topping that seals the deal with its fruity sweetness.
How to Make No Bake Cherry Cheesecake Bars Recipe
Step 1: Prepare the Crust
First, crush those graham crackers until they’re fine crumbs using a food processor or blender. This step is crucial because a fine crumb base creates a compact and sturdy crust. Mix the crumbs in a bowl with melted butter and granulated sugar, which hold the crust together while adding extra flavor.
Step 2: Line Your Pan
Take an 8×8-inch pan and line it with parchment paper, leaving the edges hanging over the sides. This makes it incredibly easy to lift your finished cheesecake out of the pan without any messy scrambling or breakage. Preparation like this always pays off.
Step 3: Form and Chill the Crust
Press the graham cracker crumb mixture firmly into the bottom of the pan. This compact layer will act like a delicious crunchy base to your bars. Pop it in the refrigerator to chill and harden while you whip up the creamy filling.
Step 4: Mix the Cream Cheese Filling
In a large mixing bowl, beat the softened cream cheese until silky smooth with an electric mixer. This step ensures no lumps sneak into your filling. Then, blend in the Cool Whip, powdered sugar, and a splash of lemon juice for brightness. Once perfectly combined, spread this luscious mixture evenly over the chilled crust, and let it rest in the fridge for a few minutes.
Step 5: Add the Cherry Topping
Gently spoon the cherry pie filling over the cream cheese layer, spreading it out with care so each bite has a lovely burst of fruit. Cover the whole pan with plastic wrap or a lid, and let it refrigerate for about 4 hours. This resting time lets the flavors meld and the bars set firmly.
Step 6: Slice and Enjoy
When you’re ready to serve, simply lift the bars out of the pan using the parchment paper edges like handles. Slice into nine generous squares and serve chilled for the creamiest texture and freshest flavor experience.
How to Serve No Bake Cherry Cheesecake Bars Recipe
Garnishes
To elevate your bars, sprinkle a light dusting of powdered sugar or add a few fresh mint leaves on top. For extra indulgence, drizzle some melted white chocolate or scatter chopped nuts over the cherries. These simple touches create a stunning presentation and add texture contrast.
Side Dishes
These cheesecake bars are such a standout dessert that they shine beautifully on their own. But if you want to complement them, consider serving alongside a scoop of vanilla ice cream or fresh whipped cream. A handful of fresh berries or a refreshing fruit salad also pairs nicely, balancing sweetness with natural tartness.
Creative Ways to Present
For parties or special occasions, arrange the bars on a decorative platter surrounded by edible flowers or fresh cherries. You can even serve them in individual clear glasses layered with crushed grahams, filling, and cherry topping for an elegant parfait look. These little creative details make the dessert feel extra special and fun.
Make Ahead and Storage
Storing Leftovers
Pack any leftover bars in an airtight container and keep them in the refrigerator. They maintain their creamy texture and flavor beautifully for up to 4 days, making them a perfect make-ahead treat for busy weeks or unexpected guests.
Freezing
If you want to keep your No Bake Cherry Cheesecake Bars Recipe fresh for longer, freeze them in a sealed container for up to one month. Be sure to thaw them in the refrigerator overnight before serving to restore their creamy, luscious texture.
Reheating
Since these bars are best enjoyed cold and creamy, avoid heating. Instead, simply let refrigerated or thawed bars come to room temperature for about 15 minutes if you prefer them less chilled, but keep in mind they are most delicious when served cold.
FAQs
Can I use fresh cherries instead of cherry pie filling?
Absolutely! Fresh cherries will add a lovely natural sweetness, but you might want to toss them with a little sugar and cornstarch to replicate the thick glaze of the pie filling. This keeps the topping from becoming watery on your cheesecake bars.
Is it possible to make these bars vegan or dairy-free?
Yes, with some substitutions! Use dairy-free cream cheese alternatives, vegan butter, and whipped topping options. Just be sure the texture stays creamy and stable, which might require a bit of experimentation with different brands.
How long do these cheesecake bars need to chill?
The bars need at least 4 hours in the refrigerator to set properly, but leaving them overnight will deliver the best texture and deepen the flavors.
Can I make these bars gluten-free?
Yes! Simply swap regular graham crackers for gluten-free ones. This keeps the crust crunchy and delicious without any gluten content.
What if I don’t have a food processor to crush the graham crackers?
No worries! Just place the crackers in a zip-top bag and crush them gently with a rolling pin or heavy object until they become fine crumbs, perfect for the crust.
Final Thoughts
This No Bake Cherry Cheesecake Bars Recipe is truly a gem in the dessert world—easy to make, bursting with flavor, and downright irresistible. I can’t wait for you to try it and share it with your loved ones. Whether it’s for a casual weekend treat or a festive celebration, these bars deliver pure joy in every bite. Go ahead, whip them up, and enjoy a slice (or two) of happiness!
Print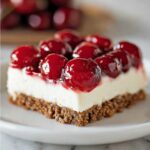
No Bake Cherry Cheesecake Bars Recipe
- Prep Time: 15 minutes
- Cook Time: 0 minutes
- Total Time: 4 hours 15 minutes
- Yield: 9 bars
- Category: Dessert
- Method: No-Cook
- Cuisine: American
Description
These No Bake Cherry Cheesecake Bars offer a creamy, tangy cheesecake layer atop a buttery graham cracker crust, topped with sweet cherry pie filling. Easy to prepare with no oven required, they’re perfect for a refreshing dessert that’s ready in just a few hours of chilling.
Ingredients
Crust
- 9 graham crackers (1 sleeve)
- 1/2 cup butter (melted)
- 1 Tablespoon granulated sugar
Cheesecake Filling
- 16 ounces cream cheese (softened, 2 (8 ounce) packages)
- 8 ounces Cool Whip
- 1 cup powdered sugar
- 1 teaspoon lemon juice
Topping
- 21 ounces cherry pie filling
Instructions
- Prepare the crust: Place the graham crackers in a food processor or blender and pulse into fine crumbs. Transfer the crumbs into a medium mixing bowl and combine with the melted butter and granulated sugar until evenly mixed.
- Line the pan: Line an 8×8-inch pan with parchment paper, leaving extra overhang on the sides to help remove the bars easily later.
- Form the crust: Pour the graham cracker crumb mixture into the lined pan and press it down firmly and evenly to form the crust. Place the pan in the refrigerator to chill and set while preparing the filling.
- Make the cheesecake filling: In a large mixing bowl, beat the softened cream cheese with an electric mixer until smooth and creamy. Add the Cool Whip, powdered sugar, and lemon juice, then beat again until all ingredients are well combined and fluffy. Spread this mixture evenly over the chilled crust. Chill for 5 minutes to set slightly.
- Add the cherry topping: Spread the cherry pie filling evenly over the cream cheese layer. Cover the cheesecake bars with plastic wrap or a lid and refrigerate for at least 4 hours to allow the dessert to fully set and flavors to meld.
- Serve: Use the parchment paper overhang to lift the cheesecake slab from the pan. Place on a cutting board and slice into 9 equal squares. Serve chilled for best flavor and texture.
Notes
- For best results, use softened cream cheese at room temperature to ensure a smooth filling.
- Chilling the bars overnight can enhance the flavor and firmness even more.
- Make sure to press the crust firmly to prevent it from crumbling when slicing.
- This recipe can be customized with other pie fillings like blueberry, strawberry, or peach.
- Store leftovers covered in the refrigerator for up to 4 days.

