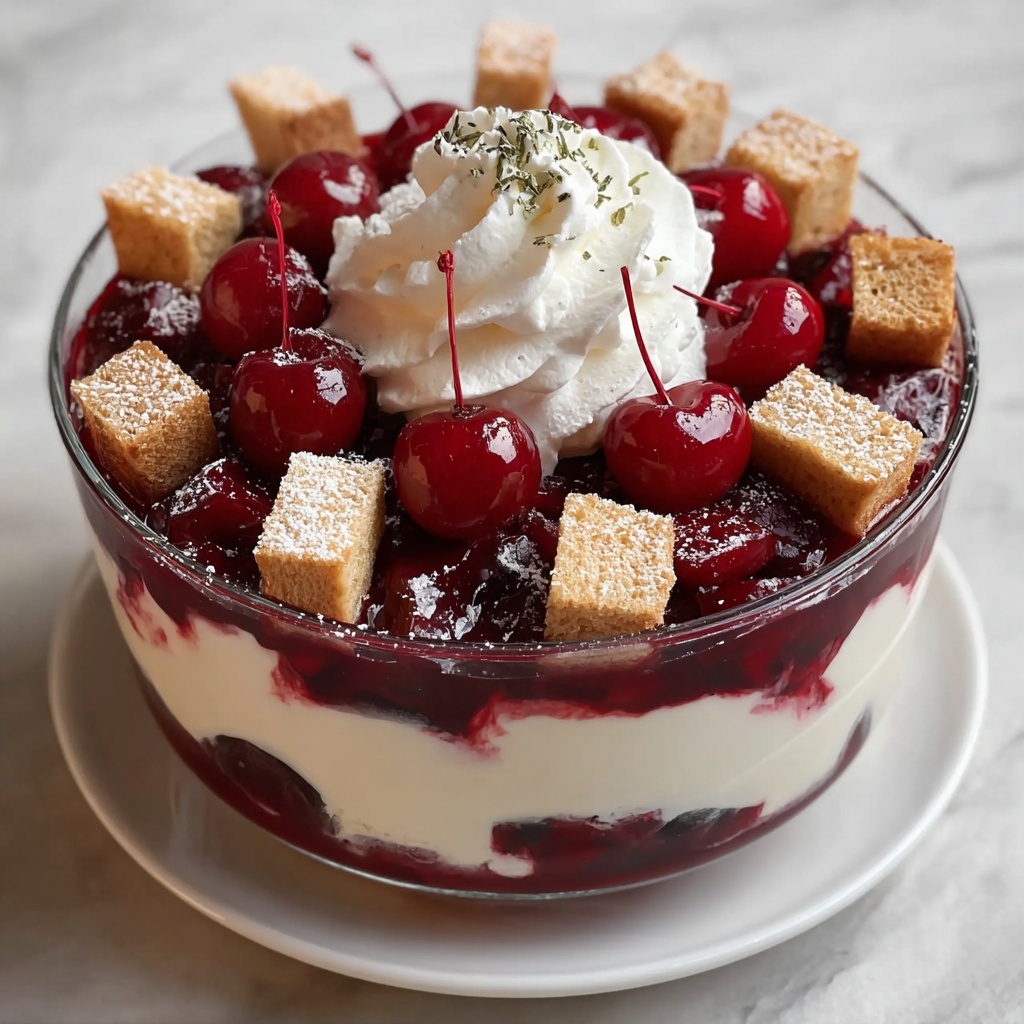
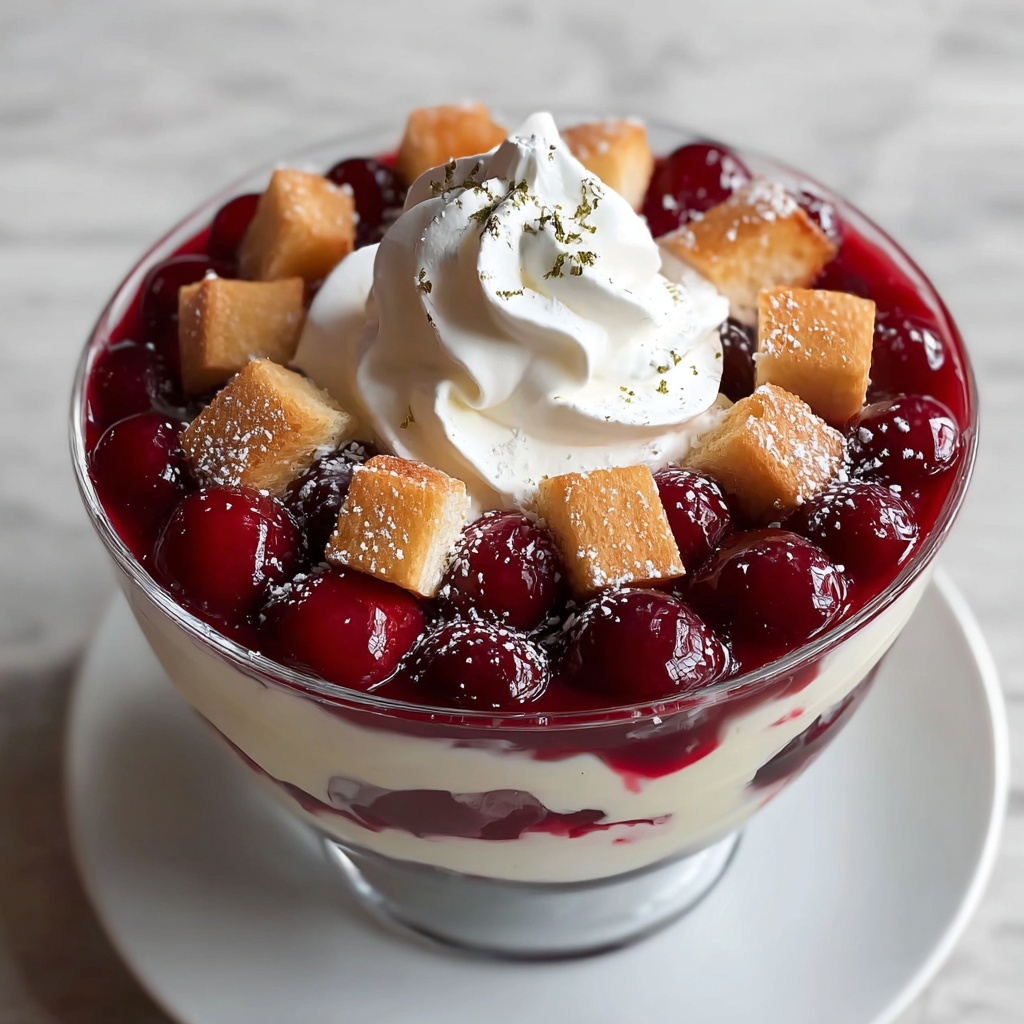
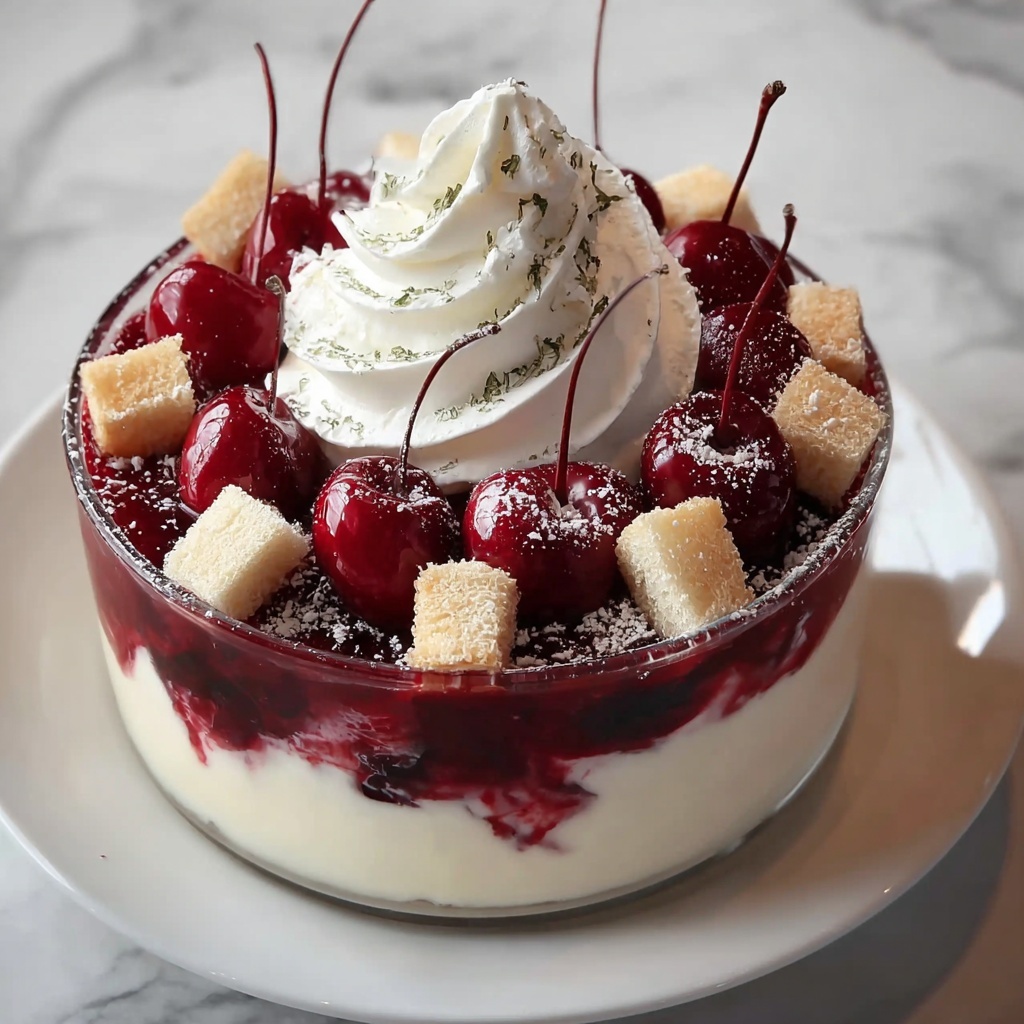
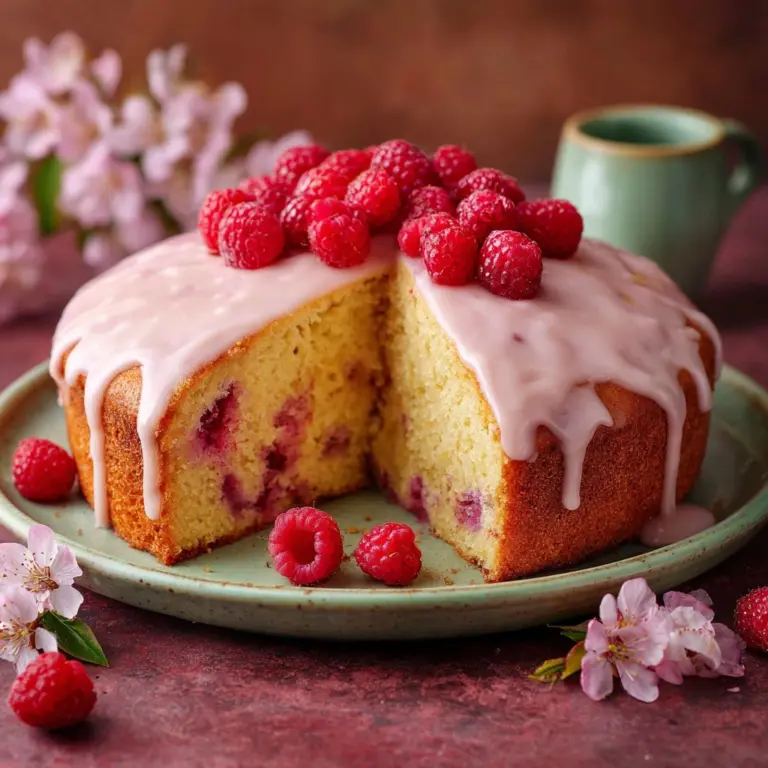
If you’re looking for a dessert that’s as stunning to serve as it is delicious to eat, this Cherry Cheesecake Trifle Recipe will quickly become your new favorite. Layers of rich, creamy cheesecake filling, sweet cherry pie filling, and tender pound cake come together in a beautiful glass dish, creating a luscious treat that’s bursting with flavor and texture. It’s effortless to put together, making it perfect for both everyday indulgences and special gatherings where you want to impress without stress.
Ingredients You’ll Need
Each ingredient in this Cherry Cheesecake Trifle Recipe plays a crucial role. From the smooth cream cheese filling to the vibrant cherry pie, every component adds a unique flavor, texture, or visual pop that brings the dessert to life.
- Cream cheese: Use softened cream cheese for a smooth, creamy base that’s the heart of the cheesecake flavor.
- Powdered sugar: Adds the perfect touch of sweetness without any graininess, blending seamlessly into the cream cheese.
- Vanilla extract: Enhances the cheesecake mixture with a warm, inviting aroma and flavor.
- Whipped topping: Thawed whipped topping lightens the filling, making it fluffy and airy.
- Pound cake: Cubed pound cake offers a sturdy yet soft texture that soaks up the cherry juices beautifully.
- Cherry pie filling: This sweet-tart filling is the star fruit element, shining with vibrant color and flavor.
- Fresh cherries (optional): Perfect for garnish, these add a fresh, natural touch and an extra burst of cherry goodness.
How to Make Cherry Cheesecake Trifle Recipe
Step 1: Prepare the Cheesecake Filling
Start by beating the softened cream cheese in a large bowl with an electric mixer on medium speed until it’s completely smooth and creamy. This ensures a luscious texture in your filling that will melt in your mouth.
Step 2: Sweeten and Flavor the Filling
Slowly add the powdered sugar and vanilla extract to the cream cheese, continuing to beat until everything is well combined and silky. This step brings in the classic cheesecake sweetness and a hint of fragrant vanilla that everyone will love.
Step 3: Fold in the Whipped Topping
Using a spatula, gently fold in the thawed whipped topping until the mixture is light and fluffy. This adds essential airiness, balancing the creaminess with a delicate texture that will contrast beautifully with the pound cake and cherry layers.
Step 4: Layer the Pound Cake Cubes
Place a layer of 1-inch pound cake cubes at the bottom of your trifle dish or a large glass bowl. These cubes act like little sponges, soaking up the flavors from the layers above and creating a soft, cake-like base for your trifle.
Step 5: Add the Cream Cheese Mixture
Spread about a third of the creamy cheesecake filling evenly over the pound cake layer. Smooth it out gently to create an inviting layer of rich, tangy goodness that contrasts perfectly with the cake’s texture.
Step 6: Spoon on the Cherry Pie Filling
Carefully spread a third of the cherry pie filling on top of the cream cheese layer, pushing it out to the edges. The vibrant cherries with their sweet syrup add bright flavor and beautiful color, making each bite a little burst of fruitiness.
Step 7: Repeat the Layers
Continue layering the pound cake, cream cheese mixture, and cherry pie filling two more times, ensuring that you finish with the cherry pie filling on top for a visually stunning final layer filled with glossy red jewels.
Step 8: Chill the Trifle
Pop your assembled trifle into the refrigerator for at least two hours. This chilling time is essential—it allows the flavors to mingle and the layers to set, resulting in a dessert that’s refreshing and perfectly melded.
Step 9: Garnish Before Serving
Just before serving, decorate the top with fresh cherries if you have them on hand. Not only do they look gorgeous, but they also add a delightful freshness to the rich, creamy trifle.
How to Serve Cherry Cheesecake Trifle Recipe
Garnishes
Fresh cherries, mint leaves, or even a sprinkle of toasted almonds make wonderful garnishes that elevate your Cherry Cheesecake Trifle Recipe to a show-stopping centerpiece. These finishing touches bring a pop of color and an extra layer of texture that’s sure to dazzle your guests.
Side Dishes
Since this trifle is quite rich and indulgent, pairing it with a light fruit salad or a simple cup of herbal tea can complement its flavors beautifully. These lighter accompaniments help balance the richness on the palate and round out your dessert course perfectly.
Creative Ways to Present
This trifle shines when served in a clear glass bowl so the vivid layers can be admired before each spoonful. For a twist, try individual clear cups or small mason jars for personal servings that look charming and make portioning a breeze at parties or gatherings.
Make Ahead and Storage
Storing Leftovers
Leftover trifle can be covered tightly with plastic wrap and stored in the refrigerator for up to three days. The flavors will continue to deepen, making each subsequent serving just as delightful—if not more so!
Freezing
Because of the whipped topping and fresh fruit, freezing isn’t recommended for this Cherry Cheesecake Trifle Recipe. The texture of the whipped topping and cherries can change unfavorably once frozen and thawed.
Reheating
This dessert is best enjoyed chilled and does not require reheating. Attempting to warm it up can cause the whipped topping to separate and the textures to become less appealing, so keep it cold and enjoy every cool, creamy bite.
FAQs
Can I use fresh cherries instead of canned pie filling?
Absolutely! If you want a fresher, less sweet option, fresh cherries cooked slightly with sugar and a little lemon juice can be a fantastic substitute. Just make sure they’re thickened enough to hold their shape in the trifle.
Is it possible to make this trifle dairy-free?
Yes, you can swap out cream cheese and whipped topping for dairy-free alternatives like cashew cream cheese and coconut whipped cream to make this recipe suitable for those avoiding dairy.
How far in advance can I assemble this trifle?
You can assemble the trifle up to 24 hours in advance and keep it covered in the fridge. This actually gives the flavors even more time to meld, making your dessert taste even better by the time you serve it.
What can I use if I don’t have pound cake?
Vanilla sponge cake, angel food cake, or even store-bought ladyfingers are excellent alternatives that deliver a similar texture and absorb the flavors beautifully.
Can I make individual servings instead of one big trifle?
Yes! Using small glass jars or dessert cups to layer the ingredients makes for an elegant presentation and allows easy portion control, perfect for parties or packed lunches.
Final Thoughts
I truly hope you give this Cherry Cheesecake Trifle Recipe a try because it’s one of those desserts that feels like a celebration in every scoop. It’s easy to make, incredibly delicious, and looks so elegant that it will impress anyone lucky enough to dig in. Once you taste the delightful layers of creamy cheesecake, sweet cherries, and tender cake, you’ll wonder how you ever lived without it.
Print
Cherry Cheesecake Trifle Recipe
- Prep Time: 0h 20m
- Cook Time: 0h 0m
- Total Time: 2h 20m
- Yield: 8 servings
- Category: Dessert
- Method: No-Cook
- Cuisine: American
Description
A quick and delicious Cherry Cheesecake Trifle featuring layers of creamy vanilla-infused cream cheese mixture, sweet cherry pie filling, and buttery pound cake cubes. This no-bake dessert is assembled effortlessly and chilled to meld the flavors, making it perfect for potlucks, family gatherings, or any festive occasion.
Ingredients
Cream Cheese Mixture
- 1 package (8 ounces) cream cheese, softened
- 1 cup powdered sugar
- 1 teaspoon vanilla extract
- 1 container (8 ounces) whipped topping, thawed
Assembly
- 1 package (14 ounces) pound cake, cut into 1-inch cubes
- 1 can (21 ounces) cherry pie filling
- Fresh cherries, for garnish (optional)
Instructions
- Prepare Cream Cheese Mixture: In a large mixing bowl, beat the softened cream cheese with an electric mixer on medium speed until smooth and creamy.
- Add Sugar and Vanilla: Gradually add the powdered sugar and vanilla extract to the cream cheese, continuing to beat until well combined.
- Fold in Whipped Topping: Gently fold in the thawed whipped topping with a spatula until fully incorporated and fluffy.
- Layer Pound Cake: Place a layer of pound cake cubes at the bottom of a trifle dish or large glass bowl.
- Layer Cream Cheese Mixture: Spread a third of the cream cheese mixture evenly over the pound cake layer.
- Layer Cherry Pie Filling: Spoon a third of the cherry pie filling over the cream cheese layer, spreading it carefully to the edges.
- Repeat Layers: Repeat layers of pound cake, cream cheese mixture, and cherry pie filling two more times, finishing with cherry pie filling on top.
- Chill: Refrigerate the assembled trifle for at least 2 hours to allow the flavors to meld.
- Garnish and Serve: Before serving, optionally garnish with fresh cherries for added color and flavor.
Notes
- Make sure the cream cheese is fully softened to ensure a smooth mixture without lumps.
- Thaw whipped topping completely before folding it into the cream cheese mixture to maintain fluffiness.
- Use a clear trifle dish or glass bowl to showcase the beautiful layers.
- The dessert can be prepared a day ahead to enhance the flavor melding.
- Fresh cherries are optional but add a fresh burst and visual appeal.


