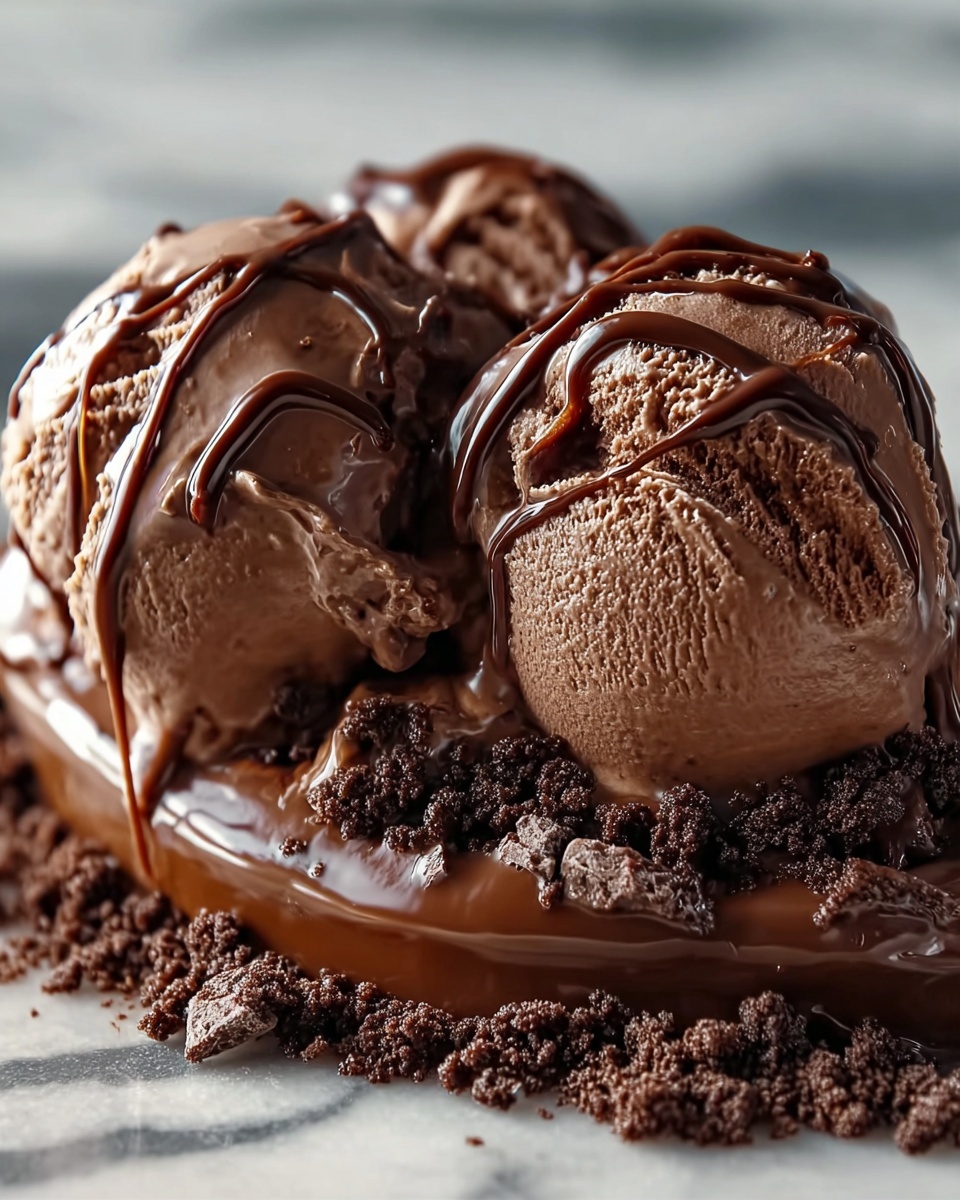
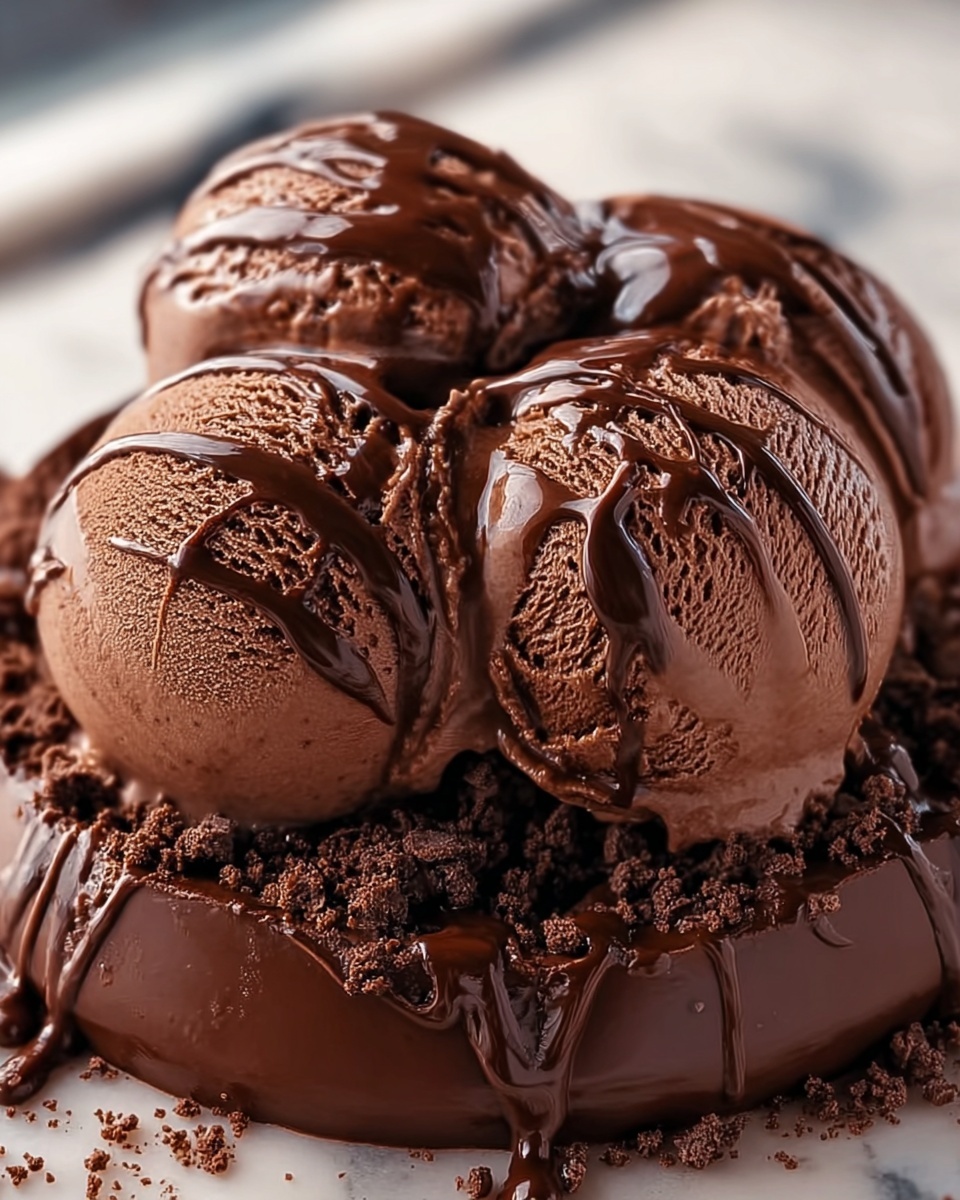
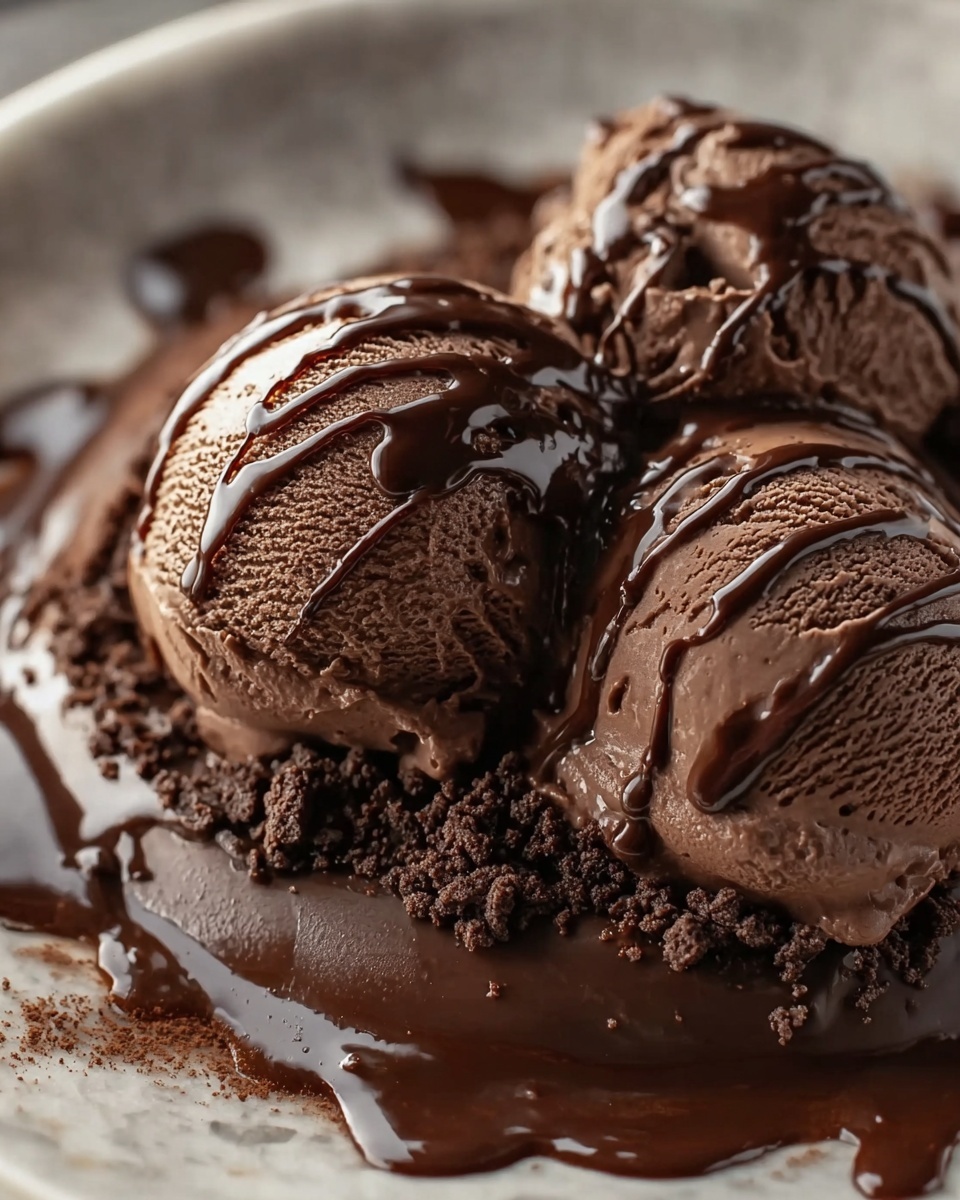
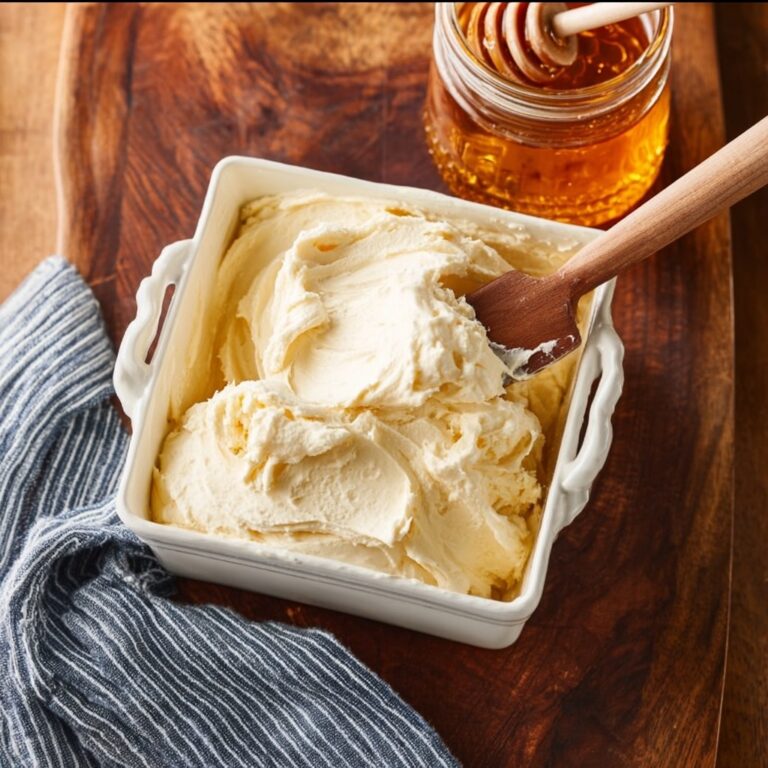
If you’ve ever dreamed of creating the richest, creamiest treat right in your own kitchen, this Homemade Chocolate Ice Cream Recipe will make that dream a delicious reality. Bursting with deep cocoa flavor and a smooth, velvety texture, this no-churn recipe is perfect for chocolate lovers of all ages. It’s incredibly simple to put together, relies on everyday ingredients, and promises dessert results that feel so indulgent, you’ll wonder why you ever bought ice cream from the store.
Ingredients You’ll Need
Gathering the right ingredients is the first step to crafting this luscious chocolate ice cream. Each element plays a key role, from creating the perfect creamy base to delivering that rich chocolate punch that makes this recipe irresistible.
- 2 cups heavy whipping cream: Using cold heavy cream helps you whip up those stiff peaks essential for a light, airy texture.
- 1 (14 oz) can sweetened condensed milk: This adds luscious sweetness and creaminess without needing extra sugar.
- 1/2 cup unsweetened cocoa powder: Provides intense, natural chocolate flavor and a gorgeous dark color.
- 1/2 cup semi-sweet chocolate chips, melted and slightly cooled: Melting these amplifies the chocolate richness while keeping the texture smooth.
- 1 teaspoon vanilla extract: A splash of vanilla brightens and rounds out all the chocolatey goodness.
- Pinch of salt: Just a little salt balances the sweetness and enhances the overall flavor depth.
How to Make Homemade Chocolate Ice Cream Recipe
Step 1: Whip the Heavy Cream to Perfection
Start by whipping your cold heavy cream in a large bowl until it forms stiff peaks. This step is key to achieving that delightfully light and fluffy texture that will carry the flavor beautifully. Don’t rush—watch those peaks hold their shape nicely without becoming grainy.
Step 2: Prepare Your Chocolate Base
In a separate bowl, whisk together the sweetened condensed milk, unsweetened cocoa powder, melted chocolate, vanilla extract, and salt until you have a smooth, glossy mixture. This decadent chocolate base is where all that intense flavor begins, so take your time to blend everything thoroughly.
Step 3: Fold Gently to Keep it Airy
Now, carefully fold the chocolate mixture into the whipped cream. The goal here is to combine everything without deflating your whipped cream’s airy texture. Gentle folding ensures that each bite stays light while still packed with rich chocolate flavor.
Step 4: Freeze Until Firm
Transfer the combined mixture into a freezer-safe container and smooth the top for an even finish. Cover it tightly with a lid or plastic wrap to protect your ice cream from freezer burn and unwanted odors.
Step 5: Chill and Await the Magic
Pop your container into the freezer and let it chill for at least 6 hours or better yet, overnight. Patience is a virtue here since this resting time allows the ice cream to firm up to that perfect scoopable consistency.
Step 6: Scoop and Enjoy
Once fully frozen, scoop out your luscious homemade chocolate ice cream and prepare to indulge. Whether you enjoy it plain or dress it up with toppings, this step is pure joy in a bowl.
How to Serve Homemade Chocolate Ice Cream Recipe
Garnishes
Take your ice cream experience up a notch by adding toppings like freshly chopped nuts, a drizzle of caramel or hot fudge, or a sprinkle of sea salt flakes. Even a handful of fresh berries can offer a bright contrast that highlights the chocolate notes beautifully.
Side Dishes
A warm brownie or a slice of moist chocolate cake is an exceptional pairing with this homemade chocolate ice cream. The contrasting temperatures and textures create a delightful balance that feels like a luxurious dessert platter made just for you and your friends.
Creative Ways to Present
For a fun twist, serve your ice cream in waffle cones or hollowed-out cookies. You can also make an elegant ice cream sandwich by placing a scoop between two chocolate chip cookies. Presentation can turn this homemade chocolate ice cream recipe into a show-stopping treat especially for gatherings or celebrations.
Make Ahead and Storage
Storing Leftovers
Should you have any leftovers, keep them stored in an airtight container in the freezer to prevent ice crystals and maintain freshness. This ice cream stays delicious for up to two weeks if properly sealed.
Freezing
The no-churn nature of this recipe means you can easily freeze it after mixing without any special equipment. Just make sure the container is freezer-safe and sealed well to avoid picking up other freezer odors or developing freezer burn.
Reheating
You won’t need to reheat ice cream, but if it becomes too firm to scoop, simply leave it at room temperature for 5 to 10 minutes to soften slightly. This short resting time makes scooping effortless while preserving the creamy texture.
FAQs
Can I make this Homemade Chocolate Ice Cream Recipe without an ice cream maker?
Absolutely! This recipe is designed to be no-churn, so you don’t need any fancy equipment. Just whip, fold, and freeze—the process is straightforward and perfect for any home cook.
What kind of chocolate chips should I use?
Semi-sweet chocolate chips work best here as they provide a perfect balance of sweetness without overpowering the cocoa powder’s rich flavor. You can experiment with dark or milk chocolate chips depending on how intense or sweet you want your ice cream.
Can I substitute the sweetened condensed milk?
Sweetened condensed milk is key for the creamy texture and sweetness, so it’s best not to replace it. However, if needed, you might experiment with a mixture of cream and sugar, but results may vary.
How long can I keep this ice cream in the freezer?
When stored properly in an airtight container, your homemade chocolate ice cream can last up to two weeks. Beyond that, texture and flavor might start to diminish.
Is this recipe suitable for making other flavors?
Definitely! The base method is fantastic for mixing in different flavorings like mint extract, coffee, or peanut butter. Just swap or add ingredients to customize your own delicious creations.
Final Thoughts
Trust me, once you try this homemade chocolate ice cream recipe, you’ll never want to buy store-bought again. It’s simple, rich, and incredibly satisfying—perfect for any occasion that calls for a joyful scoop of chocolate bliss. So grab your ingredients, have fun whipping it up, and share the sweet rewards with everyone you love!
Print
Homemade Chocolate Ice Cream Recipe
- Prep Time: 15 minutes
- Cook Time: 0 minutes
- Total Time: 6 hours 15 minutes
- Yield: 6 to 6.6 servings
- Category: Dessert
- Method: No-Cook
- Cuisine: American
Description
This homemade chocolate ice cream recipe is rich, creamy, and easy to make without an ice cream maker. It uses whipped heavy cream combined with a smooth chocolate base made from sweetened condensed milk, cocoa powder, and melted chocolate, then frozen until firm. Perfect for a decadent treat any time.
Ingredients
Chocolate Base
- 1 (14 oz) can sweetened condensed milk
- 1/2 cup unsweetened cocoa powder
- 1/2 cup semi-sweet chocolate chips, melted and slightly cooled
- 1 teaspoon vanilla extract
- Pinch of salt
Whipped Cream
- 2 cups heavy whipping cream, cold
Instructions
- Whip Cream: In a large bowl, whip the cold heavy cream using an electric mixer until stiff peaks form. This will give the ice cream a light and airy texture.
- Mix Chocolate Base: In a separate bowl, whisk together the sweetened condensed milk, unsweetened cocoa powder, melted semi-sweet chocolate, vanilla extract, and a pinch of salt until smooth and well combined.
- Fold Together: Gently fold the chocolate mixture into the whipped cream. Be careful to combine fully while keeping the mixture light and fluffy to retain a creamy texture.
- Freeze: Pour the blended mixture into a freezer-safe container. Smooth the top with a spatula, then cover the container tightly with a lid or plastic wrap.
- Chill: Place the container in the freezer and chill for at least 6 hours or preferably overnight to allow the ice cream to firm up properly.
- Serve: Scoop the ice cream into bowls or cones and enjoy plain or with your favorite toppings such as sprinkles, nuts, or fresh fruit.
Notes
- For best results, ensure the heavy cream is very cold before whipping.
- If you prefer a more intense chocolate flavor, increase the cocoa powder by 1-2 tablespoons.
- You can substitute semi-sweet chocolate chips with bittersweet or milk chocolate depending on your taste preference.
- Store the ice cream covered in the freezer to prevent ice crystals from forming.
- Let the ice cream sit at room temperature for 5 minutes before scooping for easier serving.


