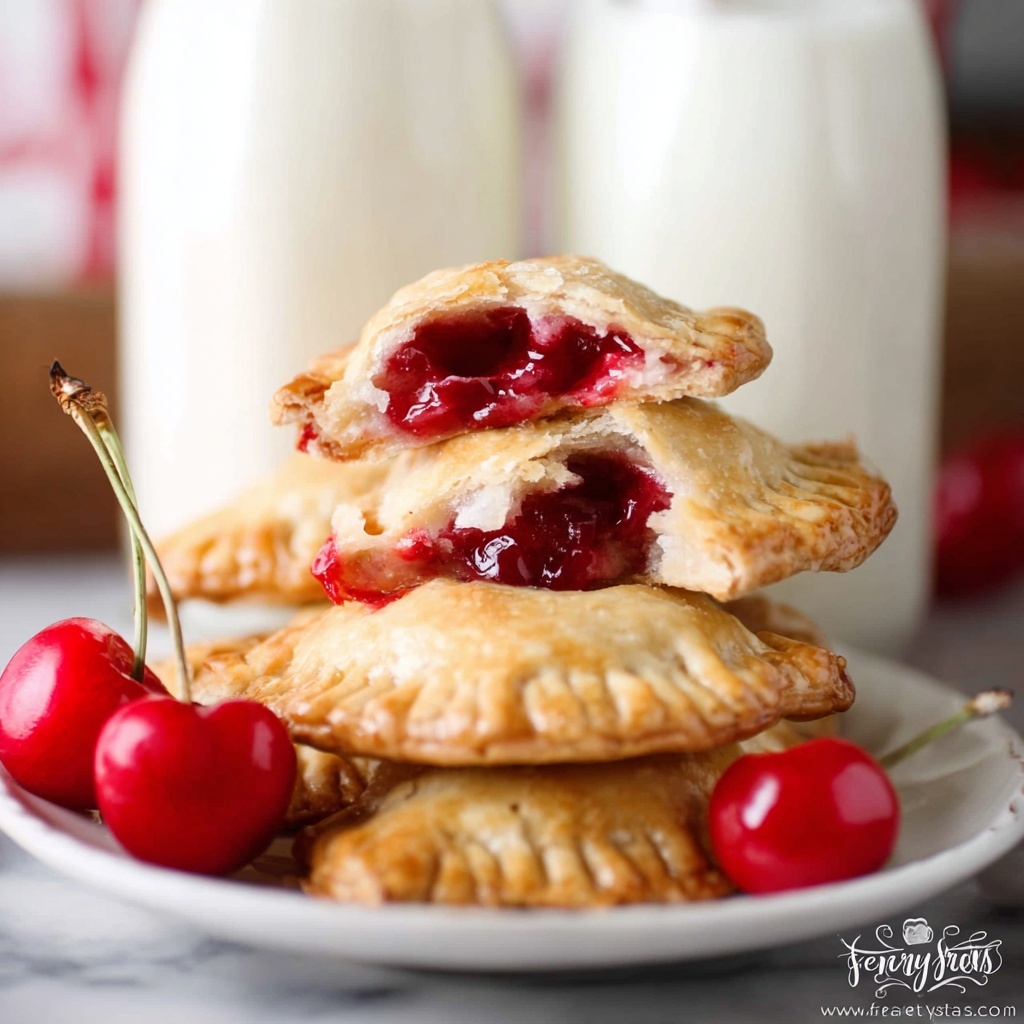
If you’ve ever dreamed of biting into a flaky, golden crust filled with the bright, luscious flavor of cherry pie filling, then this Air Fryer Cherry Hand Pies Recipe is here to make that dream come true. These charming little treats bring together the perfect balance of sweetness and flakiness, all cooked to perfection in an air fryer, which means crisp edges and minimal mess. Whether you want a quick dessert for guests or a fun way to enjoy homemade hand pies without heating up your oven, this recipe will quickly become your new go-to. Trust me, the ease and the flavor combo will make you want to whip up these delightful cherry hand pies again and again!
Ingredients You’ll Need
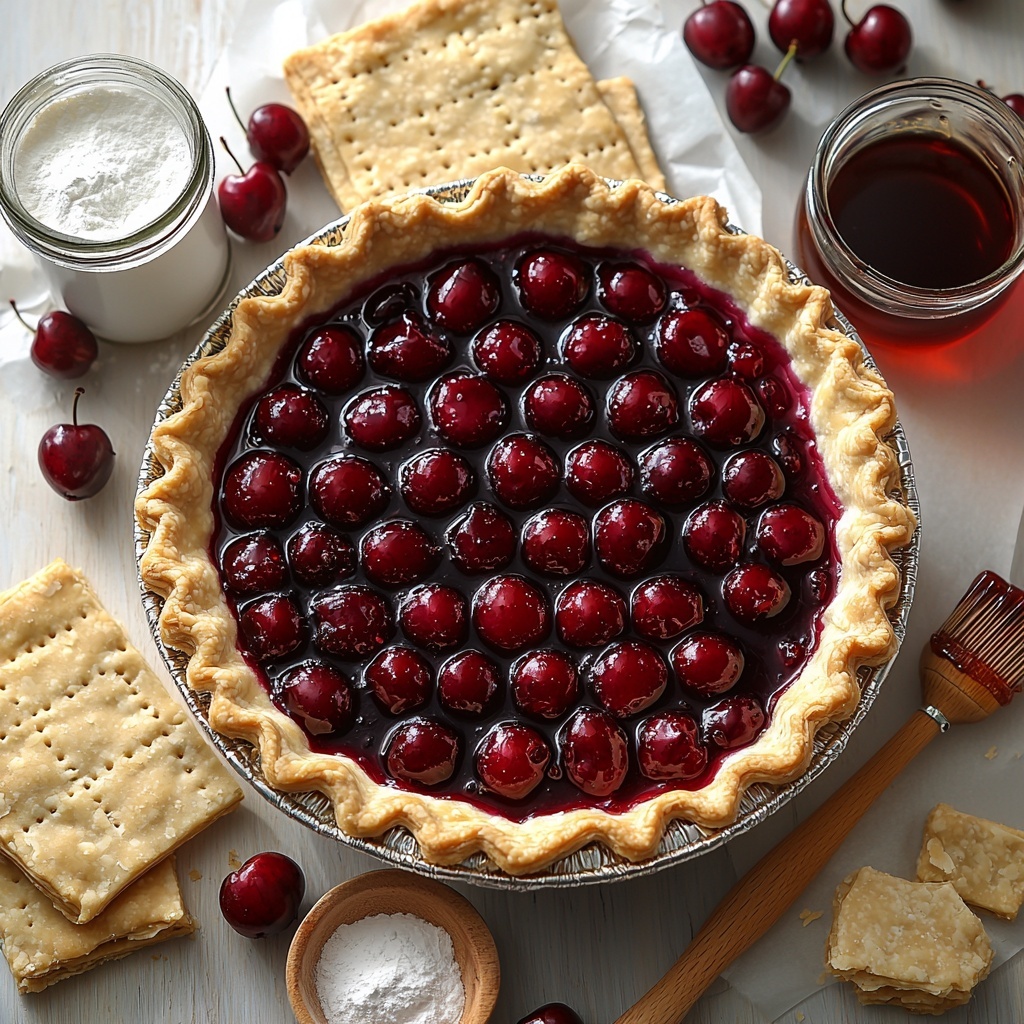
Getting the ingredients right is half the joy of baking these hand pies. Each one plays a special role in creating the perfect taste, texture, and appearance. From the luscious cherry pie filling that brings vibrant color and fruity sweetness to the flaky pie crust that creates those irresistible layers, these essentials are simple but oh-so important.
- 21 oz can cherry pie filling: The star of the show, packed with juicy cherries and thick syrup for that classic pie flavor.
- 2 refrigerated pie crusts: Convenient and buttery, these crusts turn golden and flaky when air fried.
- Water for sealing crusts: A simple helper to make sure your hand pies close nicely without any filling leaks.
- 1 cup powdered sugar: For the glaze, it adds a delicate sweetness and beautiful finish.
- 1-3 tbsp whole milk: Used to adjust the glaze consistency to just the right smoothness.
- 1 & 1/2 tbsp corn syrup: Adds shine and helps the glaze set for that perfect glossy look.
How to Make Air Fryer Cherry Hand Pies Recipe
Step 1: Prepare the Pie Crusts
Bring your refrigerated pie crusts to room temperature so they’re easier to work with and won’t crack when rolling. Unroll each crust gently onto parchment paper, then use a 4-inch round cookie or biscuit cutter to cut out as many rounds as possible. This sets your base dough perfectly sized for hand pies.
Step 2: Re-roll the Excess Dough
Don’t toss that leftover dough! Gather it into a ball and carefully roll it out again to the same thickness as your original crust. Cut additional rounds so that altogether you have about 12 circles, maximizing your dough without a single scrap wasted.
Step 3: Fill the Crusts with Cherry Pie Filling
Spoon generous scoops of the cherry pie filling right into the center of six of your dough rounds. Be sure to leave enough space around the edges to seal the pies tightly without any ooze escaping during cooking.
Step 4: Create Vent Holes in Remaining Crusts
Use a small knife to cut a few venting holes in the middle of the six remaining dough rounds. These vents are crucial—they let steam escape while cooking so your hand pies avoid sogginess or bursting seams.
Step 5: Moisten the Edges for Easy Sealing
Brush the edges of the vented crusts lightly with water using a pastry brush. This moisture acts like glue to help the filled crusts stick firmly together when you press them closed.
Step 6: Seal Your Hand Pies
Place the moistened crusts on top of the filled ones, carefully aligning the edges. Press down around the sides firmly to seal, and then gently turn up the edges to form a raised border—this makes sure no cherry filling escapes during air frying.
Step 7: Preheat and Arrange in the Air Fryer
Preheat your air fryer to 350°F if your model has a preheat function—this optional step helps ensure even cooking. Place the hand pies in the basket (four will usually fit at once) and spray lightly with non-stick baking spray to encourage that golden crust perfection.
Step 8: Cook Until Golden and Flaky
Air fry your hand pies for about 10 minutes, or until the crust is beautifully browned and flaky. The air fryer works its magic here, crisping the edges perfectly without drying out the filling.
Step 9: Whip Up the Glaze
While the pies finish cooking, whisk together powdered sugar, whole milk, and corn syrup until smooth. This glossy glaze will give your hand pies a shiny, sweet finish that makes them even more irresistible.
Step 10: Glaze the Warm Hand Pies
Brush the warm hand pies generously with the glaze right after they come out of the air fryer and let it dry and set. This extra step adds a lovely sheen and a touch of sweetness that makes these hand pies truly special.
How to Serve Air Fryer Cherry Hand Pies Recipe
Garnishes
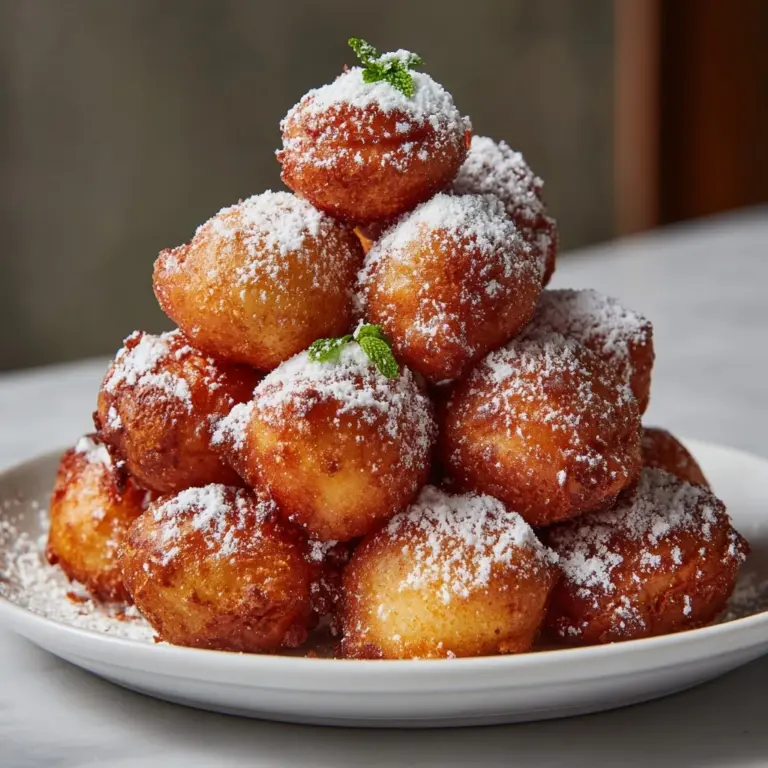
A sprinkle of powdered sugar or freshly chopped mint leaves can add a delicate touch of elegance, while a few fresh cherries placed on the side echo the pie’s vibrant filling and give a fresh contrast to the baked sweetness.
Side Dishes
These hand pies pair wonderfully with a scoop of vanilla ice cream or a dollop of whipped cream. For something lighter, serve alongside a simple green salad with a citrus vinaigrette to balance out the richness.
Creative Ways to Present
Serve your Air Fryer Cherry Hand Pies Recipe on a rustic wooden board lined with parchment paper for a cozy, homemade vibe. You can also arrange them in a decorative cake stand for parties or family gatherings to make them the star of your dessert table.
Make Ahead and Storage
Storing Leftovers
Once completely cool, store leftover hand pies in an airtight container at room temperature for up to two days. This method keeps the crust tender and the filling fresh, perfect for a snack or quick dessert later on.
Freezing
If you want to make them ahead of time, prepare and seal the hand pies but don’t cook them. Wrap each individually in plastic wrap and then place them in a freezer-safe bag. They’ll keep well for up to two months.
Reheating
To enjoy frozen or refrigerated hand pies, reheat them in the air fryer at 350°F for about 5 to 7 minutes until warmed through and crisp again. This refreshes their flaky texture without drying out the filling.
FAQs
Can I use fresh cherries instead of canned pie filling?
Absolutely! You can mix fresh or frozen cherries with sugar, cornstarch, and a bit of lemon juice to create your own filling. Just be sure to cook it down until thickened before filling the pies to avoid soggy crusts.
What if I don’t have a 4-inch cookie cutter?
No worries! You can use any round object about 4 inches in diameter like a drinking glass or small bowl to cut your dough rounds. Just press firmly and carefully to get a nice, clean edge.
Can I make these hand pies without an air fryer?
If you don’t have an air fryer, baking them in a conventional oven at 375°F for about 15 to 20 minutes works well. Keep an eye on them to achieve that golden brown color and flaky texture.
How do I prevent the hand pies from bursting open?
Make sure to seal the edges well using water and press firmly. Also, cutting vent holes is crucial to let steam escape so the pies don’t burst as they cook.
Can I substitute the glaze with something else?
You can skip the glaze or drizzle the pies with melted white chocolate or a simple dusting of cinnamon sugar for a different but delicious finish.
Final Thoughts
This Air Fryer Cherry Hand Pies Recipe brings together ease, flavor, and that wonderful feeling of homemade baking all in one delightful package. It’s perfect for sharing with friends or savoring as a sweet personal treat. Once you try these flaky, fruit-filled beauties, you’ll keep coming back for more. I can’t wait for you to make them and experience just how simple and rewarding this recipe truly is!
Print
Air Fryer Cherry Hand Pies Recipe
- Prep Time: 30 minutes
- Cook Time: 10 minutes
- Total Time: 40 minutes
- Yield: 6 hand pies
- Category: Dessert
- Method: Air Frying
- Cuisine: American
Description
These Air Fryer Cherry Hand Pies are a delightful, portable dessert featuring flaky pie crust filled with sweet cherry pie filling. Perfectly browned and crispy thanks to the air fryer, they offer a charming glazed finish that adds a touch of sweetness and shine. Easy to make and perfect for anytime snacking or dessert.
Ingredients
Filling and Crust
- 21 oz can cherry pie filling
- 2 refrigerated pie crusts
- Water for sealing crusts
Glaze
- 1 cup powdered sugar
- 1–3 tbsp whole milk (add until desired consistency)
- 1 & 1/2 tbsp corn syrup
Instructions
- Prepare the crust: Bring the refrigerated pie crusts to room temperature. Unroll each crust onto a sheet of parchment paper and use a 4-inch round cookie or biscuit cutter to cut out as many rounds as possible.
- Roll out remaining dough: Gather the excess dough into a ball and roll it out again with a rolling pin to cut additional 4-inch rounds. Aim to get a total of 12 rounds from the two crusts, maintaining the same thickness as the originals.
- Fill the crusts: Place a scoop of cherry pie filling in the center of six of the crust rounds.
- Cut vents in top crusts: On the remaining six crusts, cut venting holes in the center to allow steam to escape during cooking, preventing the pies from separating at the seams.
- Seal the hand pies: Lightly brush the edges of the filled crusts with water using a pastry brush. Place a vented crust on top, lining up edges, and press all around the edges to seal.
- Crimp the edges: Turn up the sides of the crust edges to help maintain the seal during air frying.
- Preheat air fryer: (Optional) Preheat your air fryer to 350°F if your model allows preheating.
- Air fry the pies: Place the hand pies into the air fryer basket (four at a time), spray them lightly with non-stick baking spray, and cook for about 10 minutes or until the pies turn golden brown and the crusts are flaky.
- Make the glaze: While the pies cook, whisk together powdered sugar, whole milk (start with 1 tbsp and add up to 3 tbsp for desired consistency), and corn syrup until smooth.
- Glaze the hand pies: Brush the warm hand pies with the glaze and allow it to set and dry before serving.
Notes
- Ensure the dough is rolled to an even thickness for consistent baking.
- The vent holes are important to prevent steaming and soggy crusts.
- You can adjust the glaze consistency by adding milk slowly.
- If your air fryer is smaller, cook hand pies in batches.
- Store cooled hand pies in an airtight container to maintain freshness.


