
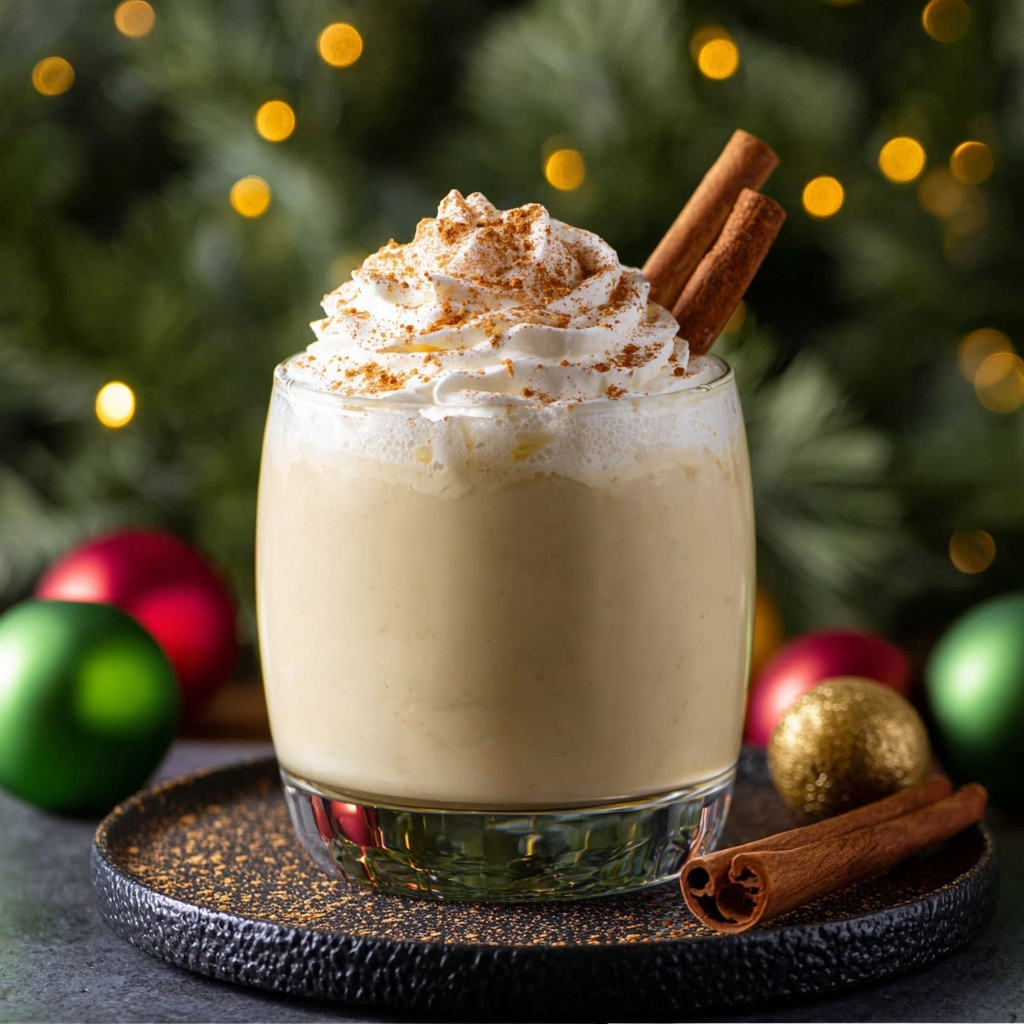
There’s something incredibly comforting and festive about a rich, creamy glass of eggnog, especially around the holidays. This Easy Homemade Eggnog Recipe delivers that classic cozy flavor with a smooth texture, gently spiced with nutmeg and cloves. It’s truly a crowd-pleaser that feels made-from-scratch, yet comes together quickly and simply, making it a perfect treat to share with family and friends. Whether you’re a seasoned eggnog lover or just curious to try making it yourself, this recipe promises warmth and delight in every sip.
Ingredients You’ll Need
Gathering the right ingredients for this Easy Homemade Eggnog Recipe is a breeze, with each item playing a unique role in crafting that luscious texture and nostalgic flavor. From creamy dairy to warming spices, these essentials come together to create a truly indulgent drink.
- 6 large egg yolks: Provide richness and a velvety base for the eggnog’s signature creaminess.
- 2/3 cup sugar: Sweetens without overpowering, balancing the spices perfectly.
- 1-1/2 cups heavy whipping cream: Adds luxurious thickness and a silky mouthfeel.
- 3 cups whole milk: Lightens the cream while keeping the drink smooth and drinkable.
- 1/4 teaspoon ground nutmeg: Brings warm, aromatic spice essential for authentic eggnog taste.
- 1/8 teaspoon ground cloves: Offers a subtle, slightly sweet depth to the spice blend.
- 1 pinch salt: Enhances all the flavors, lifting the sweetness and spices beautifully.
- 1/2 teaspoon vanilla extract: Adds a fragrant sweetness that rounds out the flavor profile.
- Optional toppings (ground cinnamon, ground nutmeg, cinnamon sticks, whipped cream): Perfect for adding festive decoration and extra flavor when serving.
How to Make Easy Homemade Eggnog Recipe
Step 1: Whisk the Egg Yolks
Begin by combining the egg yolks and sugar in a saucepan. Whisk them together until the mixture becomes lighter in color and has a creamy texture. This step is crucial to build the foundation of the eggnog’s silky richness and to help dissolve the sugar evenly. Take your time to get a smooth, pale blend—that’s your signal you’re on the right track.
Step 2: Incorporate Liquids and Spices
Next, whisk in the heavy cream, whole milk, ground nutmeg, ground cloves, and a pinch of salt. These ingredients all blend into the egg yolk mixture to create that iconic eggnog flavor and texture. The spices add a wonderful warmth, and the salt gently rounds out the sweetness, preventing it from feeling flat or one-dimensional.
Step 3: Warm and Simmer Gently
Place your saucepan over medium-low heat and start warming the mixture slowly, stirring frequently to prevent scorching. Once it’s warm, raise the heat to medium and bring it up to a gentle simmer. It’s essential to whisk constantly here to keep the texture smooth and avoid scrambling the eggs. Use an instant-read thermometer and remove the pan from heat as soon as the mixture reaches 160-165°F. This careful heating cooks the eggs safely and thickens the eggnog slightly without making it curdled.
Step 4: Strain and Flavor
Allow the warm eggnog to cool in the saucepan for 10 to 15 minutes, stirring occasionally. This resting time helps the mixture settle and stops it from steaming. Once cooled, strain the mixture through a fine sieve to catch any small cooked bits for a perfectly smooth eggnog. Stir in the vanilla extract at this point—its sweet floral notes will shine brilliantly. If you want to add a splash of your favorite alcohol like rum, bourbon, or brandy, this is the moment to mix it in.
Step 5: Chill Thoroughly
Transfer the eggnog to the refrigerator and chill until completely cold, ideally for at least four hours. The chilling not only blends the flavors further but also thickens the texture to that dreamy, creamy consistency we all crave. Once fully chilled, it’s ready to serve and enjoy!
How to Serve Easy Homemade Eggnog Recipe
Garnishes
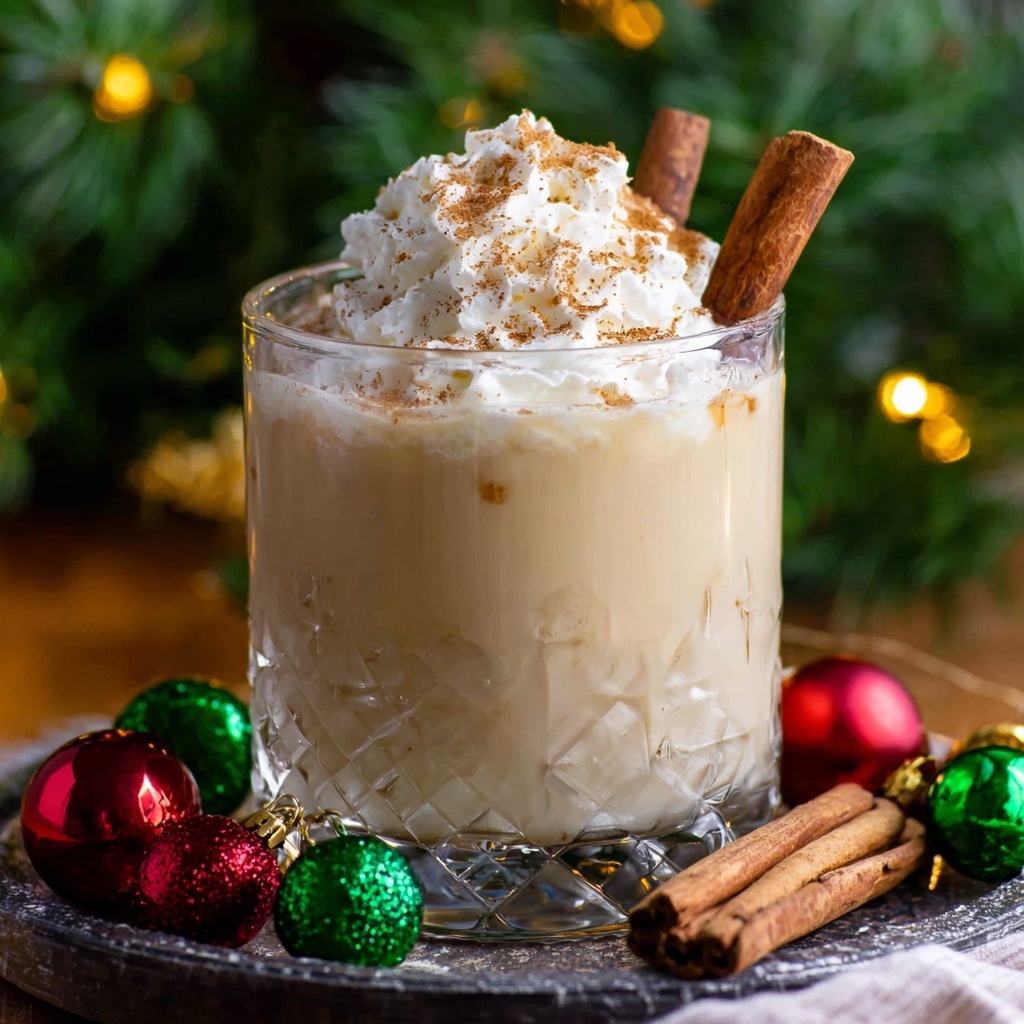
Presentation makes eggnog feel extra special. Sprinkle a little ground cinnamon or nutmeg on top, add a cinnamon stick as a stirrer, or pile on a cloud of whipped cream. These small touches add aroma, flavor, and festive flair that instantly make your drink look as good as it tastes.
Side Dishes
Eggnog pairs beautifully with classic holiday treats. Think gingerbread cookies, buttery shortbread, or even spiced nuts. These snacks complement the creamy, spiced richness of eggnog and make for a cozy snack spread perfect for gatherings or quiet evenings by the fire.
Creative Ways to Present
Consider serving your Easy Homemade Eggnog Recipe in clear glass mugs to showcase its creamy texture and sprinkle the top with edible gold dust for a sparkly holiday touch. You could also create little eggnog shooters with a dusting of cinnamon sugar on the rim of the glasses. Adding festive straws or garnishing with a fresh sprig of rosemary brings an unexpected and beautiful twist to the traditional experience.
Make Ahead and Storage
Storing Leftovers
Store any leftover eggnog in an airtight container in the refrigerator. Homemade eggnog is best enjoyed within 2 to 3 days for peak freshness and safety. Always give it a good stir before serving as some separation might occur.
Freezing
Because of the dairy and eggs, freezing homemade eggnog is not recommended. Freezing can alter the creamy texture, causing it to separate upon thawing, resulting in a less enjoyable experience. Instead, enjoy the batch you make fresh and keep it chilled.
Reheating
If you prefer your eggnog warmed, gently reheat it on the stovetop over low heat, stirring constantly until just warm. Avoid boiling as this will affect the texture and can cause the eggs to curdle. Warm eggnog is especially comforting on cold nights and a lovely alternative to the chilled version.
FAQs
Can I make this Easy Homemade Eggnog Recipe without raw eggs?
Yes! The cooking step gently heats the egg yolks to a safe temperature, effectively cooking them and minimizing risk. If you want to avoid eggs altogether, you can try eggless eggnog recipes which generally use custard or cream bases instead.
Can I add alcohol to this eggnog?
Absolutely! Adding a splash of rum, bourbon, or brandy is traditional and delicious. Stir it in after the eggnog is off the heat and slightly cooled to keep the alcohol’s flavor vibrant while preserving safety and texture.
How long does homemade eggnog last?
Refrigerated homemade eggnog is best enjoyed within 2 to 3 days. Beyond that, the quality and safety might decline. Always smell and check the appearance before serving to ensure it’s fresh.
What can I use to garnish my eggnog?
Classic garnishes include a sprinkle of ground nutmeg or cinnamon, a cinnamon stick for stirring, or a dollop of whipped cream. Fresh grated nutmeg adds an irresistible aroma, instantly making your drink feel festive.
Is it possible to make this recipe vegan?
To make a vegan version, substitute the milk and cream with plant-based alternatives like oat or coconut milk, and use a vegan egg replacer or silken tofu. Adjust the spices and sweetness to taste for a satisfying dairy-free eggnog.
Final Thoughts
Making your own Easy Homemade Eggnog Recipe is a wonderful way to elevate your holiday celebrations or cozy nights in. It’s simple to create, indulgently creamy, and full of nostalgic charm that homemade treats always bring. I encourage you to whip up a batch, add your favorite garnish, and savor each delicious sip with loved ones around. Cheers to homemade magic in a glass!
Print
Easy Homemade Eggnog Recipe
- Prep Time: 5 minutes
- Cook Time: 10 minutes
- Total Time: 4 hours 15 minutes
- Yield: 6 servings
- Category: Beverage
- Method: Stovetop
- Cuisine: American
Description
This Easy Homemade Eggnog recipe delivers a rich, creamy, and perfectly spiced holiday classic made from scratch. With a smooth texture achieved by gently simmering egg yolks, sugar, cream, and milk with warming spices like nutmeg and cloves, this eggnog is both comforting and festive. Chilled for several hours, it’s ideal for serving with optional whipped cream and cinnamon sticks for a traditional presentation.
Ingredients
Base Ingredients
- 6 large egg yolks
- 2/3 cup sugar
- 1–1/2 cups heavy whipping cream
- 3 cups whole milk
- 1/4 teaspoon ground nutmeg (or more to taste)
- 1/8 teaspoon ground cloves
- 1 pinch salt
- 1/2 teaspoon vanilla extract
Optional Serving Ingredients
- Ground cinnamon
- Ground nutmeg
- Cinnamon sticks
- Whipped cream
Instructions
- Whisk egg yolks: Place the egg yolks and sugar in a saucepan. Whisk continuously until the mixture is well blended, lighter in color, and develops a creamy texture, which ensures the sugar is dissolved and the yolks are aerated.
- Add liquids and spices: Whisk in the heavy cream, whole milk, ground nutmeg, ground cloves, and a pinch of salt until all ingredients are fully combined.
- Simmer the mixture: Set the saucepan over medium-low heat and warm the mixture slowly. Once warm, increase heat to medium and bring it to a gentle simmer, whisking constantly to prevent curdling. Continue until the mixture reaches 160-165°F (71-74°C) on an instant-read thermometer, then immediately remove from heat to avoid scrambling the eggs.
- Strain and cool: Allow the eggnog to cool for 10-15 minutes until it stops steaming, stirring occasionally. Stir in the vanilla extract for added flavor. If desired, add your choice of alcohol such as bourbon or rum at this stage.
- Chill before serving: Transfer the eggnog to the refrigerator and chill thoroughly for at least 4 hours to allow flavors to meld and the drink to thicken slightly. Serve chilled, garnished with whipped cream, ground cinnamon, ground nutmeg, and cinnamon sticks if preferred.
Notes
- Use fresh, high-quality eggs for best flavor and safety.
- Constant whisking during cooking prevents the egg mixture from curdling.
- Ensure the eggnog reaches the proper temperature to eliminate any risk from raw eggs.
- You can customize spices to taste, adjusting nutmeg and cloves as desired.
- Alcohol is optional; if added, mix it in after cooling slightly to preserve the alcohol’s character.
- Store leftover eggnog in an airtight container in the fridge and consume within 2-3 days.


