If you’re craving a tasty, warm bread but don’t want to heat up your kitchen with an oven, this Effortless No-Oven Turkish Bread for Quick, Delicious Snacking Recipe is about to become your new best friend. It’s quick, simple, and results in delightfully soft and fragrant bread that’s perfect for breakfast, snacking, or accompanying any meal without the fuss of traditional baking. This recipe captures the heart of Turkish flavors while giving you a hands-on, cozy baking experience that anyone can master.
Ingredients You’ll Need
The beauty of this recipe lies in its straightforward ingredients that work together to create a soft, flavorful bread with a rustic charm. Each component adds something essential, balancing texture, taste, and aroma for the perfect batch every time.
- 3 cups Bread Flour or All-Purpose Flour: Provides the structure and chewiness, with whole wheat flour as a wholesome alternative.
- 1 cup Warm Milk: Adds richness and tender crumb; almond milk works perfectly for a dairy-free twist.
- 1/2 cup Warm Water: Helps activate the yeast and hydrate the flour without overwhelming the dough.
- 2 teaspoons Instant Dry Yeast: The magic behind the rise; active dry yeast works too if you allow a bit more time.
- 1 tablespoon Sugar: Just a touch to feed the yeast and enhance subtle sweetness, totally optional.
- 1 teaspoon Salt: Essential to bring out the flavors and balance the dough’s tenderness.
- 2 tablespoons Melted Unsalted Butter or Olive Oil: Adds moisture and richness, with olive oil offering a lovely fruity note for vegan options.
- 1/4 cup Chopped Parsley: Fresh herbs add inviting color and a burst of flavor, but feel free to swap in dill or your favorites.
How to Make Effortless No-Oven Turkish Bread for Quick, Delicious Snacking Recipe
Step 1: Activate Your Yeast
Start by combining warm milk, warm water, sugar, and yeast in a large bowl. Let this sit for about 5 to 7 minutes until it becomes frothy, signaling that your yeast is alive and ready to do its magic. This step is crucial because a good rise sets the foundation for that fluffy texture you crave.
Step 2: Mix Your Dry Ingredients
While the yeast activates, mix your flour and salt in another bowl. This helps evenly distribute the salt so your bread won’t have any unexpected pockets of saltiness. When your yeast mixture is ready, slowly incorporate your dry ingredients with the wet ingredients and melted butter or olive oil, stirring gently until a soft dough forms.
Step 3: Knead to Perfection
Turn your dough onto a lightly floured surface and knead it for about 8 to 10 minutes. The dough should be smooth, elastic, and slightly tacky but not sticky. Think of kneading as waking up the gluten strands, creating that satisfying chew and structure, crucial for this no-oven bread to hold together beautifully in the pan.
Step 4: Let the Dough Rise
Place the dough back in the bowl, cover it with a damp cloth or plastic wrap, and let it rise in a warm spot for about 45 to 60 minutes, or until it doubles in size. This resting time allows the dough to relax and develop its airy texture, setting up the perfect bready softness.
Step 5: Shape Your Bread
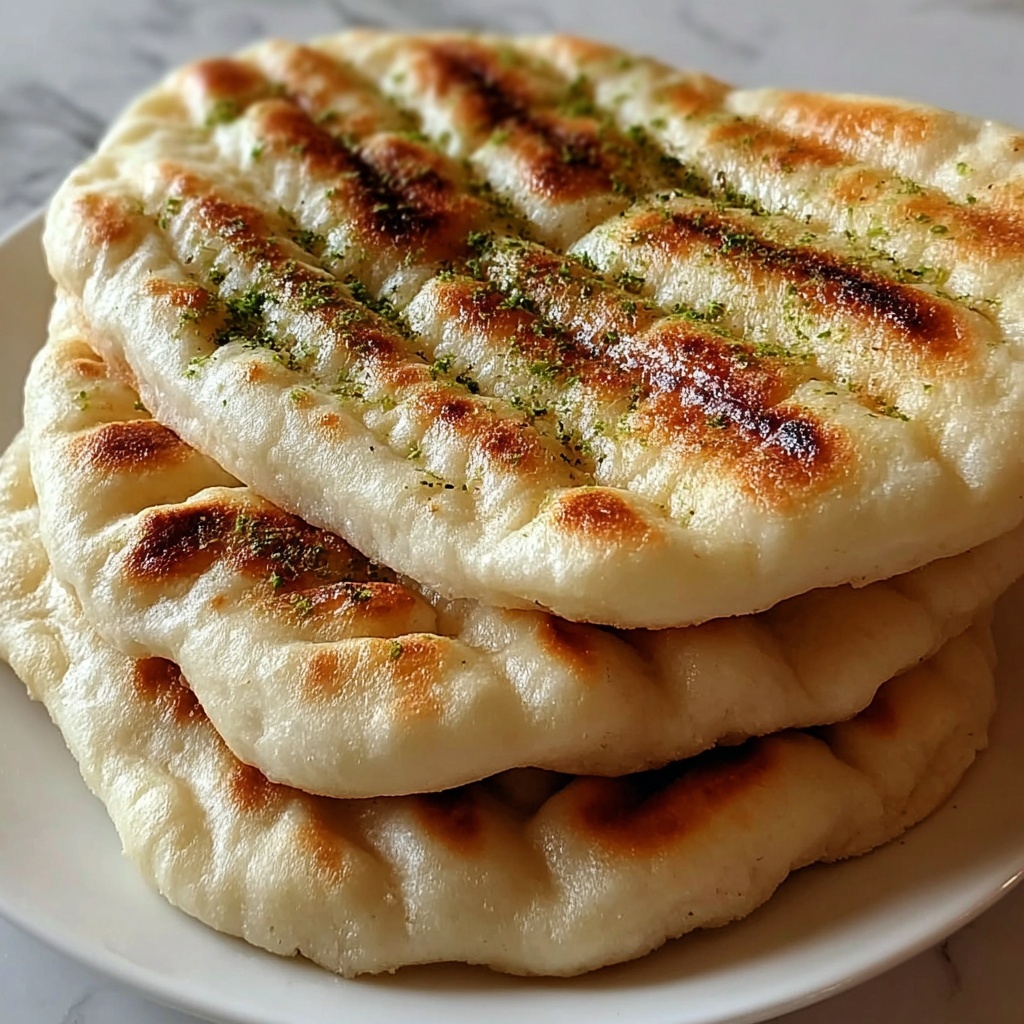
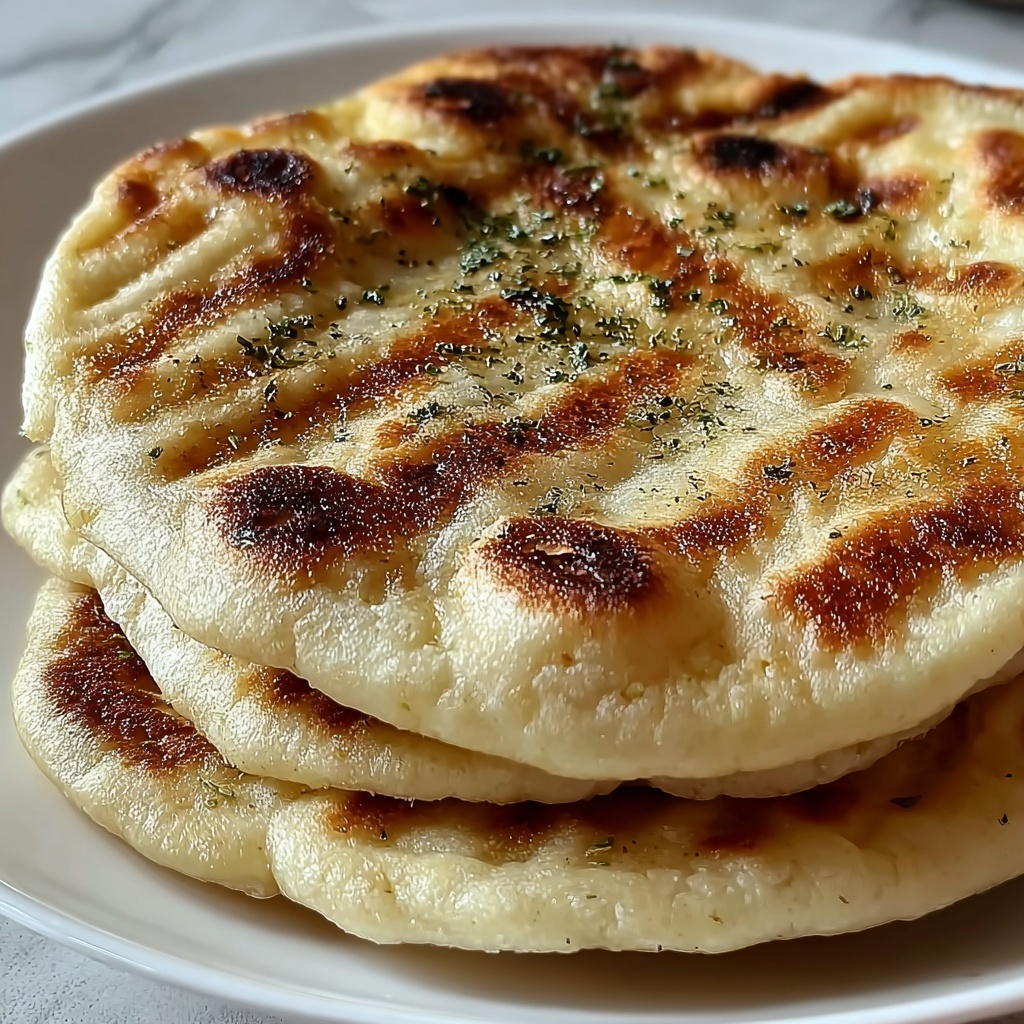
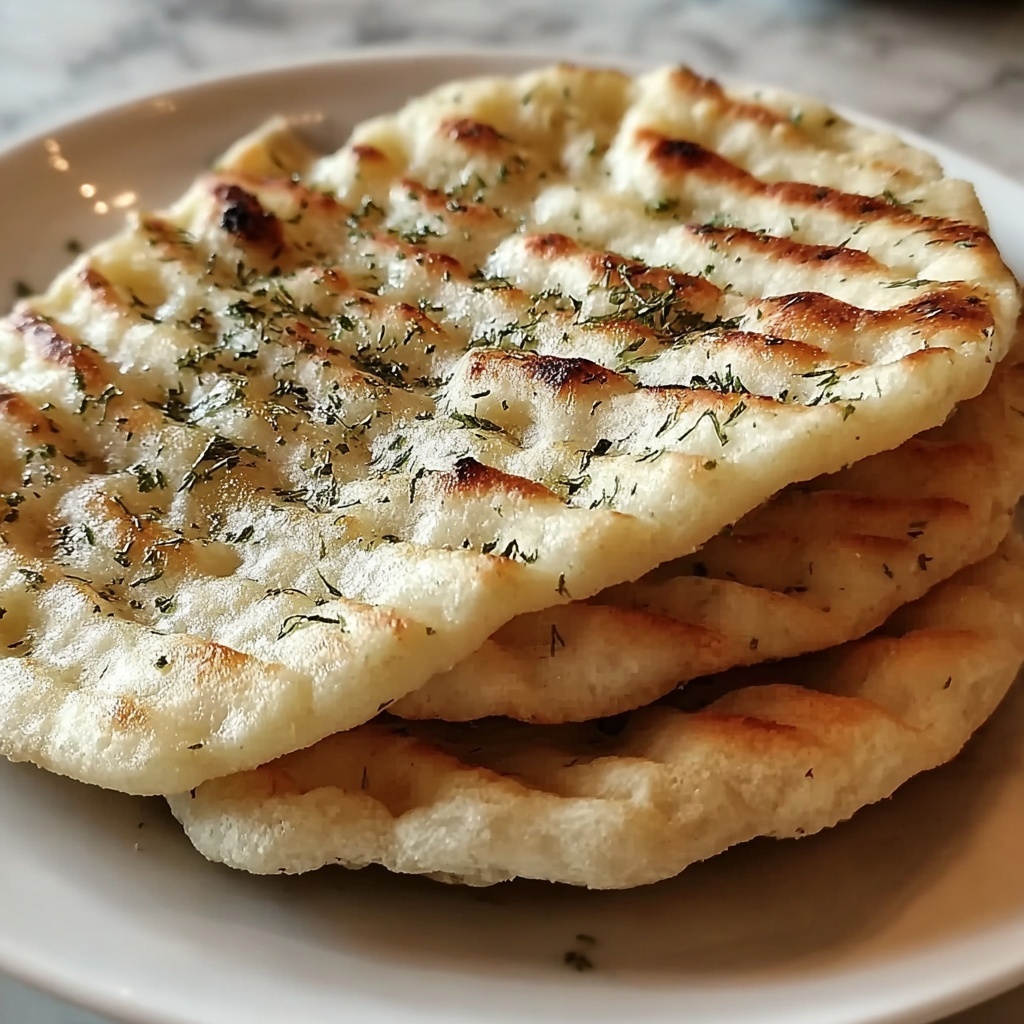
Once the dough has doubled, gently punch it down to release any air bubbles. Turn it out onto your work surface and flatten it into a thick rectangle. Fold in the chopped parsley evenly by lightly kneading again. Shape the dough into a round or oval loaf to fit your pan or skillet, lending a rustic Turkish feel.
Step 6: Cook It on the Stove
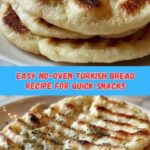
Preheat a heavy-bottomed skillet or nonstick pan over low to medium-low heat. Place your shaped dough in the pan, cover with a lid, and cook for around 12 to 15 minutes. Flip carefully using a spatula and cook the other side for another 10 to 12 minutes. This slow, covered cooking process mimics the oven environment, giving you a beautifully golden crust and soft interior without turning on your oven.
How to Serve Effortless No-Oven Turkish Bread for Quick, Delicious Snacking Recipe
Garnishes
Sprinkle warm bread with extra chopped parsley, a drizzle of olive oil, or a pinch of za’atar for an extra aromatic touch. Soft butter or labneh with fresh herbs can turn your bread into an irresistible treat every time.
Side Dishes
This bread pairs wonderfully with savory yogurt dips, tomato and cucumber salads, or even spoonfuls of honey and jam for something on the sweet side. It’s versatile enough to complement a range of spreads and small plates.
Creative Ways to Present
Slice your bread thickly for dipping, or tear it into rustic chunks to accompany soups or stews. You can also stuff small pockets with cheese or spices before cooking for a filled bread delight that surprises every bite.
Make Ahead and Storage
Storing Leftovers
Store leftover bread in an airtight container or wrapped tightly in plastic wrap at room temperature for up to two days to maintain freshness and softness. Rewarm slightly before serving to bring back that fresh-baked feel.
Freezing
This bread freezes beautifully. Wrap individual portions in plastic wrap and then place in a freezer-safe bag. When you want to enjoy it, thaw overnight at room temperature for effortless snacking anytime you desire.
Reheating
Reheat slices gently in a dry skillet over low heat or in a microwave for 15 to 20 seconds. This will refresh the bread’s softness without drying it out, keeping your snacking experience just right.
FAQs
Can I use whole wheat flour instead of all-purpose flour?
Absolutely! Whole wheat flour adds a nuttier flavor and more fiber; however, the bread may be a bit denser, so you might want to adjust the water slightly to keep the dough soft.
What if I don’t have a skillet with a lid for cooking?
You can use a deep pan and cover it tightly with aluminum foil, or place a large plate over the skillet. The key is trapping steam to cook the bread evenly and keep it moist.
Is it possible to make this bread vegan?
Yes, just swap the dairy milk for any plant-based milk like almond or oat, and use olive oil instead of butter. You’ll still get the delicious texture and flavor with vegan-friendly ingredients.
How long does the dough need to rise if I use active dry yeast?
Active dry yeast requires a bit more time, so expect to let the dough rise for about 1 to 1.5 hours. Look for the dough to double in size as a sign it’s ready.
Can I add other herbs or spices to customize this bread?
Definitely! Fresh rosemary, thyme, or even a pinch of cumin can add exciting new dimensions to your no-oven Turkish bread. Just fold them in with the parsley or substitute accordingly.
Final Thoughts
This Effortless No-Oven Turkish Bread for Quick, Delicious Snacking Recipe is one of those kitchen gems that makes you wonder why you ever waited for the oven. It’s fast, fulfilling, and full of soul, perfect for sharing with friends or indulging solo. Give it a try, and I promise it will become a staple in your snacking and baking routine—simple, satisfying, and absolutely delicious every single time!
Print
Effortless No-Oven Turkish Bread for Quick, Delicious Snacking Recipe
- Prep Time: 10 minutes
- Cook Time: 15 minutes
- Total Time: 25 minutes
- Yield: 6 pieces
- Category: Bread
- Method: Stovetop
- Cuisine: Turkish
- Diet: Vegetarian
Description
This effortless no-oven Turkish bread recipe is perfect for quick, delicious snacking without the need for an oven. Using simple ingredients like flour, yeast, and warm liquids, this bread is pan-cooked to golden perfection. It’s soft, flavorful, and versatile, making it a great option for any time of day.
Ingredients
Dry Ingredients
- 3 cups Bread Flour or All-Purpose Flour (or whole wheat flour as a substitute)
- 2 teaspoons Instant Dry Yeast (or active dry yeast, increase proofing time slightly)
- 1 tablespoon Sugar (optional, for less sweetness)
- 1 teaspoon Salt (essential for taste)
Wet Ingredients
- 1 cup Warm Milk (or almond milk for dairy-free)
- 1/2 cup Warm Water (ensure it’s warm but not hot)
- 2 tablespoons Melted Unsalted Butter or Olive Oil (use olive oil for vegan option)
Additional
- 1/4 cup Chopped Parsley (or other herbs like dill)
Instructions
- Prepare the Yeast Mixture: In a small bowl, combine the warm water and warm milk. Sprinkle the instant dry yeast over the liquid and let it sit for about 5 minutes until foamy. This activates the yeast and ensures proper rising.
- Mix Dry Ingredients: In a large mixing bowl, whisk together the bread flour, sugar, and salt to evenly distribute all the dry components.
- Combine Wet and Dry Ingredients: Pour the yeast mixture and melted butter or olive oil into the dry ingredients. Stir with a wooden spoon or dough hook attachment until a rough dough forms.
- Knead the Dough: Transfer the dough to a floured surface and knead for about 8-10 minutes until smooth and elastic. If using a stand mixer, knead with a dough hook for about 7 minutes.
- First Proof: Place the dough in a lightly greased bowl, cover it with a clean kitchen towel or plastic wrap, and let it rise in a warm place for 45 minutes to 1 hour until doubled in size.
- Shape the Bread: Punch down the risen dough and divide it into 6 equal pieces. Shape each piece into a round or oval flatbread, about 1/2 inch thick. Sprinkle chopped parsley or your preferred herbs on top, pressing gently to adhere.
- Cook on Stovetop: Heat a non-stick skillet or cast-iron pan over medium heat. Place one piece of dough in the hot pan and cook for about 3-4 minutes on each side, or until golden brown spots appear and the bread is cooked through. Repeat with remaining pieces, adding a little oil or butter if desired.
- Cool and Serve: Allow the bread to cool slightly on a wire rack. Serve warm or at room temperature as a snack, accompaniment to dips, or sandwich base.
Notes
- This bread is best eaten fresh but can be stored in an airtight container for up to 2 days.
- For a vegan version, substitute milk with almond milk and butter with olive oil.
- If using active dry yeast instead of instant, proof yeast for 10 minutes and extend rising time to 1.5 hours.
- Add herbs or spices such as thyme, oregano, or chili flakes for different flavor variations.
- Use whole wheat flour for a heartier texture, but expect a denser bread.


