“`html
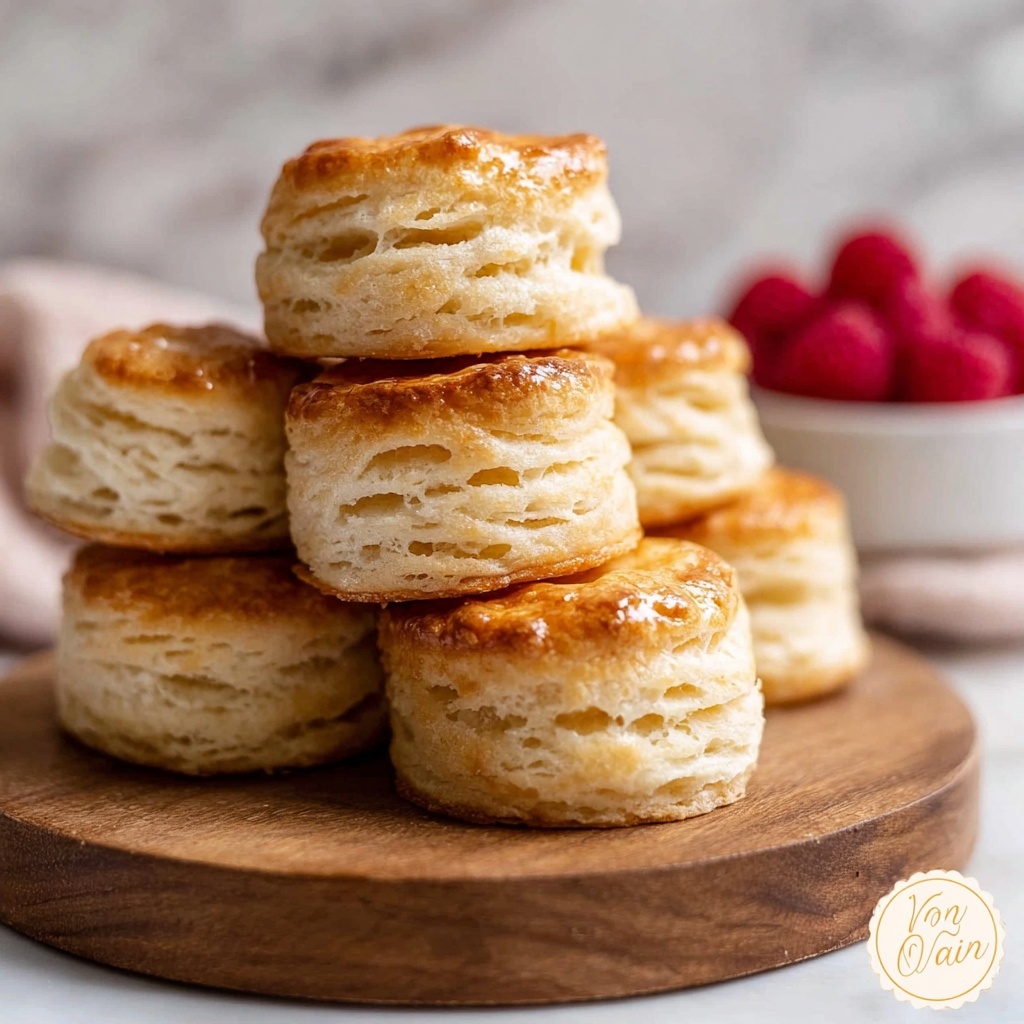
If you’ve ever dreamed of biting into a biscuit that’s flaky, buttery, and tender all at once, then this Homemade Buttermilk Biscuits Recipe is exactly what you need to make your kitchen smell like heaven. These biscuits come together with simple household ingredients but yield a result that feels special and comforting, perfect for breakfast, brunch, or anytime you want a truly delicious treat. The magic lies in the cold butter and buttermilk working together to create layers that practically melt in your mouth.
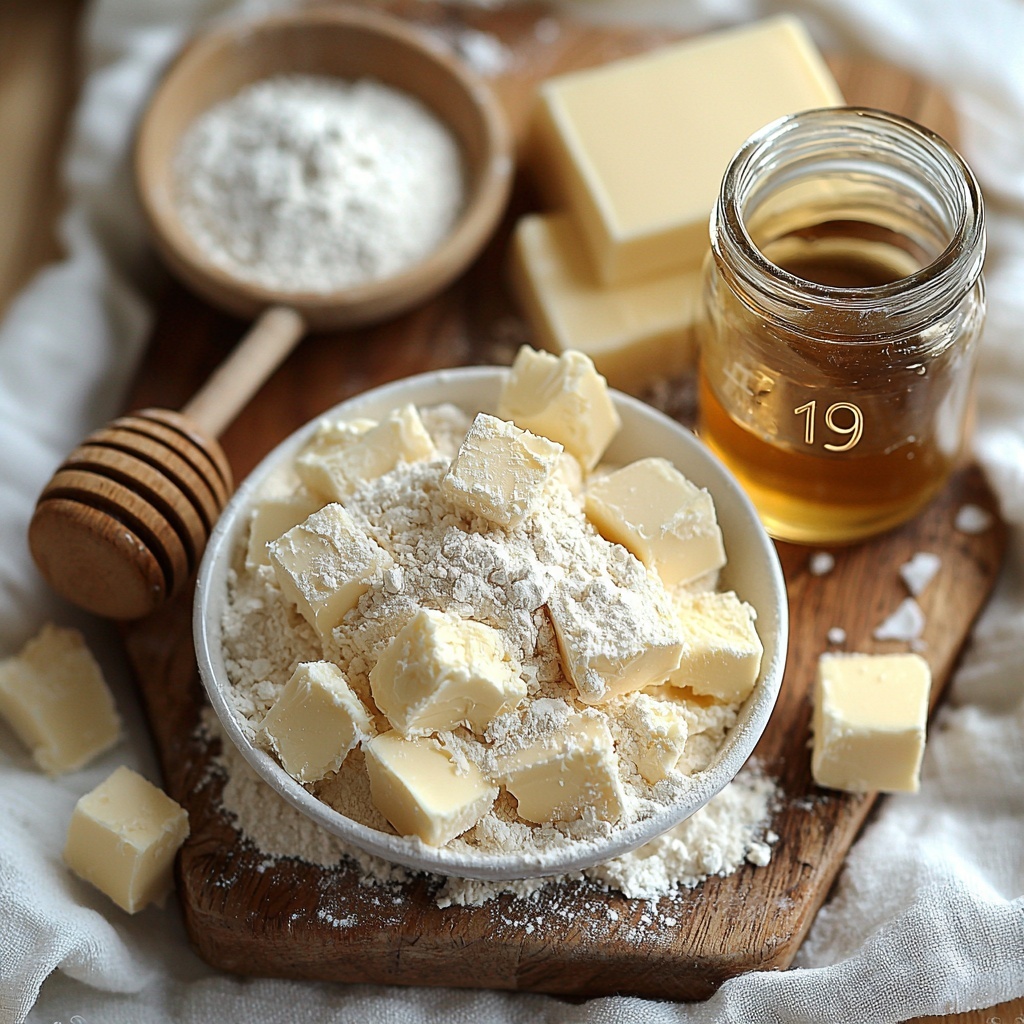
Ingredients You’ll Need
Gathering the right ingredients is key to making biscuits that rise beautifully and taste incredible. Each component plays an essential role—from the flour that forms the base to the cold butter that creates flaky pockets, and the buttermilk that brings tenderness and a subtle tang.
- All-purpose flour or self-rising flour: Provides structure; self-rising has leavening built-in for convenience.
- Baking powder: Helps the biscuits rise and become fluffy (skip if using self-rising flour).
- Salt: Enhances the flavor and balances sweetness.
- Cold unsalted butter: Key for flaky layers—keep it cold and cubed for best results.
- Cold buttermilk: Adds moisture and a tender crumb with a slight tang.
- Honey or sugar (optional): Adds a touch of sweetness if you like your biscuits a bit sweeter.
How to Make Homemade Buttermilk Biscuits Recipe
Step 1: Preheat and Prepare
Start by preheating your oven to 425°F (220°C). Line a baking sheet with parchment paper and lightly dust it with flour to keep your biscuits from sticking. This ensures even baking and easy cleanup, setting you up for biscuit success.
Step 2: Mix the Dry Ingredients
In a large bowl, whisk together the flour, baking powder, and salt. If you’re using self-rising flour, you can skip baking powder and salt since they’re already included. This dry mixture is the foundation that supports your fluffy biscuits.
Step 3: Cut in the Butter
Next, cut in the cold, cubed butter using a pastry cutter or your fingers. Your goal is to create a coarse crumb texture where little bits of butter remain whole. Those pockets of butter expand in the oven, giving your biscuits that perfect flaky texture.
Step 4: Add the Buttermilk
Pour in the cold buttermilk and stir gently just until everything comes together. It’s important not to overmix; the dough should look shaggy and slightly uneven, which means you’ll have light and tender biscuits.
Step 5: Fold and Layer
Turn your dough onto a floured surface and pat it into a rectangle. Fold it into thirds, then pat and fold again two to three times more. This folding creates layers that puff up beautifully when baked, giving those irresistible biscuits their classic texture.
Step 6: Cut Your Biscuits
Pat the dough to about 1-inch thickness, then use a round cutter to press straight down without twisting. Twisting can seal the edges and prevent them from rising properly, so be gentle but firm with your cuts.
Step 7: Arrange on the Baking Sheet
Place your biscuits on the prepared baking sheet. If you like softer sides, set them touching each other; for crispier edges, space them apart. This small choice can really tweak the final biscuit experience.
Step 8: Bake to Golden Perfection
Bake your biscuits for 12 to 15 minutes until their tops are golden brown. That gorgeous color tells you they’re ready to come out and be enjoyed.
Step 9: Optional Finishing Touch
For an extra bit of indulgence, brush the hot biscuits with melted butter or honey-butter right out of the oven. This adds shine, moisture, and a delightful flavor boost that makes your Homemade Buttermilk Biscuits Recipe even more memorable.
How to Serve Homemade Buttermilk Biscuits Recipe
Garnishes
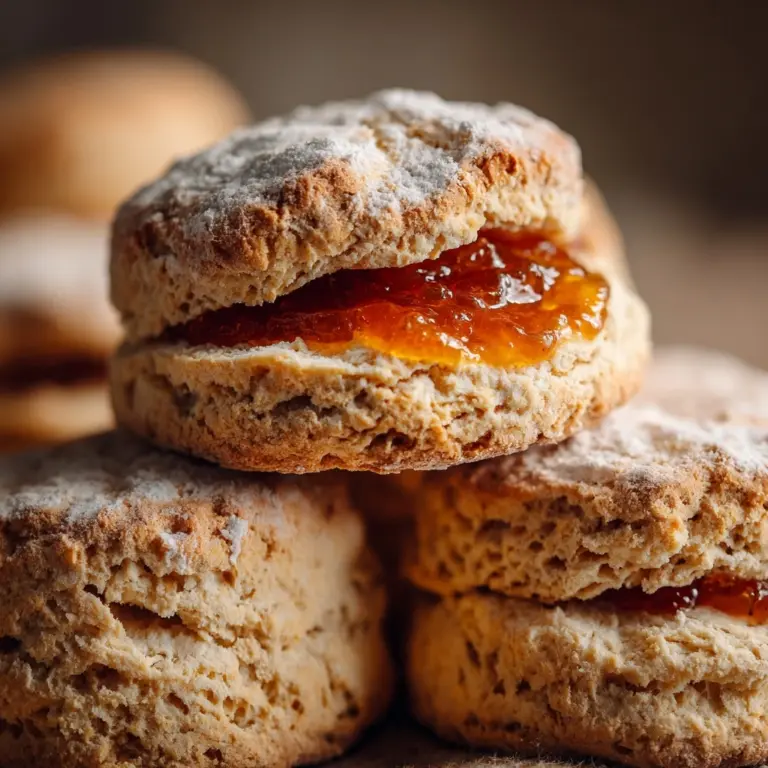
The beauty of these biscuits shines on their own, but a simple smear of butter, honey, or jam takes them to another level. Fresh herbs like chives or a sprinkle of flaky sea salt can add a savory twist that makes them feel fancy yet familiar.
Side Dishes
These biscuits are incredibly versatile. Pair them with classic gravy for a Southern-style breakfast or alongside scrambled eggs and bacon for a hearty brunch. They also complement soups and stews wonderfully, soaking up rich flavors with every bite.
Creative Ways to Present
Try splitting your homemade biscuits and turning them into sliders with fried chicken or ham and cheese. Or, make biscuit sandwiches with honey butter and fresh fruit for a sweet and satisfying treat. Each presentation highlights the biscuit’s tender crumb and buttery goodness.
Make Ahead and Storage
Storing Leftovers
If you have leftovers, store them in an airtight container at room temperature for up to two days. To keep them fresh, you can also wrap each biscuit individually in foil or plastic wrap before refrigerating, which prevents drying out.
Freezing
Homemade biscuits freeze beautifully. Place uncooked biscuits on a baking tray and freeze until solid, then transfer them to a freezer bag for up to three months. You can bake them straight from frozen, adding a few extra minutes to the bake time for fresh biscuits anytime you want.
Reheating
Reheat leftover biscuits in a warm oven at 350°F (175°C) for about 10 minutes, or wrap in a damp paper towel and microwave briefly. A quick brush of butter after reheating restores that just-baked softness and flavor.
FAQs
Can I use regular milk instead of buttermilk?
While regular milk can work in a pinch, buttermilk is what gives these biscuits their signature tang and tender texture. If you don’t have buttermilk, try mixing milk with a tablespoon of lemon juice or vinegar and letting it sit for 5 minutes to mimic that effect.
Why is cold butter important in this recipe?
Cold butter is crucial because it creates steam pockets when baking, which puff up and make the biscuits flaky. If the butter melts into the dough, you’ll get denser biscuits instead of light layers.
Can I make this recipe with gluten-free flour?
Yes, but results vary depending on the gluten-free flour blend. Some blends might need added xanthan gum or other binders to achieve the right texture. Experimenting with a blend designed for baking biscuits usually works best.
What’s the secret to soft biscuit edges?
Placing biscuits touching each other on the baking sheet encourages the sides to stay soft and moist. If you prefer crispier edges, space them apart so heat circulates evenly around each biscuit.
How do I know when the biscuits are done baking?
Look for a beautiful golden brown on top and firm but tender sides. The biscuits should spring back slightly when you press the tops with your finger, indicating they are cooked through but not dry.
Final Thoughts
There’s truly nothing like the smell and taste of fresh, buttery biscuits from your own oven. This Homemade Buttermilk Biscuits Recipe is a fantastic way to bring that classic comfort to your table with just a handful of simple ingredients. Whether you’re serving them at breakfast, dinner, or as a snack, they’re sure to become a cherished favorite. I can’t wait for you to try making these and discover how wonderfully flaky and tender homemade biscuits can be!
“`
Print
Homemade Buttermilk Biscuits Recipe
- Prep Time: 15 minutes
- Cook Time: 15 minutes
- Total Time: 30 minutes
- Yield: 6 to 8 biscuits
- Category: Breakfast
- Method: Baking
- Cuisine: American
Description
This homemade biscuit recipe yields flaky, buttery biscuits perfect for breakfast or as a side dish. Made with simple ingredients like flour, cold butter, and buttermilk, these biscuits are layered and baked to golden perfection with a tender crumb inside. Whether you prefer soft edges or crispier ones, this versatile recipe allows you to customize to your liking. Enjoy these warm with honey-butter or your favorite jam for a comforting treat.
Ingredients
Dry Ingredients
- 1 ½ cups all-purpose flour or self-rising flour
- 1 tablespoon baking powder (omit if using self-rising flour)
- ½ teaspoon salt (omit if using self-rising flour)
Wet Ingredients
- ½ cup cold unsalted butter, cubed
- ¾ cup cold buttermilk
- 1 tablespoon honey or sugar (optional)
Instructions
- Preheat Oven: Preheat your oven to 425°F (220°C). Line a baking sheet with parchment paper and lightly dust it with flour to prevent sticking.
- Mix Dry Ingredients: In a large bowl, whisk together the flour, baking powder, and salt. If you’re using self-rising flour, skip adding baking powder and salt.
- Cut in Butter: Add the cold, cubed butter to the flour mixture. Use a pastry cutter or your fingers to cut the butter into the flour until the mixture resembles coarse crumbs.
- Add Buttermilk: Pour in the cold buttermilk and stir gently just until combined. Be careful not to overmix; the dough should appear shaggy and slightly uneven.
- Fold the Dough: Turn the dough out onto a floured surface. Pat it into a rectangle and fold it into thirds, like a letter. Repeat this folding step 2–3 times to create layers for flakiness.
- Shape Biscuits: Gently pat the dough to about 1-inch thickness. Using a round biscuit cutter, press straight down into the dough without twisting, to ensure the biscuits rise evenly.
- Arrange on Baking Sheet: Place the biscuit rounds on the prepared baking sheet. Set them touching each other for softer sides, or spaced apart for crisper edges.
- Bake: Bake the biscuits in the preheated oven for 12–15 minutes or until the tops turn golden brown.
- Optional Finishing Touch: Brush the hot biscuits with melted butter or honey-butter for extra flavor. Serve warm and enjoy.
Notes
- Using cold butter is crucial for flaky biscuits; avoid letting it soften before use.
- Do not overmix the dough to keep the texture tender and flaky.
- If using self-rising flour, omit baking powder and salt to maintain correct leavening.
- Press the biscuit cutter straight down without twisting to help them rise properly and keep edges sharp.
- For a sweeter biscuit, add the optional honey or sugar to the dough or brush honey-butter after baking.
- Biscuits can be stored in an airtight container for up to 2 days and reheated in the oven for best freshness.
