
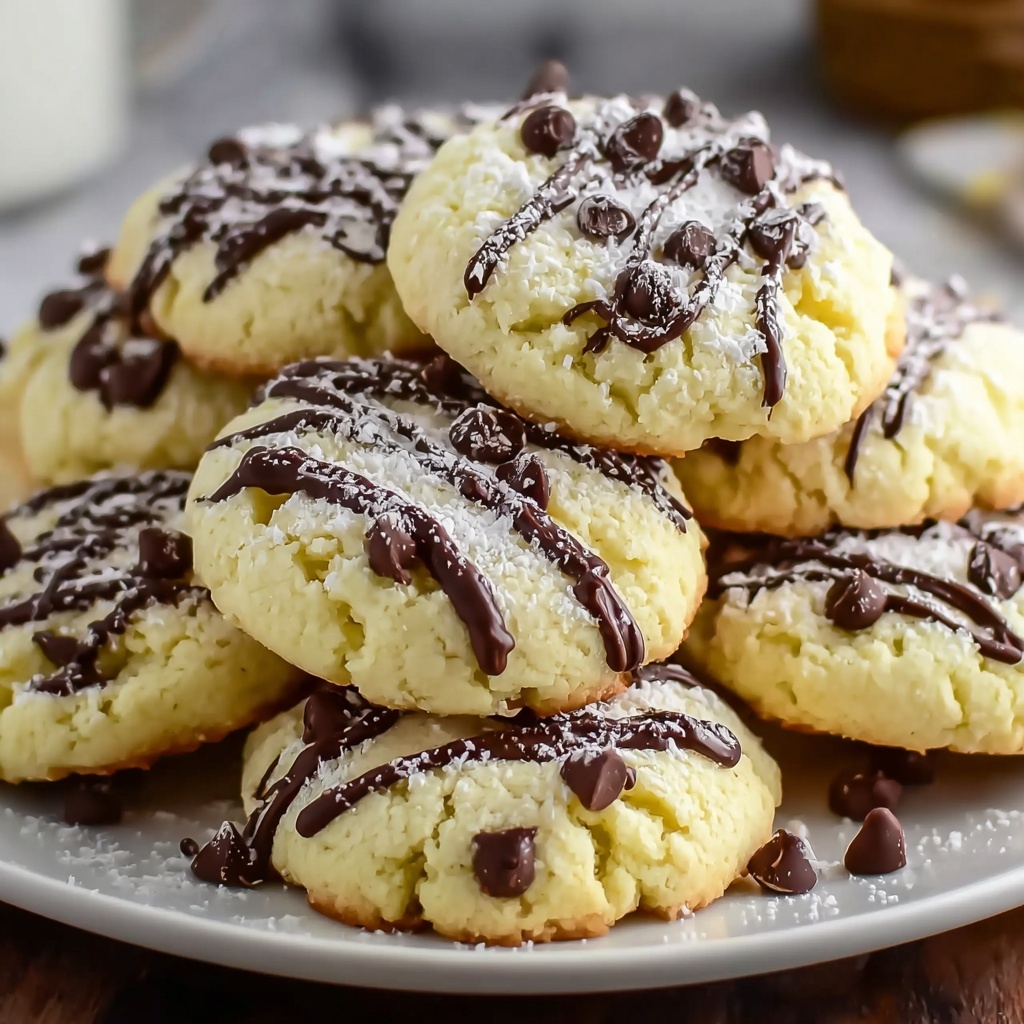
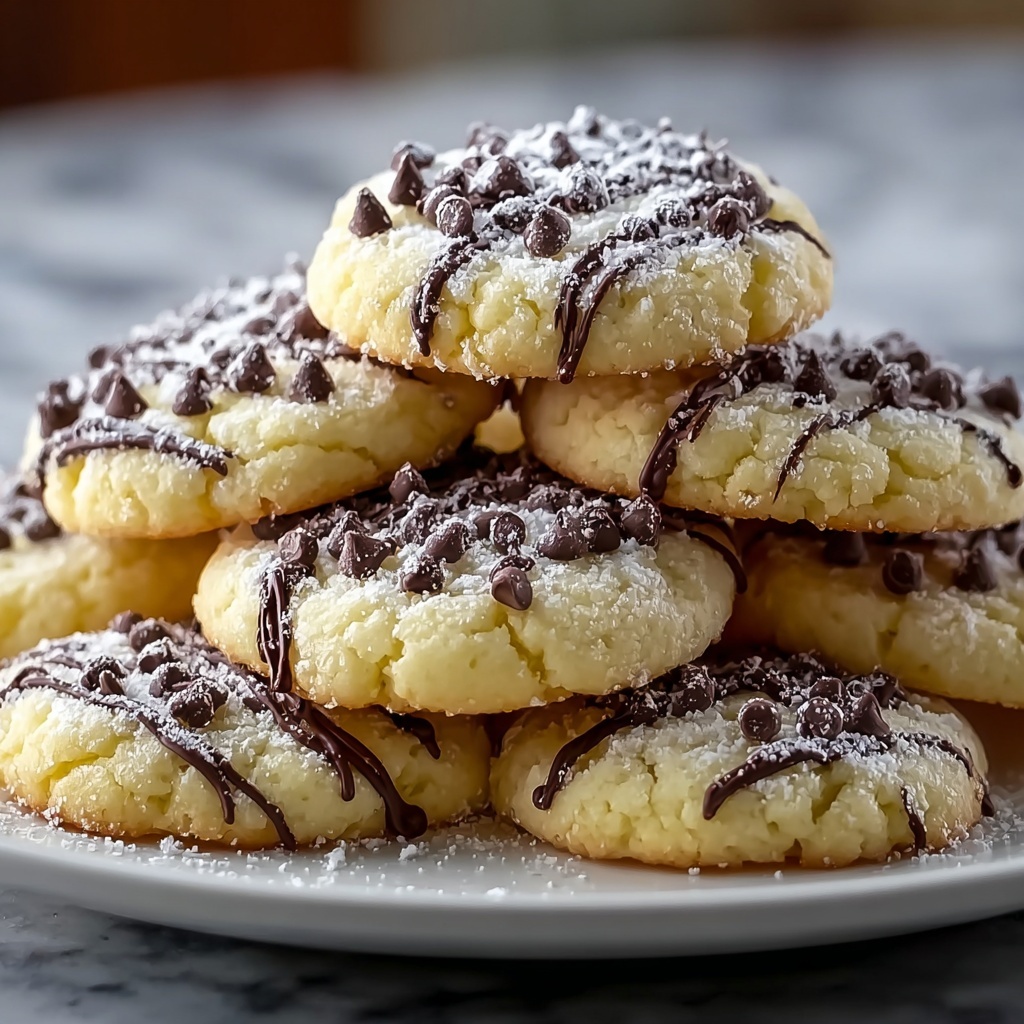
If you’re on the lookout for a sweet treat that feels both classic and fresh, you’ve got to try the Irresistibly Delicious Homemade Cannoli Cookies in 6 Steps Recipe. These cookies capture the creamy, dreamy essence of traditional cannoli while bringing in a crisp, buttery cookie edge that’s simply addictive. Every bite delivers that perfect balance of rich ricotta, zesty lemon, and crunchy pistachios, dotted with luscious chocolate chips. Whether you’re baking for a special occasion or craving an everyday indulgence, these homemade delights are bound to win hearts and taste buds alike.
Ingredients You’ll Need
Gathering simple, wholesome ingredients is the secret to nailing this recipe. Each one plays a vital role—from the flour giving structure to the smooth ricotta adding luxurious creaminess, and the lemon zest brightening the whole flavor. When combined just right, these elements create pure magic in your kitchen.
- 1 cup all-purpose flour: Sifting it ensures a light, tender cookie texture you’ll love.
- 1/2 cup granulated sugar: A touch of sweetness wakes up every bite; organic cane sugar works wonderfully too.
- 1/2 cup ricotta cheese: Make sure it’s well-drained to keep your dough from getting too wet.
- 1 large egg: This binds everything together with just the right firmness.
- 1 tsp vanilla extract: Pure vanilla makes a noticeable difference in flavor depth.
- 1 tsp lemon zest: Freshly grated zest adds a sunny, vibrant kick.
- 1/2 cup mini chocolate chips: Feel free to swap in white chocolate for a fun twist.
- 1/2 cup chopped pistachios: Crunchy and flavorful; almonds are a lovely alternative if you prefer.
- Powdered sugar: For that final elegant dusting that makes these cookies irresistible.
How to Make Irresistibly Delicious Homemade Cannoli Cookies in 6 Steps Recipe
Step 1: Preheat and Prepare
Begin by preheating your oven to 350°F (175°C). This temperature is perfect for baking cookies that are golden and crispy on the edges but still soft inside. While the oven warms, line your baking sheets with parchment paper to prevent sticking and ensure easy clean-up.
Step 2: Mix Dry Ingredients
In a large bowl, combine the sifted flour and granulated sugar until the mixture looks light and fluffy. This simple step aerates the flour, helping your cookies achieve that lovely delicate crumb everyone loves.
Step 3: Blend Wet Ingredients
In a separate bowl, whisk together the well-drained ricotta, egg, vanilla extract, and lemon zest. This smooth, creamy mixture brings richness and that irresistible citrus brightness, balancing beautifully with the sweet elements.
Step 4: Combine Into Dough
Gradually fold the flour mixture into the ricotta blend, stirring gently until just combined into a soft dough. Don’t overmix here; you want to keep the dough tender and light. Cover it and let it rest for 30 minutes—it helps the flavors meld and makes rolling easier.
Step 5: Roll and Cut
After resting, dust your work surface with flour and roll the dough out to about ¼ inch thickness. Cut the dough into rectangles roughly 2×3 inches—these will be the perfect size for your cannoli cookie parcels.
Step 6: Fill, Fold, and Bake
Mix the remaining ricotta, mini chocolate chips, and chopped pistachios to create a luscious filling packed with texture and flavor. Spoon a generous amount of filling onto each rectangle, fold the dough over, and pinch the edges tightly to seal in the delicious surprise. Arrange the sealed cookies on your prepared sheets and bake for 15 to 18 minutes. When golden on the edges, they’re ready to come out. Let cool slightly before dusting with powdered sugar for that classic, inviting finish.
How to Serve Irresistibly Delicious Homemade Cannoli Cookies in 6 Steps Recipe
Garnishes
If you want to ramp up the presentation, dust your cookies generously with powdered sugar, or even drizzle a little melted dark or white chocolate on top. Adding a sprinkle of crushed pistachios after baking offers extra color and crunch that’s irresistible. These are small touches that turn your cookies into show-stopping treats.
Side Dishes
Serve these homemade cannoli cookies with a cup of strong espresso or a creamy cappuccino for the perfect Italian-inspired duo. They also pair wonderfully with a simple glass of cold milk or a fresh fruit salad, enhancing the citrus notes and balancing the richness with a refreshing accompaniment.
Creative Ways to Present
For gatherings or gifts, place your cannoli cookies in decorative boxes lined with parchment paper, tied with ribbon for a personal touch. You can also stack them on a tiered dessert tray or use vintage plates for an elegant coffee table display. Handmade tags describing the cookies add a charming and thoughtful detail your guests will appreciate.
Make Ahead and Storage
Storing Leftovers
Keep any leftover cookies in an airtight container at room temperature. They will stay fresh and delicious for up to three days. If the cookies soften a bit over time, a quick re-crisp in the oven brings back that freshly baked texture wonderfully.
Freezing
You can freeze these cannoli cookies either before or after baking. For unbaked dough, shape and fill the cookies, place them on a baking sheet, freeze until firm, then transfer to a freezer-safe container. Baked cookies freeze well too—wrap them tightly in plastic wrap and foil. Thaw at room temperature before enjoying.
Reheating
To bring your cookies back to life, warm them in a 325°F oven for 5 to 7 minutes. This gentle reheating crisps the edges and refreshes the creamy filling without drying the cookies out. Avoid microwaves to keep the perfect texture intact.
FAQs
Can I substitute ricotta with another cheese?
Ricotta is key to achieving the creamy texture and subtle sweetness in these cookies, but if needed, mascarpone can work as a substitute. Just be sure it’s not too wet, or your dough may become too soft to handle.
Are these cookies gluten-free?
The traditional recipe calls for all-purpose flour, so it’s not gluten-free. However, you could experiment with a gluten-free flour blend that’s designed for baking to see how it affects texture and taste.
Can I make these cookies dairy-free?
For a dairy-free version, try swapping ricotta with a plant-based cream cheese alternative and using dairy-free chocolate chips. Keep in mind the texture will change slightly, but the cookies will still be delightful.
How long do these cookies keep their best texture?
These cannoli cookies are best enjoyed within three days of baking for optimal freshness and crispness. Beyond that, they might lose a bit of their crunch but still taste delicious.
Can I use different nuts in the filling?
Absolutely! Pistachios add fantastic flavor and color, but chopped almonds, walnuts, or hazelnuts would all bring lovely, unique touches. Toasting nuts first enhances their flavor even more.
Final Thoughts
There’s something incredibly satisfying about making these Irresistibly Delicious Homemade Cannoli Cookies in 6 Steps Recipe from scratch. Not only does the process fill your kitchen with inviting aromas, but the final result is a cookie that’s tender, fresh, and truly unforgettable. I hope you’ll give this recipe a try soon and share the joy these cookies bring with your friends and family—because everyone deserves a little bit of homemade magic in their day!
Print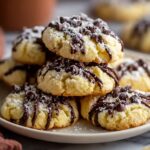
Irresistibly Delicious Homemade Cannoli Cookies in 6 Steps Recipe
- Prep Time: 30 minutes
- Cook Time: 15 minutes
- Total Time: 45 minutes
- Yield: 12 cookies
- Category: Dessert
- Method: Baking
- Cuisine: Italian
Description
These irresistibly delicious homemade cannoli cookies are a delightful treat combining a soft ricotta-infused dough with a creamy chocolate and pistachio filling. Perfectly baked to golden perfection, these cookies offer a luscious blend of flavors and textures, finished with a dusting of powdered sugar for a classic touch. Easy to prepare in just 6 steps, they make an impressive dessert or snack that will satisfy any sweet tooth.
Ingredients
Dough Ingredients
- 1 cup all-purpose flour (sifted for lighter texture)
- 1/2 cup granulated sugar (can substitute with organic cane sugar)
- 1/2 cup ricotta cheese (well-drained)
- 1 large egg (binds ingredients together)
- 1 tsp vanilla extract (opt for pure vanilla for the best taste)
- 1 tsp lemon zest (use organic lemons for fresher taste)
Filling Ingredients
- Remaining ricotta (amount as needed from initial 1/2 cup)
- 1/2 cup mini chocolate chips (substitute with white chocolate if preferred)
- 1/2 cup chopped pistachios (almonds can be a delightful alternative)
Finishing
- Powdered sugar (for dusting)
Instructions
- Preheat Oven: Preheat your oven to 350°F (175°C) to ensure it’s ready when your cookies are prepared for baking.
- Mix Dry Ingredients: In a large bowl, combine 1 cup of sifted flour and ½ cup of granulated sugar. Blend these well until the mixture is fluffy, which helps create a light texture for the dough.
- Prepare Wet Mixture: In a separate bowl, stir together ½ cup of well-drained ricotta cheese, 1 large egg, 1 tsp vanilla extract, and 1 tsp lemon zest. Mix until the combination is smooth and creamy.
- Make Dough: Gradually fold the dry flour mixture into the ricotta mixture, stirring gently to form a soft dough. Avoid overmixing to keep the dough tender.
- Rest Dough: Cover the dough with plastic wrap or a kitchen towel and let it rest for 30 minutes to allow the flavors to meld and the dough to firm slightly.
- Prepare Baking Sheets: While the dough rests, line your baking sheets with parchment paper to prevent sticking and ensure easy cleanup.
- Roll Out Dough: Dust your work surface lightly with flour. Roll the rested dough out to about ¼ inch thickness, striving for an even layer.
- Cut Dough: Cut the rolled dough into rectangles approximately 2 by 3 inches each, which will serve as the cookie shells.
- Make Filling: In a small bowl, mix the remaining ricotta with ½ cup mini chocolate chips and ½ cup chopped pistachios. This filling provides the signature sweet and nutty flavor.
- Fill and Seal Cookies: Place a spoonful of the filling onto the center of each rectangle. Fold the dough over the filling and pinch the edges firmly to seal, preventing filling from leaking during baking.
- Bake Cookies: Place the filled cookies onto the prepared baking sheets. Bake in the preheated oven for 15 to 18 minutes until golden brown and lightly crisp around the edges.
- Cool and Finish: Transfer the baked cookies to a wire rack and let them cool for several minutes. Once cool, dust generously with powdered sugar to finish.
Notes
- Ensure ricotta is well-drained to avoid soggy dough.
- Sifting the flour improves the texture by making the dough lighter.
- You can substitute pistachios with almonds if preferred.
- Use pure vanilla extract and organic lemons for the best flavor.
- Store cookies in an airtight container for up to 3 days to maintain freshness.
- For a dairy-free version, ricotta can be replaced with a suitable plant-based alternative, though texture may vary.

