
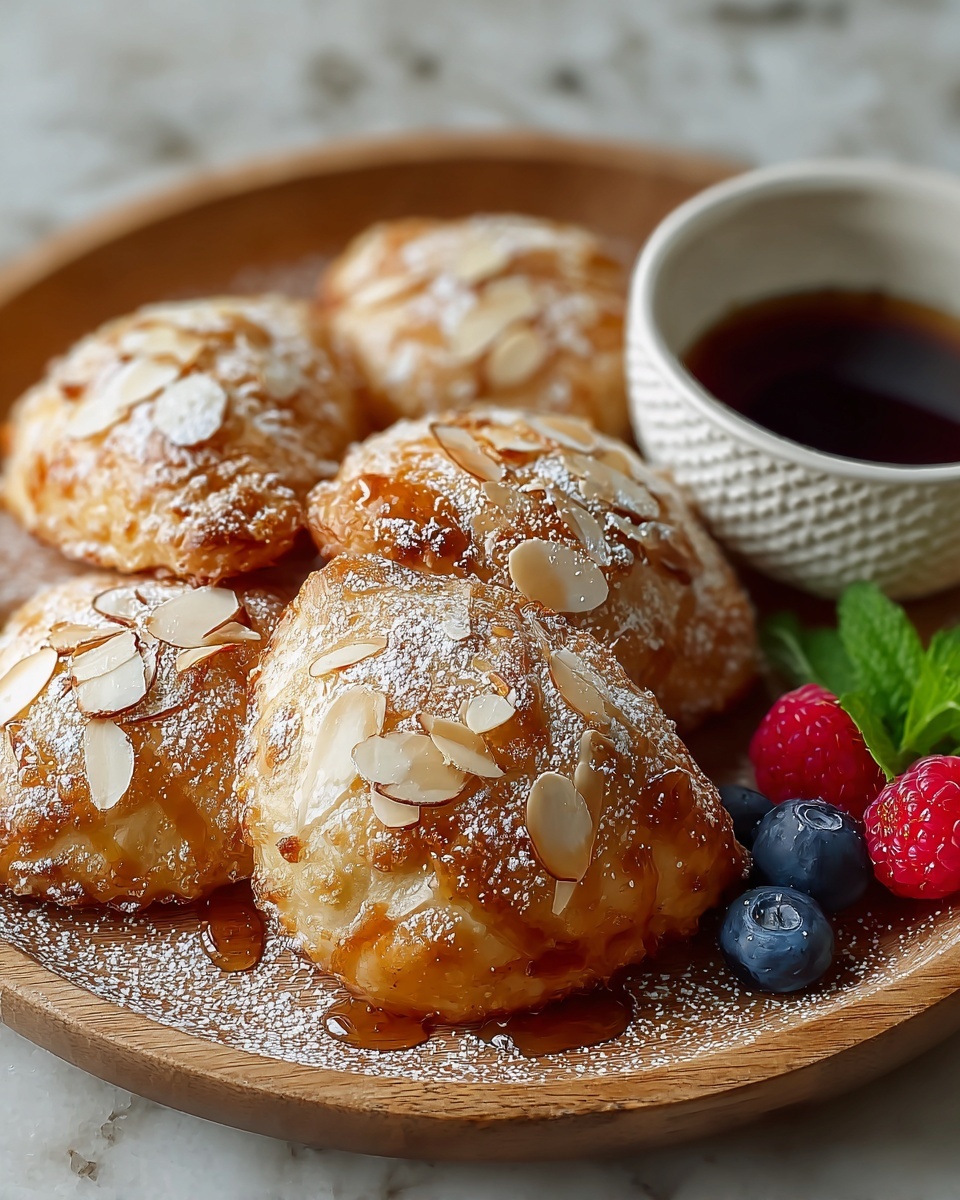
If you’re craving something sweet, fluffy, and irresistibly comforting, this Maple Beaver Tails Recipe will quickly become your new go-to treat. A true Canadian classic, these fried dough pastries have a perfect golden crust with a soft, pillowy interior, topped with a delightful cinnamon sugar sprinkle and a generous drizzle of pure maple syrup. Imagine biting into warm, fragrant dough that melts in your mouth while the maple syrup adds that luscious touch of natural sweetness—the perfect combination that’s sure to brighten any day.
Ingredients You’ll Need
The beauty of this Maple Beaver Tails Recipe lies in its simple, wholesome ingredients. Each one plays a crucial part in creating the perfect texture and flavor, whether it’s the warm milk that wakes the yeast up or the cinnamon that brings a cozy warmth to the topping.
- Warm milk (1 cup, 110°F): Activates the yeast and ensures a tender dough.
- Active dry yeast (1 tablespoon): Leavens the dough to make it fluffy and light.
- Granulated sugar (1 tablespoon): Feeds the yeast and adds subtle sweetness to the dough.
- Large egg (1): Binds ingredients together while enriching the dough.
- Melted unsalted butter (1/4 cup): Adds richness and tenderness.
- Salt (1/2 teaspoon): Balances sweetness and enhances flavor.
- All-purpose flour (2 1/2 cups, plus more for rolling): Forms the dough’s structure—soft yet sturdy.
- Vegetable oil (for frying): Gives the beaver tails their crisp, golden crust.
- Granulated sugar (1/4 cup for topping): Creates that irresistible cinnamon sugar coating.
- Ground cinnamon (1 teaspoon for topping): Adds a warm, fragrant spice that pairs beautifully with maple.
- Pure maple syrup (1/2 cup for drizzling): The star ingredient providing natural sweetness and that signature Canadian flavor.
How to Make Maple Beaver Tails Recipe
Step 1: Activate the Yeast
Begin by combining warm milk, yeast, and 1 tablespoon of sugar in a large bowl. Let this mixture sit for 5 to 10 minutes until it becomes foamy—this bubbly texture means your yeast is alive and ready to work its magic in the dough.
Step 2: Mix the Dough
To the activated yeast mixture, add your egg, melted butter, and salt. Stir everything together until it’s well combined. Gradually incorporate the all-purpose flour, mixing until a soft dough forms. This step is where basic ingredients start turning into the promise of a delicious treat.
Step 3: Knead the Dough
Transfer the dough to a floured surface and knead for 5 to 7 minutes. You want to develop a smooth, elastic dough that springs back gently when pressed. This kneading process is crucial for that light, airy texture in each beaver tail.
Step 4: Let the Dough Rise
Place your kneaded dough into a lightly greased bowl and cover it with a clean towel. Let it rest in a warm spot for about an hour until it doubles in size. This rise not only increases volume but also deepens the flavor and contributes to a tender crumb.
Step 5: Shape the Beaver Tails
Once risen, punch down the dough and cut it into 8 equal pieces. Roll each piece into an oval approximately 1/4 inch thick. Shaping the dough thinly ensures the perfect balance between a crispy outside and fluffy inside after frying.
Step 6: Fry to Golden Perfection
Heat vegetable oil in a deep pan to 350°F, making sure you have about 2 inches of oil for even frying. Fry each dough oval for 1 to 2 minutes on each side until a beautiful golden brown forms. Carefully remove your beaver tails and place them on paper towels to drain excess oil.
Step 7: Add the Sweet Finishing Touches
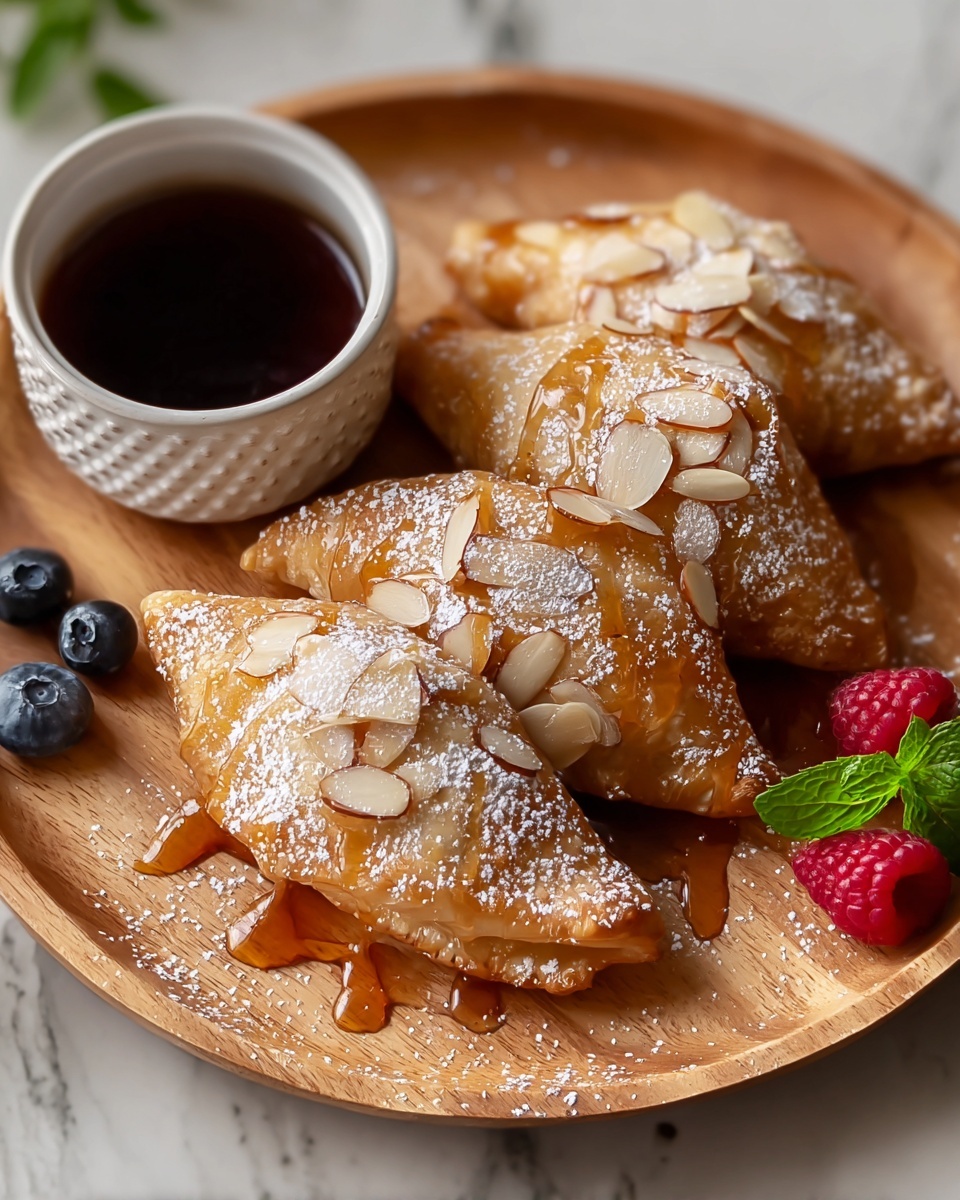
Mix together the sugar and cinnamon, then sprinkle generously over the warm fried dough. Finally, drizzle each piece with pure maple syrup. This finishing step is what transforms a simple fried dough into the iconic and delicious treat known as the Maple Beaver Tails Recipe.
How to Serve Maple Beaver Tails Recipe
Garnishes
Beyond the classic cinnamon sugar and maple syrup, you can get creative by adding a light spread of butter or even a smear of maple butter or maple cream for extra indulgence. Fresh fruit slices, whipped cream, or chopped nuts also make wonderful toppings if you want to add a little variety to your presentation.
Side Dishes
Maple Beaver Tails make for a fantastic dessert or snack alongside a hot cup of coffee or tea. For a brunch twist, pair them with scrambled eggs or smoked salmon for a delightful sweet and savory balance that surprises and delights.
Creative Ways to Present
Try serving your beaver tails on rustic wooden boards with small bowls of additional maple syrup on the side for dipping. For a festive touch, arrange them on a platter sprinkled with powdered sugar and drizzle some chocolate or caramel sauce alongside the maple syrup to wow your guests.
Make Ahead and Storage
Storing Leftovers
If you have leftover beaver tails, store them in an airtight container at room temperature for up to 2 days. However, they’re best enjoyed fresh to savor that crisp exterior and warm softness inside.
Freezing
You can freeze the cooked beaver tails by wrapping them individually in plastic wrap and then placing them in a freezer-safe bag. They’ll keep well for up to one month, letting you enjoy a quick treat anytime you crave a Canadian classic.
Reheating
To revive your beaver tails, reheat them in a preheated oven at 350°F for about 5-7 minutes. This method helps restore the crispiness much better than a microwave, keeping that lovely texture intact.
FAQs
Can I make the dough ahead of time?
Absolutely! You can prepare the dough and refrigerate it overnight after the initial kneading. Let it come back to room temperature before dividing and frying—this can even enhance the flavor.
Is there a gluten-free version of this Maple Beaver Tails Recipe?
While this recipe traditionally uses all-purpose flour, you can experiment with gluten-free flour blends. Keep in mind the texture may change, so adjustments in liquid and rising time might be needed.
What oil is best for frying beaver tails?
Vegetable oil or canola oil works well because of their neutral flavor and high smoke point, ensuring crispy and golden results without overpowering the taste.
Can I bake these instead of frying?
Frying gives that signature crispy exterior, but for a lighter option, you can bake the shaped dough at 400°F for about 12-15 minutes. They won’t be quite the same but still delicious!
Do I have to use real maple syrup?
Real maple syrup offers the authentic, rich flavor that defines this recipe, but if you don’t have any, you can use a good-quality maple-flavored syrup as a substitute, though the taste won’t be as nuanced.
Final Thoughts
There’s something truly special about making and sharing this Maple Beaver Tails Recipe—it’s more than just a sweet treat; it’s a little slice of Canadian comfort and joy. Whether you’re making them for a festive gathering or a cozy afternoon snack, these golden, syrup-drizzled delights promise to bring smiles around your table. Give it a try, and I promise you’ll be hooked on this authentic homemade indulgence!
Print
Maple Beaver Tails Recipe
- Prep Time: 1 hour 15 minutes
- Cook Time: 15 minutes
- Total Time: 1 hour 30 minutes
- Yield: 8 beaver tails
- Category: Dessert
- Method: Frying
- Cuisine: Canadian
- Diet: Vegetarian
Description
Maple Beaver Tails are a classic Canadian dessert featuring crispy, golden-fried dough topped with cinnamon sugar and drizzled with pure maple syrup. This indulgent treat combines soft, chewy interiors with a sweet, aromatic coating, perfect for a comforting snack or festive celebration.
Ingredients
Dough:
- 1 cup warm milk, 110°F
- 1 tablespoon active dry yeast
- 1 tablespoon granulated sugar
- 1 large egg
- 1/4 cup melted unsalted butter
- 1/2 teaspoon salt
- 2 1/2 cups all-purpose flour, plus more for rolling
Frying and Topping:
- Vegetable oil, for frying
- 1/4 cup granulated sugar (for topping)
- 1 teaspoon ground cinnamon (for topping)
- 1/2 cup pure maple syrup (for drizzling)
Instructions
- Activate Yeast: In a large mixing bowl, combine the warm milk, active dry yeast, and 1 tablespoon of sugar. Let it sit for 5–10 minutes until foamy, indicating the yeast is activated.
- Make Dough: Add the egg, melted butter, and salt to the yeast mixture and mix until combined. Gradually incorporate the all-purpose flour until a soft dough forms.
- Knead Dough: Transfer the dough to a floured surface and knead for 5–7 minutes until it becomes smooth and elastic.
- Let Dough Rise: Place the kneaded dough in a lightly greased bowl, cover with a clean towel, and let it rise in a warm place for 1 hour or until doubled in size.
- Shape Dough: Punch down the risen dough and divide it into 8 equal portions. Roll each portion into an oval shape about 1/4 inch thick.
- Prepare Oil and Fry: Heat 2 inches of vegetable oil in a deep pan to 350°F. Carefully fry each piece of dough for 1–2 minutes per side until golden brown and cooked through.
- Drain: Remove the fried dough from the oil and drain on paper towels to remove excess oil.
- Season Topping: In a small bowl, mix together the granulated sugar and ground cinnamon. Sprinkle this mixture generously over the warm fried beaver tails.
- Drizzle Syrup and Serve: Drizzle each beaver tail with the pure maple syrup just before serving for that signature sweet finish.
Notes
- For extra indulgence, spread a thin layer of butter on each beaver tail before applying the cinnamon sugar topping.
- Try using maple butter or maple cream as alternative toppings for richer flavor.
- Ensure the oil temperature is consistently maintained at 350°F to achieve the perfect crispiness without absorbing too much oil.
- Be cautious when frying to avoid overcrowding the pan and lowering the oil temperature.
- Serve immediately for the best texture and flavor.


