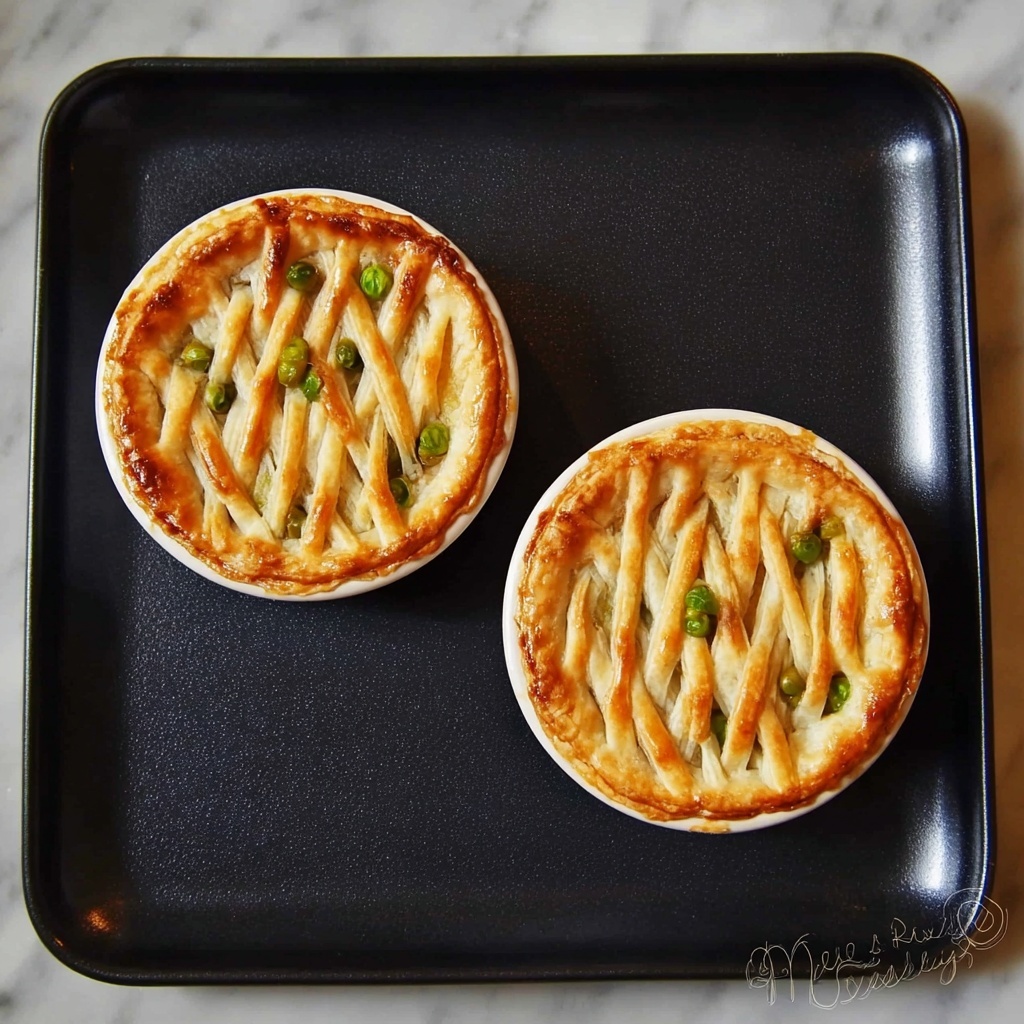
If you’re looking for a fun and delicious way to bring a little Halloween spirit to your dinner table, this Mummy Pot Pie Recipe is an absolute must-try. It’s a charming twist on the classic comfort food pot pie, featuring flaky golden pastry strips wrapped like a mummy with adorable pea “eyes” peeking through. The filling is a luscious combination of tender chicken, vibrant vegetables, and a creamy savory sauce that will warm you up and delight your family or guests. This dish effortlessly balances delightful whimsy with hearty, satisfying flavors, making it perfect for festive occasions or any cozy night in.
Ingredients You’ll Need
These ingredients are wonderfully simple yet essential to creating the perfect balance of flavors and textures in your Mummy Pot Pie Recipe. Each one brings a special touch, from the tender chicken to the buttery crust that crisps just right in the oven.
- 1 lb chicken (cubed, frozen or fresh): Provides the hearty protein base with tender bites throughout the pie.
- 1 cup carrots (chopped): Adds sweetness and a bright pop of orange color that makes the filling lively.
- 1/2 cup green peas (frozen): Offers a subtle sweetness and vibrant green, plus those iconic “eyes” for the mummy!
- 1/2 cup sliced celery: Brings a mild crunch and fresh herbal notes to the mix.
- 1/3 cup chopped onion: Builds savory depth and perfectly softens in the creamy filling.
- 1/3 cup all-purpose flour: Thickens the filling, helping it cling beautifully to the chicken and veggies.
- 1/2 tsp salt: Enhances all the other flavors without overpowering them.
- 1/4 tsp black pepper: Adds a gentle hint of warmth and spice.
- 1/4 tsp celery seed: A subtle seasoning that echoes the freshness of the celery for an extra layer of flavor.
- 1/3 cup butter: Creates a luscious, rich base for the sauce and softens the onions to perfection.
- 1 can chicken broth: Infuses savory goodness and keeps the filling moist and flavorful.
- 2/3 cup milk: Adds creaminess that makes the filling dreamy and smooth.
- 2 pie crusts (9″): The golden, flaky canvas for your mummy masterpiece.
How to Make Mummy Pot Pie Recipe
Step 1: Preheat the Oven
Start by preheating your oven to 425 degrees F, or 220 degrees C. Getting your oven nice and hot ensures that those pie crusts crisp up beautifully and turn that golden brown you’re aiming for.
Step 2: Prepare the Filling
Chop your celery and carrots finely. Then, toss the chopped veggies, frozen peas (save a couple for the eyes!), and cubed chicken into a large pot. Cover everything with water and bring it to a boil for about 15 minutes. This step softens the vegetables and cooks the chicken gently. Once done, drain and set it aside – this is the flavorful heart of your pie!
Step 3: Shape the Bottom Crust
Roll out one pie crust and, if you have souffle dishes like we do, use them as a cutting guide to create circles slightly larger than your dishes. Place each circle into the dish, pressing firmly on the bottom and sides to create a snug base with a little extra hanging over the edges for sealing later. This foundation is going to cradle your delicious filling perfectly.
Step 4: Make the Creamy Sauce
On medium heat, melt butter in a saucepan and cook chopped onions until soft and translucent. Stir in flour, salt, black pepper, and celery seed to form a thick paste, which acts as your roux. Slowly whisk in chicken broth and milk, simmering gently until the mixture thickens into a creamy sauce. This velvety blend will bind your filling ingredients together, giving that rich pot pie texture we love.
Step 5: Combine and Fill
Place the cooked chicken and vegetable mixture into the bottom crusts. Then pour the luscious sauce over the top, making sure every nook is covered so every bite is silky and flavorful.
Step 6: Add the Mummy Top Layer
Roll out your second pie crust and cut it into strips. Arrange these strips over the filling to mimic mummy bandages, overlapping slightly for that signature wrapped look. Seal the edges by pressing the top crust against the bottom crust; trim away any excess dough. Don’t forget to cut two small holes near the top where the eyes will peek out. This step turns your pot pie into an edible Halloween masterpiece!
Step 7: Add the Pea “Eyes”
Pop the reserved peas into the small holes you cut in the crust. These peas are the “eyes” that give the mummy its character and make the dish so much fun to serve and eat.
Step 8: Bake to Perfection
Place the pies in the preheated oven and bake for 25 to 30 minutes. Watch for that beautiful golden brown crust and bubbling filling. If you notice the tops browning too quickly, covering them loosely with foil halfway through baking can help prevent burning while letting the filling continue to cook to creamy deliciousness.
How to Serve Mummy Pot Pie Recipe
Garnishes
A simple dusting of freshly chopped parsley or thyme on top after baking brightens the dish visually and adds a lovely herbaceous note. For an extra festive touch, scatter a few more peas or thin carrot ribbons around the plate.
Side Dishes
Serve your mummy pot pie with a crisp green salad tossed in a tangy vinaigrette to counterbalance the richness. Roasted root vegetables or a light coleslaw also pair wonderfully, providing fresh textures and flavors that complement the creamy warmth of the pie.
Creative Ways to Present
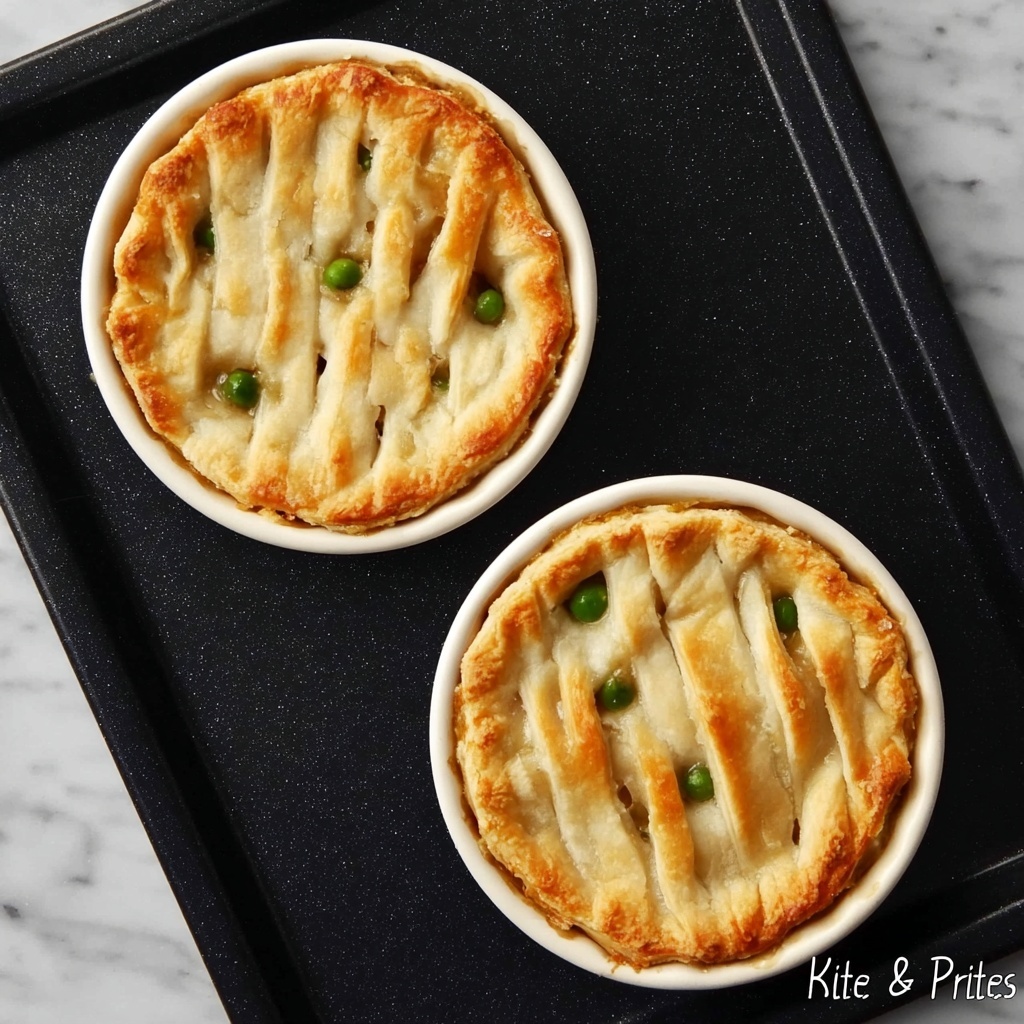
For a fun Halloween party, prepare several mini mummy pot pies in individual ramekins so everyone gets their own personal spooky feast. You can customize the “bandages” with different cut patterns or even use colorful vegetable strips for a playful twist that kids will adore.
Make Ahead and Storage
Storing Leftovers
After enjoying the feast, any leftover mummy pot pie can be stored in an airtight container in the refrigerator for up to 3 days. The flavors will deepen nicely, making for delicious next-day meals that are easy to reheat.
Freezing
If you want to make this recipe ahead of time, the assembled but unbaked pies freeze great. Wrap each tightly in plastic wrap and foil, then freeze for up to 2 months. Bake straight from frozen by adding extra baking time to ensure the filling is hot and the crust is perfectly crisped.
Reheating
To reheat, place leftover mummy pot pie in a preheated 350-degree oven for about 20 minutes or until warmed through. This method helps maintain that crisp pastry texture that microwave reheating sometimes ruins.
FAQs
Can I use frozen chicken for the Mummy Pot Pie Recipe?
Absolutely! Frozen cubed chicken works just fine. Just make sure to cook it thoroughly in the boiling step along with the vegetables, and the filling will come together perfectly.
What if I don’t have pie crusts on hand?
You can use puff pastry or even crescent roll dough for a flakier or slightly different texture. Just adjust the baking time slightly and watch for browning.
Can I make this vegetarian?
Yes! Swap the chicken broth with vegetable broth and omit the chicken. You can add hearty mushrooms or tofu for protein, and the creamy sauce will still be deliciously satisfying.
How do I prevent the crust from getting soggy?
Making sure the filling is thickened well before filling the crust helps, as does baking in a hot oven. Pre-baking the bottom crust slightly can also give a sturdier base if you’re worried about sogginess.
Why do you add celery seed to the filling?
Celery seed adds a subtle, aromatic depth that echoes the fresh celery in the filling, giving the pot pie a lovely, balanced flavor profile that’s more complex and satisfying.
Final Thoughts
This Mummy Pot Pie Recipe is one of those dishes that not only tastes incredible but also brings joy and creativity to the dinner table. It’s comforting, playful, and perfect for sharing with loved ones any time you want to add a bit of fun to mealtime. I hope you give it a try and enjoy every warm, flaky, savory bite as much as I do!
Print
Mummy Pot Pie Recipe
- Prep Time: 20 minutes
- Cook Time: 30 minutes
- Total Time: 50 minutes
- Yield: 4 servings
- Category: Main Dish
- Method: Baking
- Cuisine: American
Description
This Mummy Pot Pie is a fun and savory twist on the classic chicken pot pie, perfect for a festive meal. It features tender chunks of chicken, hearty vegetables, and a creamy sauce enveloped in flaky pie crust, decorated with pea “eyes” poking through the crust for a spooky, playful presentation. Ideal for a family dinner or themed party, this dish marries comforting flavors with a creative touch.
Ingredients
Filling
- 1 lb chicken, cubed (frozen or fresh)
- 1 cup carrots, chopped
- 1/2 cup green peas (reserve a few peas for decoration)
- 1/2 cup sliced celery
- 1/3 cup chopped onion
Sauce
- 1/3 cup butter
- 1/3 cup all-purpose flour
- 1/2 tsp salt
- 1/4 tsp black pepper
- 1/4 tsp celery seed
- 1 can chicken broth (approximately 14–15 oz)
- 2/3 cup milk
Crust
- 2 pie crusts, 9-inch each
Instructions
- Preheat Oven: Preheat your oven to 425 degrees F (220 degrees C) to ensure it reaches the right temperature before baking.
- Cook Vegetables and Chicken: Chop celery and carrots. In a large pot, combine chopped celery, carrots, green peas, and cubed chicken. Cover with water and bring to a boil. Let it cook for 15 minutes, then remove from heat and set aside. Remember to save a few peas aside for decorating the mummy’s eyes.
- Prepare Pie Crust Base: Roll out one pie crust. Using your souffle dishes (or any baking dishes), place them on the crust and cut out circles roughly an inch larger than the dish diameter. Fit each crust circle into the dish, pressing it to the bottom and up the sides, leaving some dough extending over the edges.
- Make the Sauce: In a saucepan over medium heat, melt butter and cook onions until they are soft and translucent. Stir in the flour, salt, black pepper, and celery seed to make a roux. Gradually whisk in the chicken broth and milk, then simmer over medium-low heat until the mixture thickens into a creamy sauce. Remove from heat.
- Assemble Filling: Drain the cooked chicken and vegetables. Spoon the mixture into the pie crusts and pour the creamy sauce over the filling evenly.
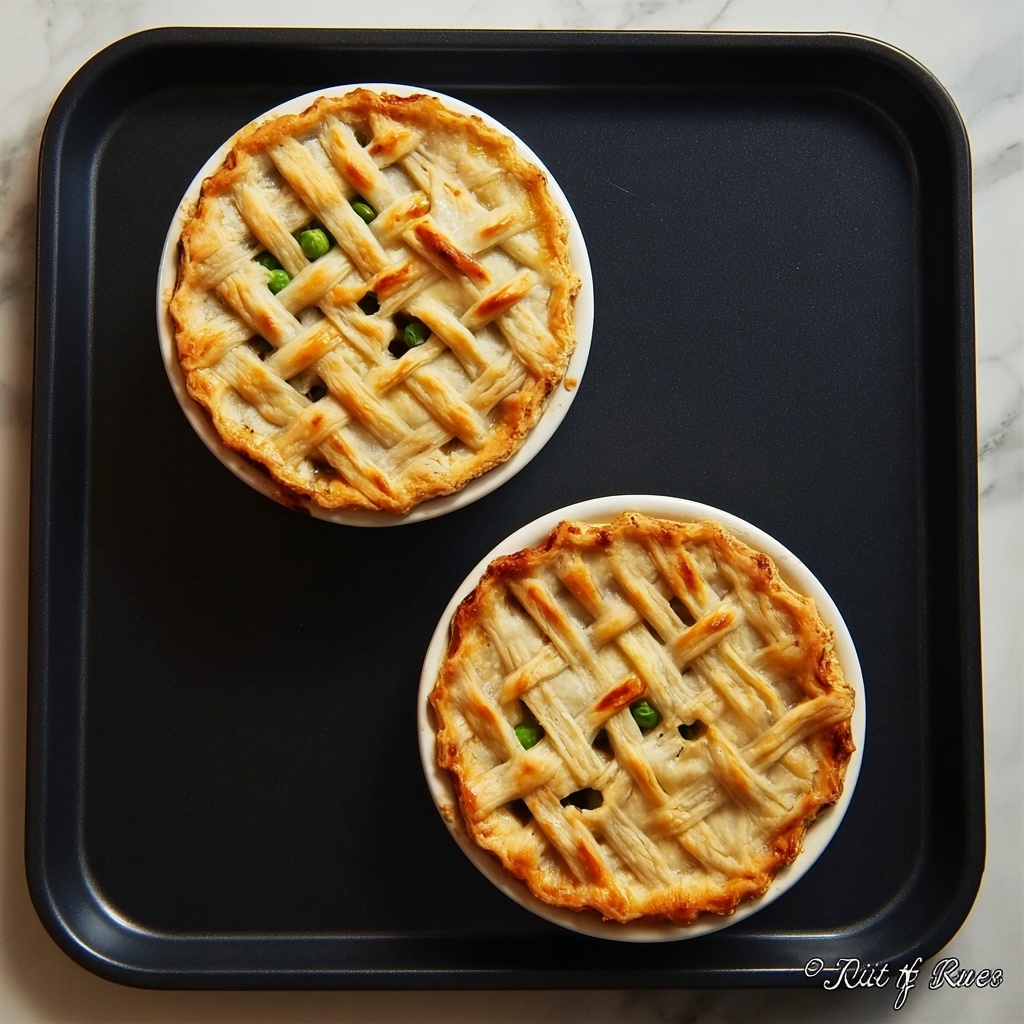
- Create Mummy Topping: Roll out the second pie crust and cut it into strips. Lay these strips over the filling in a crisscross or mummy bandage pattern, making sure to leave two small holes open for the eyes. Press the edges of the crust strips and bottom crust together to seal and trim off excess dough.
- Add Eyes: Place the reserved peas into the holes left on top of the pie to represent the mummy’s eyes.
- Bake: Place the pies in the preheated oven and bake for 25 to 30 minutes until the pastry is golden brown and the filling bubbles. About halfway through baking, cover the pies lightly with foil to prevent over-browning if needed.
Notes
- You can use fresh or frozen chicken; just ensure it’s fully cooked in the boiling step.
- Using small souffle dishes or ramekins makes individual pot pies, but you can also bake this as a single larger pie with adjusted baking time.
- Covering with foil halfway during baking helps avoid burning the crust while ensuring the filling cooks through.
- Customize the veggies with your favorites such as corn or mushrooms if desired.
- Allow pies to cool slightly before serving to avoid burns from hot filling.


