
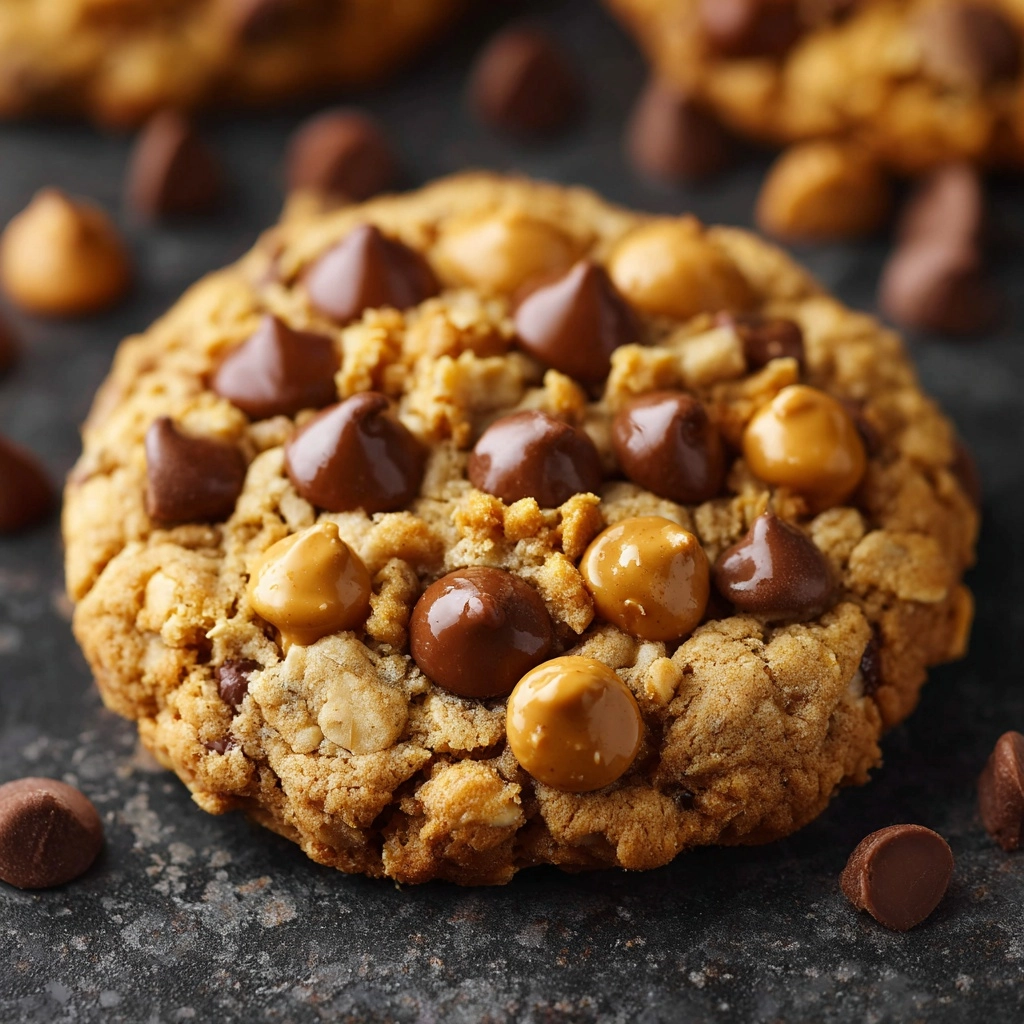
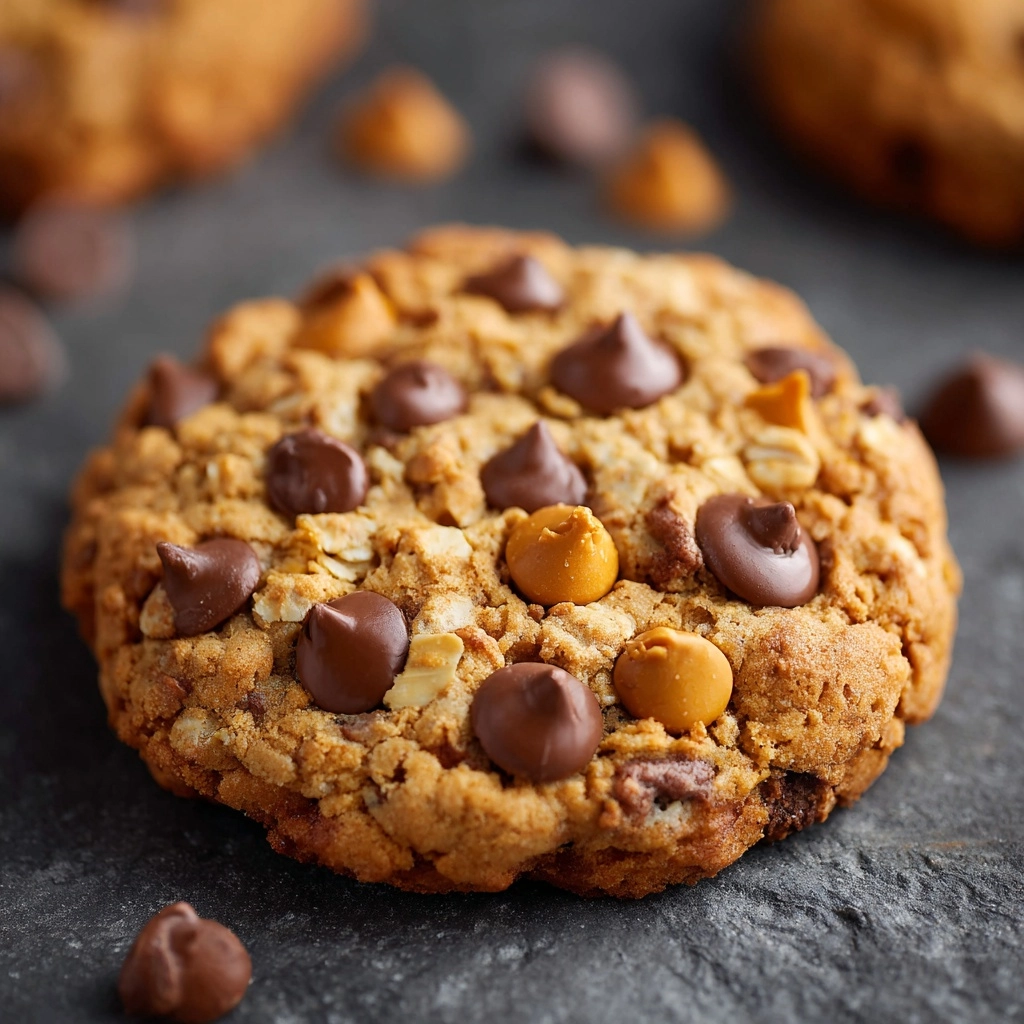
If you’re craving a sweet treat that brings together the creamy richness of peanut butter with a delightful crispy crunch, these Peanut Butter Krispie Cookies will become your new obsession. Imagine the classic peanut butter cookie, but with a twist: every bite is filled with bursts of light, airy crispy rice! They’re chewy, crisp, and incredibly easy to whip up, making them perfect for busy bakers or impromptu dessert cravings. Best of all, they’re naturally gluten-free, so everyone can enjoy them. Trust me, after just one batch, you’ll wonder how you ever lived without Peanut Butter Krispie Cookies!
Ingredients You’ll Need
-
Ingredients:
- 1 cup creamy peanut butter
- 1 cup granulated sugar
- 1 large egg
- 1 teaspoon vanilla extract
- 1 ½ cups crispy rice cereal
How to Make Peanut Butter Krispie Cookies
Step 1: Prep Your Baking Station
Start by preheating your oven to 350°F (175°C) and lining a baking sheet with parchment paper. Having your baking area set up and organized makes the cookie-making process quick and foolproof, plus the parchment keeps the cookies from sticking and makes cleanup a breeze.
Step 2: Mix the Peanut Butter and Sugar
In a large bowl, combine the creamy peanut butter and granulated sugar. Stir them together until the mixture is completely smooth and looks almost like thick caramel. This step ensures the sugar melts perfectly into the peanut butter, giving your cookies a signature chewy center.
Step 3: Add Egg and Vanilla
Crack in the large egg and pour in the vanilla extract. Stir until everything is just combined. You’ll notice the dough gets silkier and a little lighter in texture—that’s exactly what you want for the perfect Peanut Butter Krispie Cookies!
Step 4: Fold in Crispy Rice Cereal
Gently fold in the crispy rice cereal, taking care not to crush those delicate little puffs. Fold just enough to distribute the cereal evenly without overmixing, or the cookies will lose their irresistible crunch.
Step 5: Shape the Cookies
Scoop out tablespoon-sized portions of dough and roll them into balls. Arrange each ball on your prepared baking sheet, leaving about 2 inches between them. Gently press each cookie with the back of a spoon or your fingers to flatten slightly; these cookies won’t spread much on their own.
Step 6: Bake and Cool
Bake in the preheated oven for 10–12 minutes or until the edges are set and slightly golden. Let them cool on the baking sheet for five minutes, then transfer to a wire rack to cool completely. This resting time ensures your Peanut Butter Krispie Cookies hold together with just the right amount of crisp and chew.
How to Serve Peanut Butter Krispie Cookies
Garnishes
For something extra special, you can drizzle a little melted chocolate over the cooled cookies or sprinkle with a touch of flaky sea salt. If you want more peanut-y goodness, a dusting of chopped peanuts does the trick and looks beautiful, too.
Side Dishes
These cookies pair perfectly with a tall glass of cold milk, a mug of hot cocoa, or a scoop of vanilla ice cream. For an adult twist, enjoy them with a latte or even a peanut butter porter if you’re feeling adventurous!
Creative Ways to Present
Stack them high on a pretty plate for a festive dessert table, tuck a few into cellophane bags for sweet homemade gifts, or turn them into cookie sandwiches with a swipe of more peanut butter or chocolate hazelnut spread between two cookies. Peanut Butter Krispie Cookies are as versatile as they are delicious!
Make Ahead and Storage
Storing Leftovers
To keep your Peanut Butter Krispie Cookies fresh and delightfully crisp, store them in an airtight container at room temperature. They’ll stay chewy-crisp for up to five days—though they rarely last that long in my house!
Freezing
These cookies freeze beautifully. Simply place completely cooled cookies in a single layer in a freezer-safe bag or container, and freeze for up to three months. Thaw them at room temperature for a quick treat whenever you get a craving.
Reheating
If you want to restore that just-baked texture, pop a cookie in the microwave for about 10 seconds. This will warm them slightly and amplify that classic peanut butter aroma that fills your kitchen whenever you bake a batch.
FAQs
Can I use chunky peanut butter in Peanut Butter Krispie Cookies?
Absolutely! Chunky peanut butter will add extra bits of peanut throughout, giving your cookies even more crunch and nuttiness. Just note they may spread a smidge less than the creamy version.
Are Peanut Butter Krispie Cookies gluten-free?
Yes—they can be! Just be sure to use a certified gluten-free crispy rice cereal and double-check your other ingredients to keep the cookies celiac-safe.
Can I add chocolate chips to the dough?
Definitely! Mini chocolate chips are especially fun in Peanut Butter Krispie Cookies, adding bursts of chocolate throughout the cookies. You can fold them in with the rice cereal before baking.
How do I keep the rice cereal from getting soggy?
The trick is to fold the cereal in gently and bake the dough right away. Don’t let the dough sit too long before shaping and baking, or the cereal can start to soften.
Can I double the recipe?
You sure can! Just double all ingredients and use multiple baking sheets, rotating them if your oven can’t accommodate them all at once. Double the batch means double the fun and double the Peanut Butter Krispie Cookies to share (or not!).
Final Thoughts
There’s nothing quite like the joy of pulling a tray of fresh Peanut Butter Krispie Cookies from the oven. They’re quick, simple, and so satisfyingly crunchy and chewy all at once. Grab your ingredients and treat yourself—you deserve a batch, and your friends and family will be thrilled to join you. Happy baking!
Print
Peanut Butter Krispie Cookies Recipe
- Prep Time: 10 minutes
- Cook Time: 12 minutes
- Total Time: 22 minutes
- Yield: 18 cookies
- Category: Dessert
- Method: Baking
- Cuisine: American
- Diet: Vegetarian
Description
These Peanut Butter Krispie Cookies are a delightful combination of creamy peanut butter, crispy rice cereal, and a hint of sweetness. Easy to make and gluten-free, these cookies are perfect for satisfying your sweet tooth cravings.
Ingredients
Ingredients:
- 1 cup creamy peanut butter
- 1 cup granulated sugar
- 1 large egg
- 1 teaspoon vanilla extract
- 1 ½ cups crispy rice cereal
Instructions
- Preheat the oven: Preheat the oven to 350°F (175°C) and line a baking sheet with parchment paper.
- Mix peanut butter and sugar: In a large bowl, mix the peanut butter and sugar until smooth.
- Add egg and vanilla: Add the egg and vanilla extract and stir until well combined.
- Fold in cereal: Gently fold in the crispy rice cereal, being careful not to crush it.
- Form dough balls: Scoop tablespoon-sized portions of dough and roll into balls.
- Bake: Place the dough balls on the prepared baking sheet, flatten slightly, and bake for 10–12 minutes until lightly golden.
- Cool and serve: Let the cookies cool on the baking sheet for 5 minutes before transferring to a wire rack to cool completely.
Notes
- You can use crunchy peanut butter for added texture.
- For a chocolate twist, drizzle melted chocolate over the cooled cookies or mix in mini chocolate chips before baking.
- These cookies are naturally gluten-free if using certified gluten-free crispy rice cereal.
Nutrition
- Serving Size: 1 cookie
- Calories: 140
- Sugar: 11g
- Sodium: 90mg
- Fat: 8g
- Saturated Fat: 2g
- Unsaturated Fat: 5g
- Trans Fat: 0g
- Carbohydrates: 15g
- Fiber: 1g
- Protein: 3g
- Cholesterol: 10mg


