If you have ever wanted to elevate your meals with a subtle, sweet, and irresistibly mellow garlic flavor, then this Roasted Garlic Recipe is your new best friend in the kitchen. Roasting garlic transforms its sharp bite into a creamy, caramelized indulgence that can enhance everything from breads to sauces, making it an essential skill for any home cook craving that deep, rich garlicky goodness. With just a few simple ingredients and steps, you can create a versatile condiment that feels both luxurious and comforting.
Ingredients You’ll Need
This recipe relies on incredibly simple ingredients that work together harmoniously to produce that perfectly roasted garlic flavor and texture. Each ingredient plays a crucial role — from the garlic itself to the olive oil that helps bring out those rich, buttery undertones.
- 4 heads garlic: The star of the show, fresh garlic bulbs with plump cloves make roasting a pleasure and deliver the sweetest results.
- 1 tablespoon olive oil: Just enough oil to keep the garlic moist, promote caramelization, and add a glistening finish to those tender cloves.
How to Make Roasted Garlic Recipe
Step 1: Preheat the Oven
Start by heating your oven to 400°F. This temperature is perfect for roasting garlic because it slowly softens the cloves while creating that golden, buttery texture without burning.
Step 2: Prepare the Garlic Bulbs
Gently peel away the outer papery layers of each garlic head, making sure to keep the bulbs intact. This keeps the cloves connected, allowing them to roast evenly and stay juicy inside their natural wrapper.
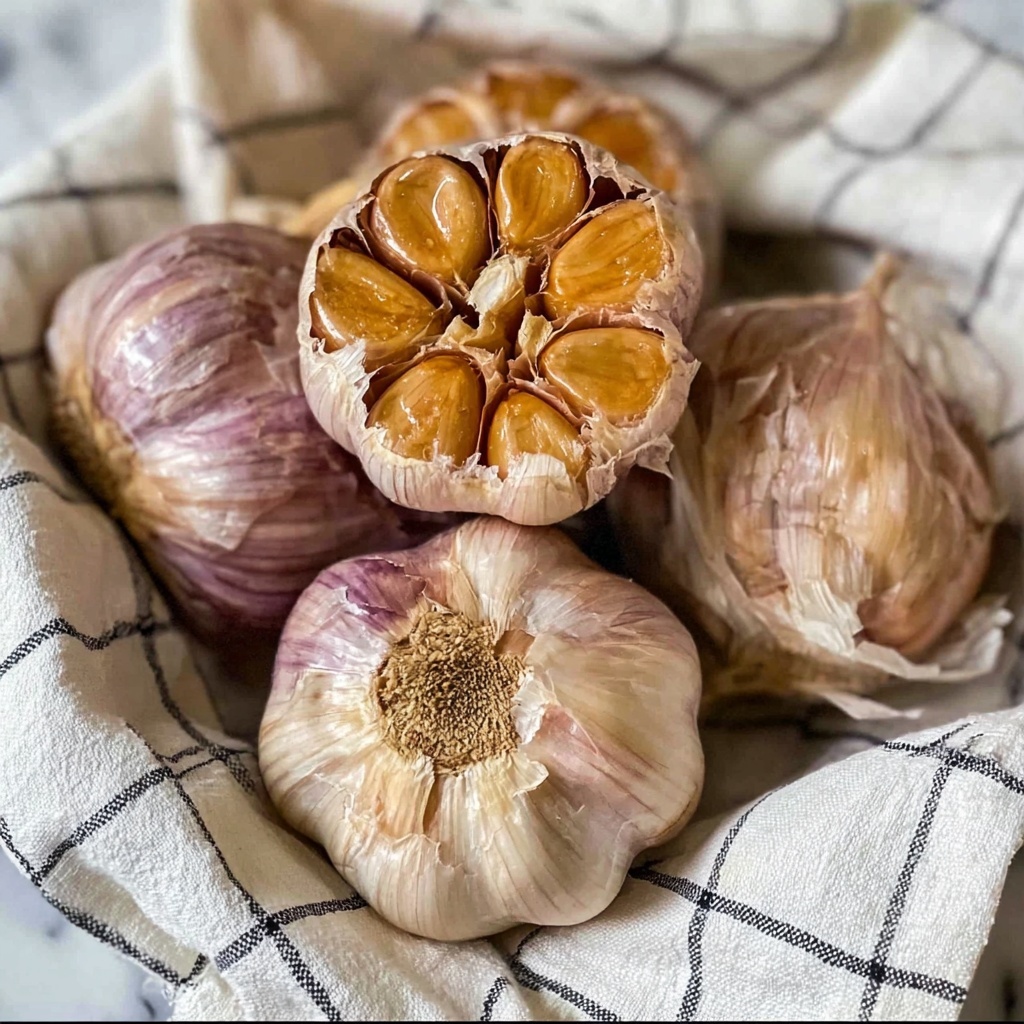
Step 3: Trim the Tops
Take a sharp knife and slice about half an inch off the top of each bulb. This exposes the tops of the individual cloves, giving the heat room to work its magic right into the garlic’s heart.
Step 4: Add the Olive Oil
Drizzle roughly ¼ tablespoon of olive oil on top of each exposed garlic head. Massage it gently into the cloves to ensure that they stay moist and develop a rich, toasty flavor as they roast.
Step 5: Wrap and Position
Wrap each garlic bulb snugly in aluminum foil. Then nestle them cut-side up into the wells of a muffin tin; this prevents them from tipping over and helps distribute heat evenly all around.
Step 6: Roast to Perfection
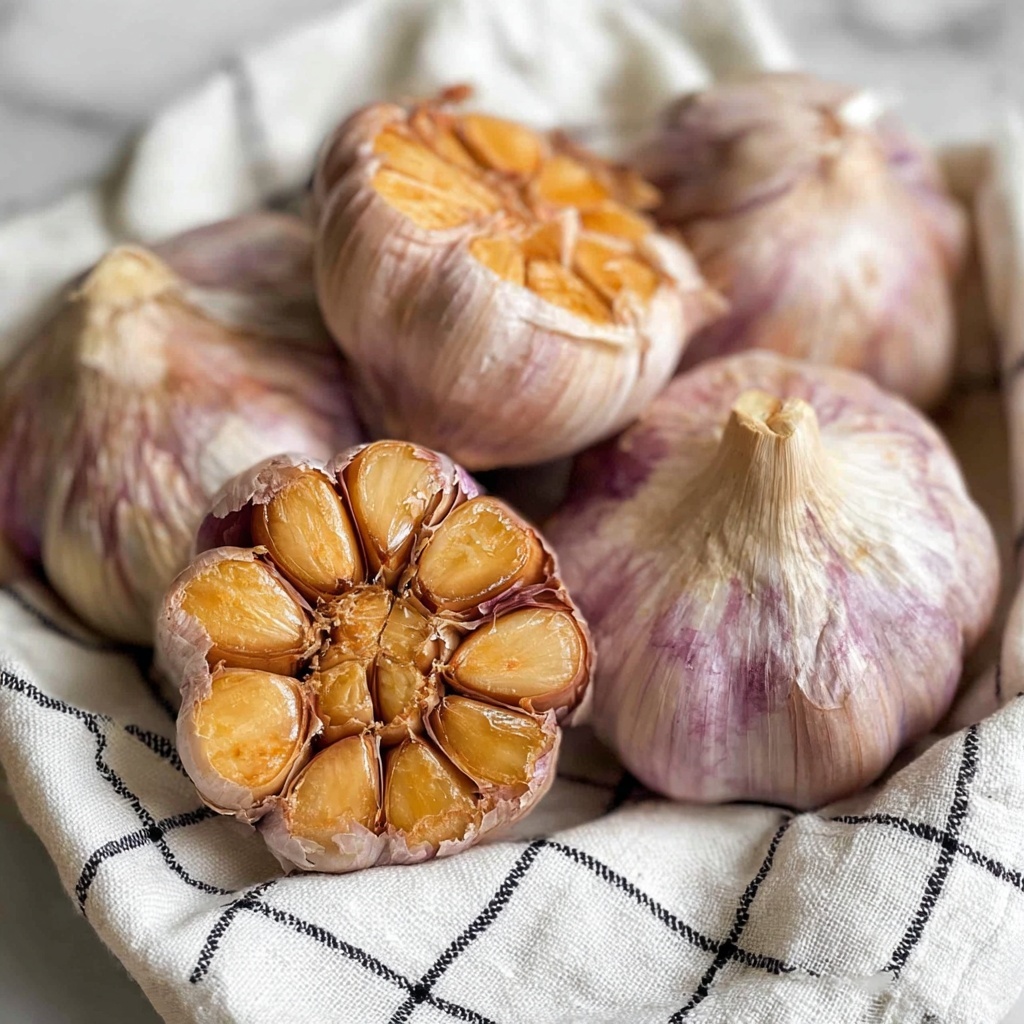
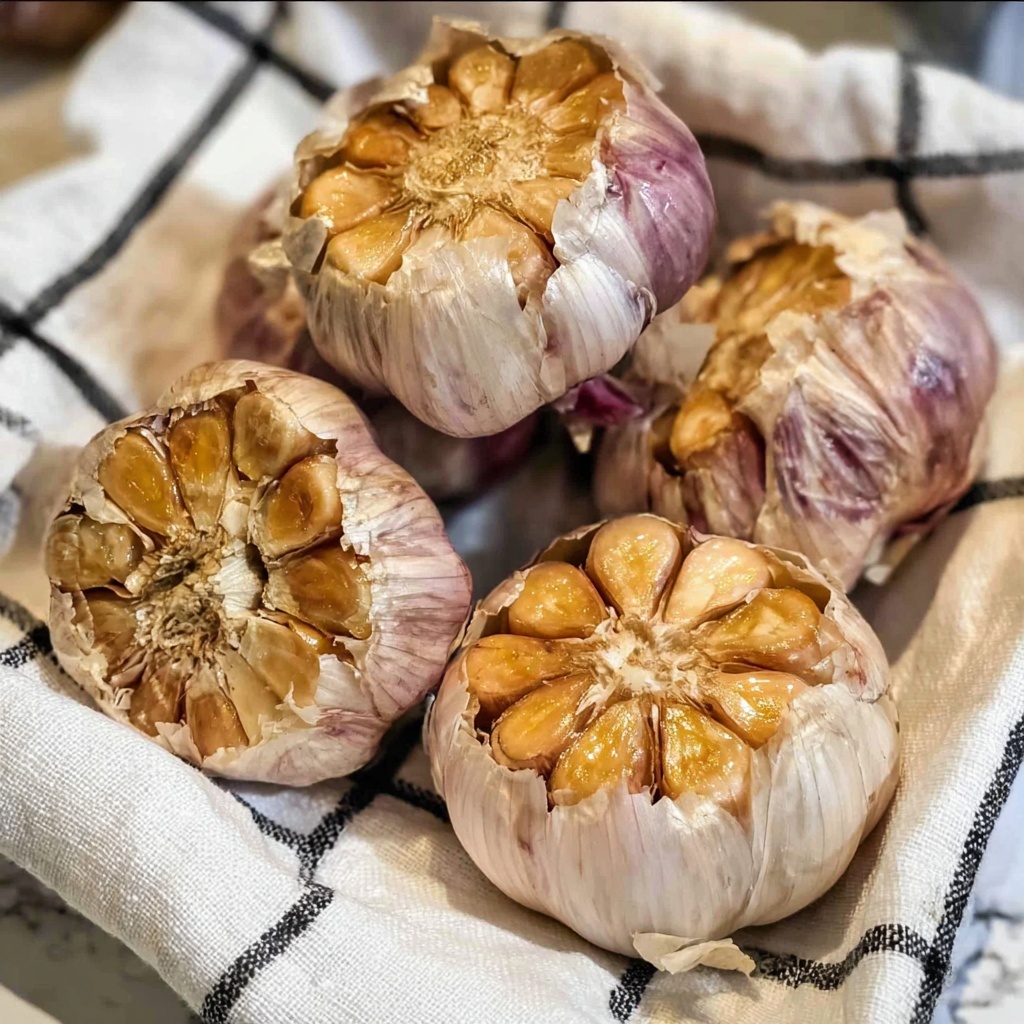
Bake for 35 to 40 minutes, patiently waiting while the cloves soften and turn a luscious golden brown. You’ll know they’re ready when the cloves feel tender and can be easily squeezed out like creamy butter.
Step 7: Enjoy the Creamy Cloves
To serve, simply pinch the base of each clove from the outside and watch how effortlessly they slide out. This velvety roasted garlic is now ready to transform your favorite dishes.
How to Serve Roasted Garlic Recipe
Garnishes
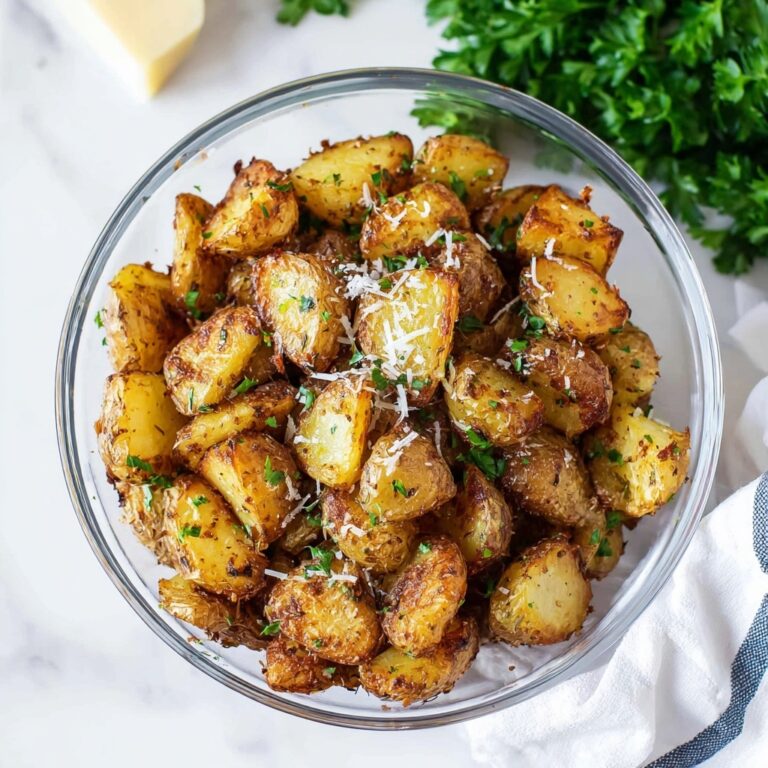
Drizzle roasted garlic cloves over toasted baguette slices or use them to enrich mashed potatoes and creamy soups. Their sweet, mellow flavor makes any dish feel more special and comforting.
Side Dishes
The richness of roasted garlic pairs beautifully with roasted vegetables like Brussels sprouts or asparagus, adding a warm depth that complements their natural earthiness and crisp texture.
Creative Ways to Present
For a fun twist, blend roasted garlic into softened butter to create a flavorful spread for bread or grill meats. You can also mash it into salad dressings, stir it into pasta, or mix it into dips for a velvety garlic punch that surprises and delights.
Make Ahead and Storage
Storing Leftovers
Once cooled, store your roasted garlic heads in an airtight container in the refrigerator. They will stay fresh for up to two weeks, ready to add that delicious warmth to any meal at a moment’s notice.
Freezing
If you want to keep roasted garlic longer, scoop the cloves into an ice cube tray and freeze. Once solid, transfer the cubes to a resealable bag and freeze for up to three months, perfect for conveniently enhancing dishes on busy days.
Reheating
To bring frozen or refrigerated roasted garlic back to life, gently warm it in the microwave for a few seconds or mash it into hot foods like soups or sauces where its buttery texture melts effortlessly, releasing all those sultry, roasted flavors.
FAQs
Can I use garlic cloves instead of whole heads?
While you can roast individual cloves, roasting whole heads keeps the garlic moist and makes it easier to handle and use afterward. The intact bulbs also develop a richer, more concentrated flavor.
What if I don’t have aluminum foil?
Aluminum foil helps retain moisture during roasting, but you can also use a covered baking dish or a small oven-safe container with a lid to achieve similar results.
Is roasted garlic healthy?
Absolutely! Roasted garlic retains many of its heart-healthy benefits and antioxidants, all while being easier on the stomach due to its mellow flavor and reduced pungency.
How do I know when the garlic is done?
The cloves should be soft and golden brown, feeling tender to the touch and easily squeezing out of their skins. Avoid overcooking, which can make them bitter or dried out.
Can I roast garlic in advance for a party?
Yes! Roasted garlic can be made ahead and stored refrigerated or frozen. It’s perfect for prepping early, so your party dishes come together faster and taste incredible.
Final Thoughts
This Roasted Garlic Recipe is a tiny kitchen miracle that brings a world of flavor with minimal effort. It’s perfect for elevating everyday meals or adding a special touch to your dinner parties. Give it a try – once you experience that creamy, golden garlic goodness, you’ll wonder how you ever cooked without it.
Print
Roasted Garlic Recipe
- Prep Time: 5 minutes
- Cook Time: 40 minutes
- Total Time: 45 minutes
- Yield: 4 servings
- Category: Condiment
- Method: Baking
- Cuisine: Universal
Description
This simple roasted garlic recipe transforms whole garlic bulbs into buttery, sweet, and tender cloves perfect for spreading, cooking, or adding depth to your dishes. Roasting mellows the sharpness and brings out a rich, caramelized flavor that elevates any meal with minimal effort.
Ingredients
Ingredients
- 4 heads garlic
- 1 tablespoon olive oil
Instructions
- Preheat the oven: Preheat your oven to 400°F (200°C) to prepare for roasting the garlic bulbs evenly.
- Peel outer layers: Gently remove the paper-like outer skin of each garlic bulb using your hands, taking care to keep the bulbs intact without breaking them apart.
- Trim the tops: Using a sharp knife, cut approximately ½ inch off the top of each garlic head to expose the cloves inside.
- Apply olive oil: Drizzle about ¼ tablespoon of olive oil onto the exposed cut surface of each garlic bulb and massage it gently to ensure the oil seeps into the cloves.
- Wrap in foil: Wrap each bulb individually in aluminum foil and place them upright into a muffin tin to keep them stable during roasting.
- Roast the garlic: Bake in the preheated oven for 35-40 minutes until the cloves are soft and tender when pierced.
- Serve: Once cooled slightly, squeeze the roasted garlic cloves out of their skins easily by pinching from the outside, perfect for spreading on bread or adding to recipes.
Notes
- Make sure to use fresh garlic heads for the best flavor and texture.
- You can roast garlic bulbs ahead of time and store them in the refrigerator for up to a week.
- Use roasted garlic to add a sweet, rich flavor to soups, sauces, mashed potatoes, and vinaigrettes.
- Be careful when handling hot garlic bulbs after roasting; let them cool before squeezing.
